


Quick Answer
To refresh a Medford mulch bed without disturbing established plants: fluff last year's mulch with a cultivator to restore color and texture, top-dress with ½ to 1 inch of fresh hardwood to bring the layer back to 2 inches total, and never strip last year's mulch out. The decomposing layer underneath is now soil-building organic matter — pulling it kills the work it's doing. A typical 200 sq ft Medford bed refreshes in 30–45 minutes with about 0.3 cubic yards of fresh mulch.
Why "Refresh" Beats "Replace" in Medford
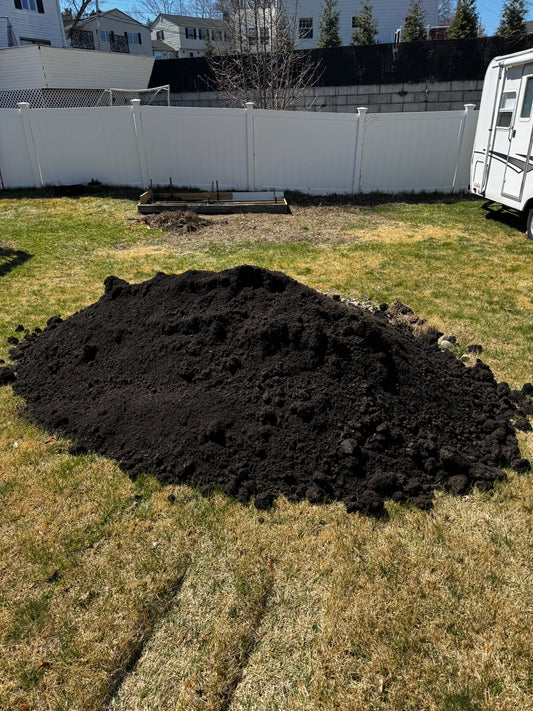
Medford yards — West Medford, Wellington, South Medford, Hillside — sit on glacial till that drains fast and depletes organic matter quickly. The mulch you put down last year isn't trash. It's slowly composting into the top inch of soil, feeding the microbiome, holding moisture against summer drought, and keeping bed temperatures even.
Strip that layer out and you're back to bare clay-loam in April, plus you've raked roots and disturbed crowns in the process. The pros refresh; only beginners replace. The math is also better: a refresh needs 0.3 yards of new mulch where a strip-and-replace needs 1+ yards plus the labor and disposal of last year's layer.
When to Refresh in Medford
Medford's bed soils thaw bed-deep around mid-March. The window:
- Too early (early March): ground still frozen in spots, fluffing tools bounce off.
- Right (mid-March to early April): soil is workable, perennial crowns are visibly pushing, last year's mulch is loose enough to fluff without pulling roots.
- Too late (after April 15): weeds are germinating in any thin spots. Refresh before they take hold.
Pair the refresh timing with the bed edge — most pros recut the edge first (see How to Edge a Newton Mulch Bed Cleanly in Under an Hour), then refresh the mulch face inside the new edge.
What You'll Need
- Hand cultivator or three-tine claw. The fluffing tool. A leaf rake works for open sections but doesn't reach into tight spots between perennials.
- Leaf rake. For smoothing the top after.
- Gloves. Last year's mulch hosts spiders, beetles, and the occasional vole nest.
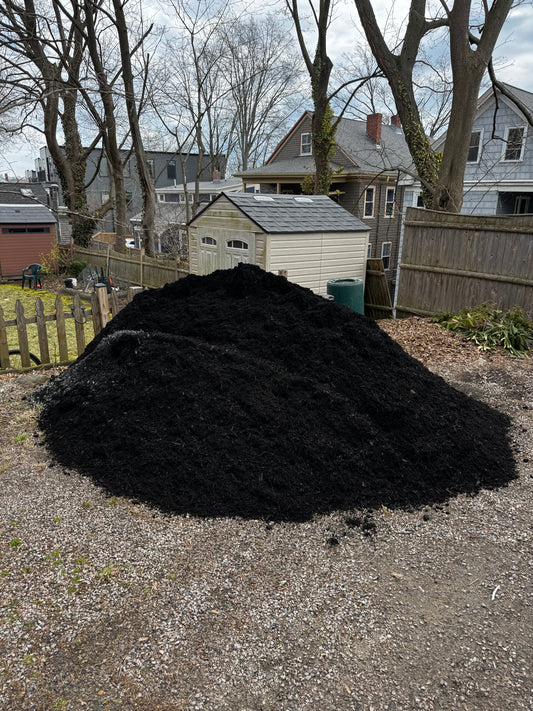
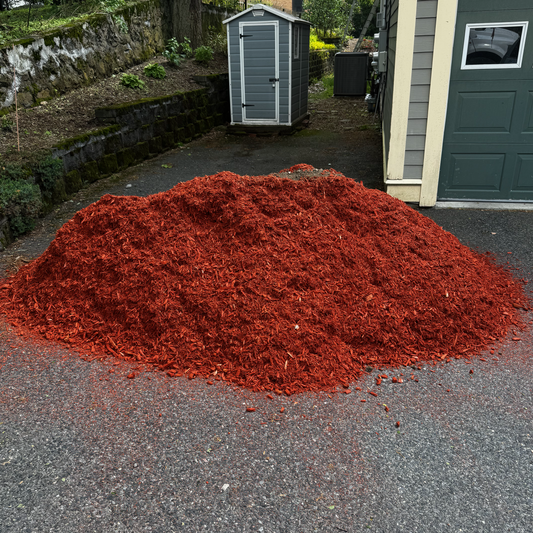
- Wheelbarrow. To stage fresh mulch.
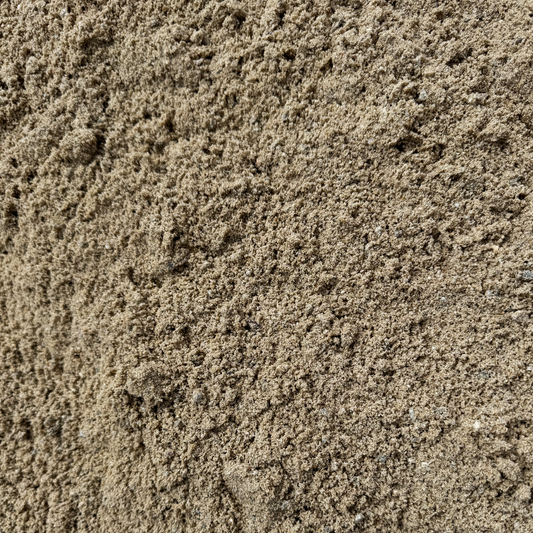
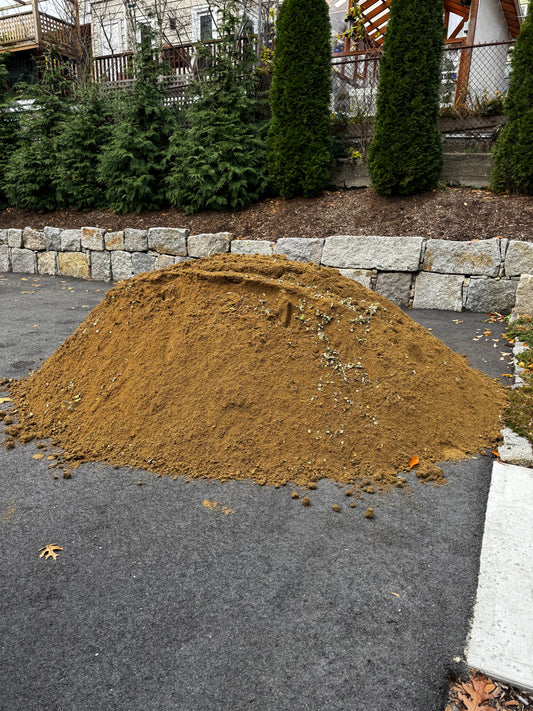
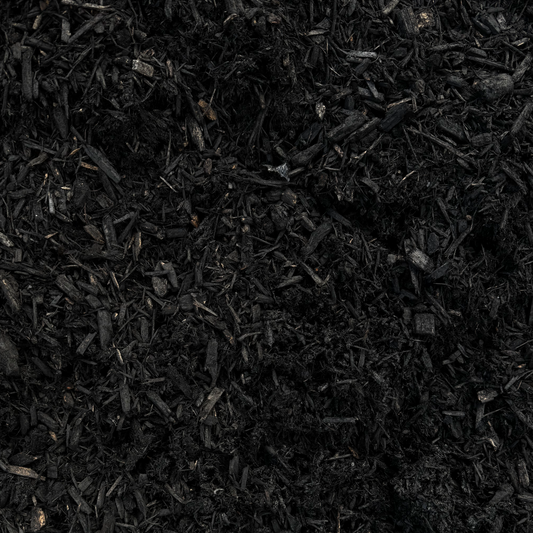
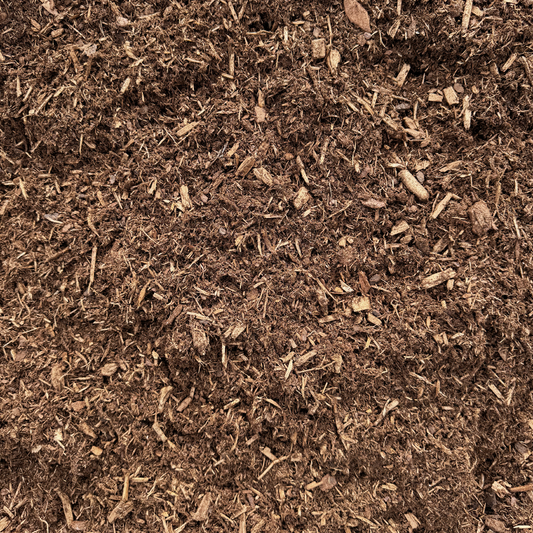
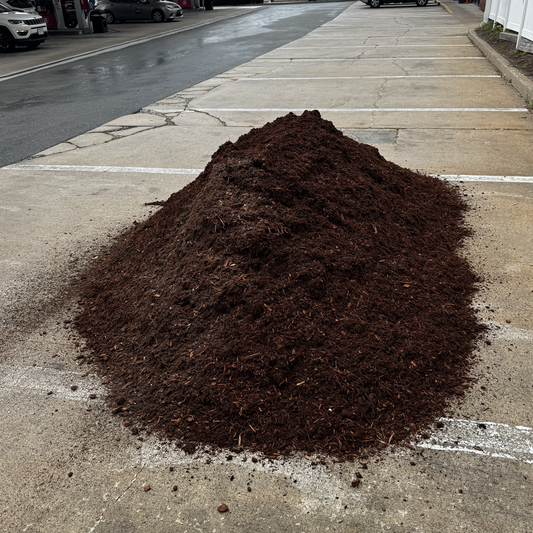
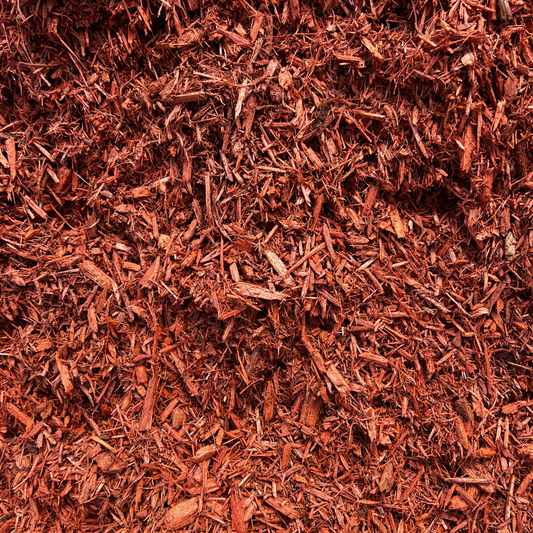
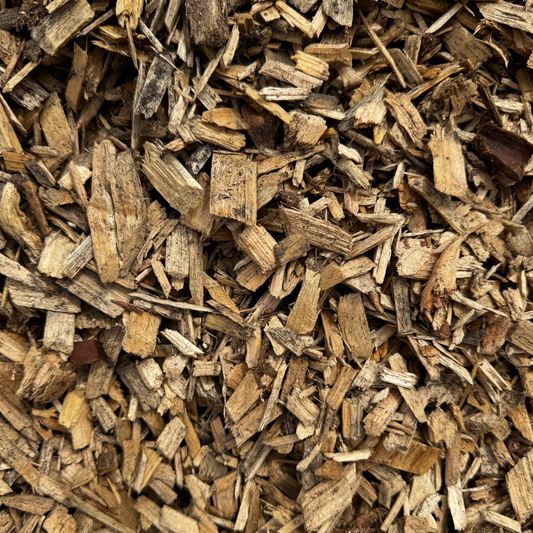
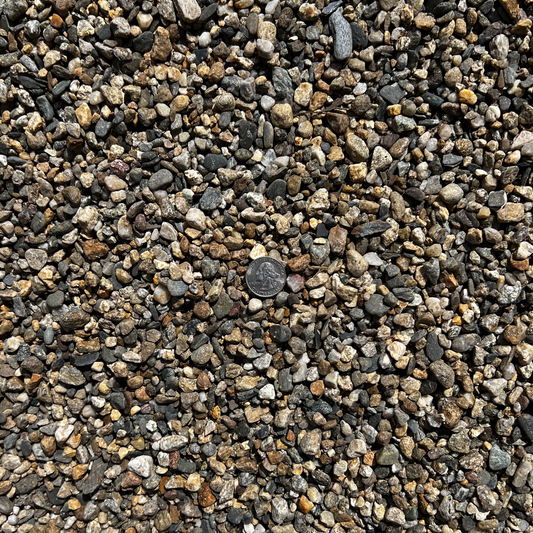
- Fresh hardwood or hemlock mulch. ½ to 1 inch top-up per the math below. Browse the mulch bed refresh collection for the lineup. Skip strip-and-replace mulches like rubber or cocoa.
Step 1 — Assess the Existing Layer (5 minutes)
Walk the bed. Push a finger into the existing mulch in 4–5 spots. Common findings in a Medford bed:
- Last year's 2 inches is now ¾ to 1 inch. Normal — hardwood loses about 50% of its volume to decomposition over a Medford season.
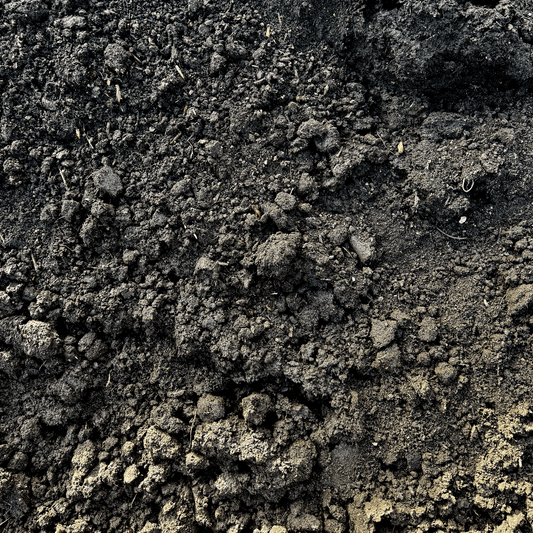
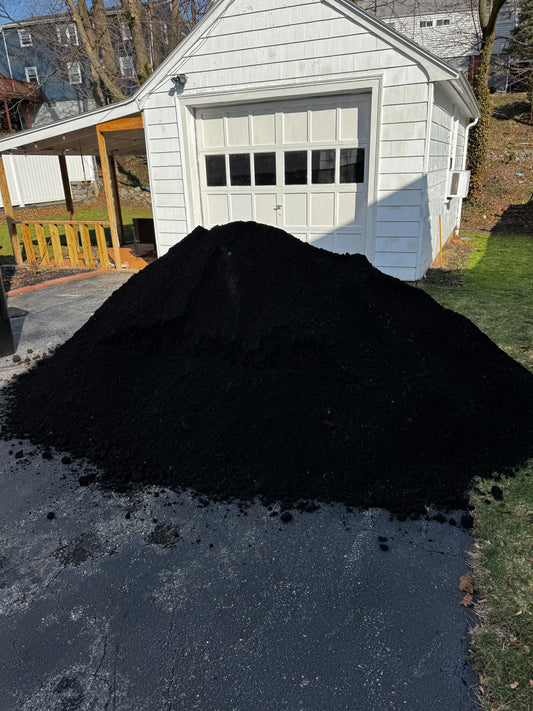
- Color has gone gray-brown even though the original was rich brown or black-dyed. UV bleaches the surface; the underside is still dark.
- A few thin spots where wind, dogs, or kids displaced the mulch. Mostly along the bed edge.
- A handful of weed seedlings poking through. Pull these now while the layer is still loose.
Measure remaining depth in 3 spots. If you've got 1 inch left, you need ½ inch top-up. If ¾ inch left, 1 inch top-up. The math: total target depth is 2 inches per The Two-Inch Rule — refresh brings you back to that, no more.
Step 2 — Fluff the Existing Layer (15–20 minutes)
Work the bed with a hand cultivator. Gentle strokes, 1–2 inches deep, across the entire mulch surface. The fluffing does three things:
- Restores color. The bleached top layer rotates under; the still-dark underside surfaces. The bed looks fresh before you've added a single yard of new mulch.
- Re-aerates the layer. Compacted mulch sheds water; fluffed mulch absorbs it.
- Disrupts weed seedling roots. Any seeds that were just establishing get knocked out.
Critical: stay 6 inches away from any perennial crown. The cultivator pulls roots if it gets too close. Within the crown ring, just fluff with gloved fingers.
For the perennial-specific technique near hostas, daylilies, and peonies, see How to Spread Mulch Without Smothering Brookline Hostas, Daylilies, and Perennials — same crown rules apply in Medford.
Step 3 — Top-Dress with Fresh Mulch (10–15 minutes)
Spread fresh mulch in small wheelbarrow loads. Aim for ½ to 1 inch on top of the fluffed layer. For a 200 sq ft Medford bed at ½ inch top-up:
200 sq ft × 0.5 inches ÷ 324 = 0.31 cubic yards
Round to 0.3–0.4 yards. The full yardage worksheet is in How to Calculate Mulch Yardage for a Quincy Triple-Decker Yard.
Spread by rake in open sections. Switch to gloved hands within 12 inches of any crown. Do not add a full 2 inches on top of last year's layer — that puts you at 3 inches total, which is too deep for established perennials and starts the crown-rot clock.
Step 4 — Smooth and Walk the Bed (5 minutes)
Run a leaf rake lightly across the surface to even out the top. Step back to the sidewalk. The bed should read as a uniform, dark, fresh layer with visible perennial crowns. Touch up thin spots.
If the color isn't quite where you want it after fluffing + ½-inch top-up, the issue is usually that you need 1 inch instead of ½ inch. Add another ½ inch and re-smooth.
Common Mistakes
- Stripping last year's mulch. The single most common Medford-yard mistake. You're throwing away soil-building organic matter and creating extra work.
- Adding a full 2 inches on top of last year. Total now 3 inches; perennials suffocate.
- Fluffing too aggressively near crowns. Pulls roots, damages emerging shoots.
- Mulching before crowns are visible. You'll bury them. Wait for late March visible-shoot stage.
- Mulch volcanoes against tree trunks. ISA / Trees Are Good covers why volcanoes kill trees — keep all mulch (refresh or new) 2–3 inches off the bark.
Medford Neighborhood Notes
- West Medford and Hillside: larger lots with mature established beds. Refresh works perfectly here — these beds have 3–5 years of accumulated mulch decomposition feeding the soil.
- Wellington and South Medford: tighter triple-decker lots, often newer plantings. First-year beds may not need refresh — they need full 2 inches for the first time. Year 2 onward, refresh.
When Strip-and-Replace Actually Makes Sense
Three cases:
- Mulch is matted/anaerobic. A solid black-brown crust that water beads off. Smell like sour wet socks. Strip and replace — that layer has gone wrong.
- Heavy weed infestation. If the bed is more weed than mulch, you're better off pulling everything, sheet mulching with cardboard, and starting fresh.
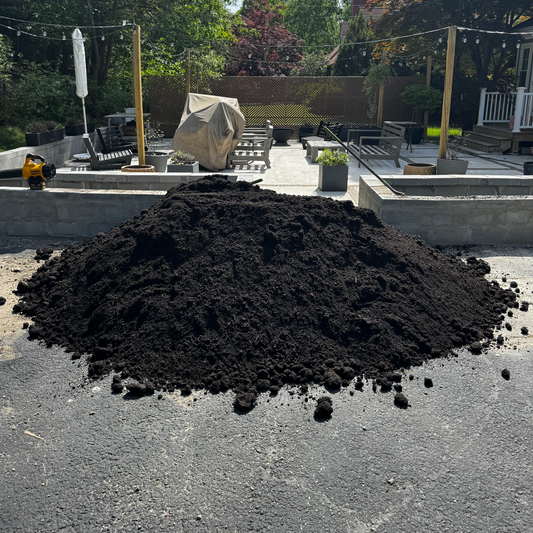
- Color change. Switching from black-dyed to natural brown, or vice versa. Strip the old, lay the new.
For the broader bed-refresh sequence and material picks, see 5 Annuals to Pop Into a Just-Mulched Brookline Bed Without Damaging Roots. For Medford-specific delivery, browse Medford landscape supply.
For broader regional guidance on mulch decomposition and soil-building, UMass Extension Landscape covers mulch best practices for Massachusetts soils.
The short version: fluff first, top-dress ½ to 1 inch, never strip. 30–45 minutes for a typical Medford bed. The plants you established last year will thank you for not disturbing them.


