Quick Answer
To reset a front-yard stone border in a Plymouth Saturday: lift each stone, scrape and re-level the bedding to a uniform 1-inch depth of stone dust, reset the stones tight to each other with a rubber mallet, top-dress with mulch behind the line, sweep clean. Total job for a 50-foot border: 4 hours. The border reads as new, the bed line is crisp, and the work is done in time for Memorial Day weekend.
Why May 16 Is the Right Saturday
In Plymouth — White Horse Beach, Manomet, Cedarville — front-yard stone borders settle over winter. Frost heave pushes stones up unevenly. Spring rains wash stone dust out from under them. By mid-May, the line that looked sharp last fall reads sloppy from the street.
Resetting before Memorial Day weekend gives the front yard a clean baseline for the BBQ-season month ahead. The work is straightforward, low-skill, and pays off visually for the rest of the season.
For the broader walking-path side of decorative stone, see How to Build a Walking Path in Marshfield with Bluestone or Pavers. For patio-plant pairings that finish the look, see 5 Patio Plants That Survive a Full Quincy Summer.
Materials
For a typical 50-foot front-yard stone border:
- Existing stones (lift, clean, reset)
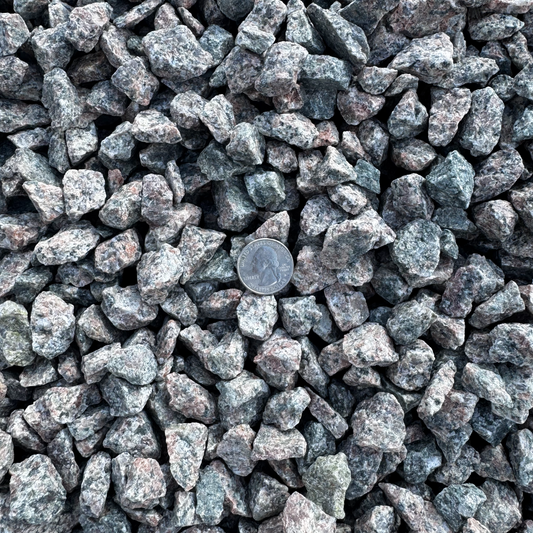
- 5–10 replacement stones — for any cracked or significantly chipped pieces
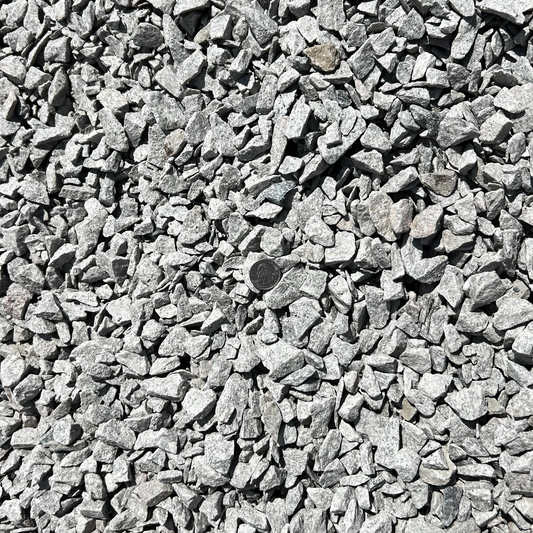
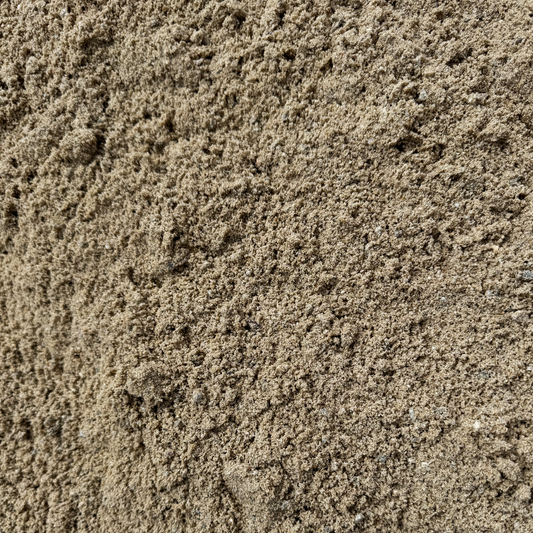
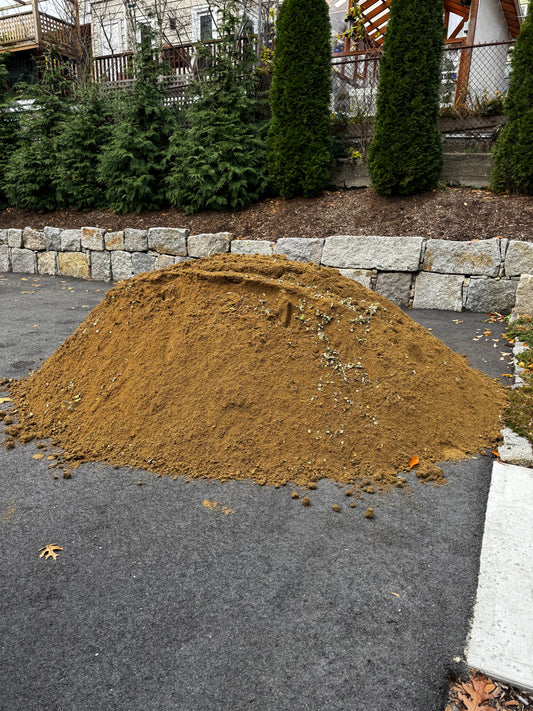
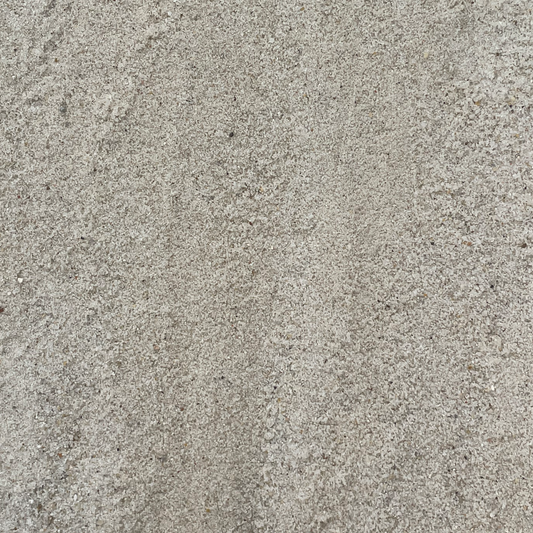
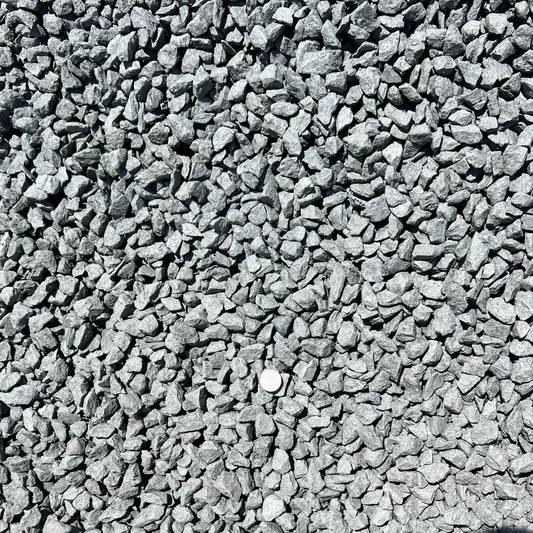
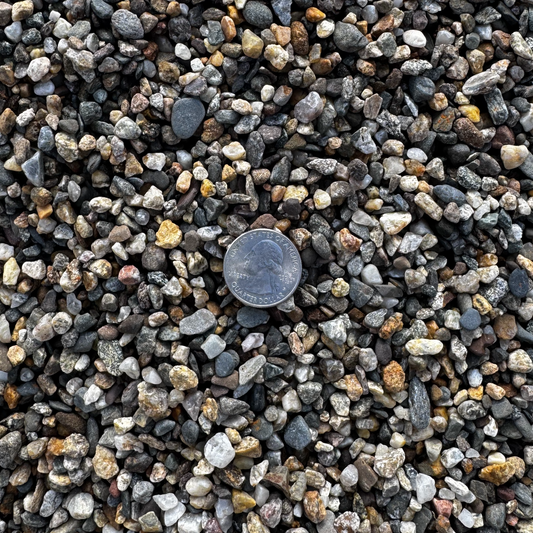
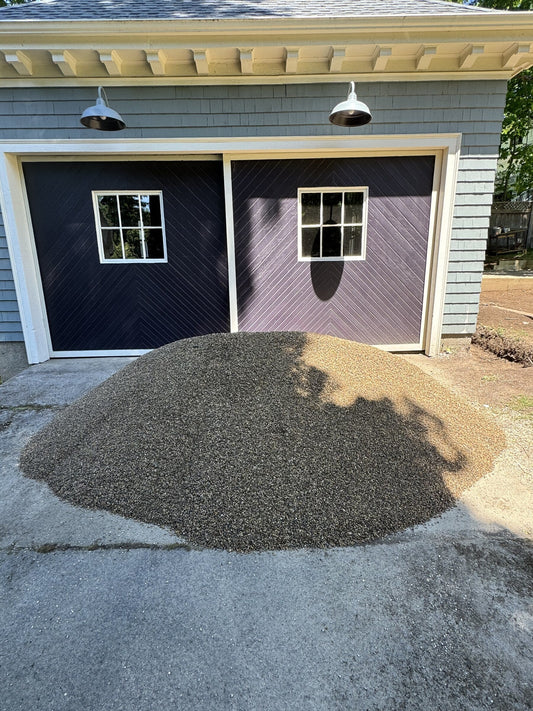
- 1/4 cubic yard 1/4" stone dust or coarse sand — fresh bedding
- 50 ft landscape fabric (optional, helps weed suppression behind the line)
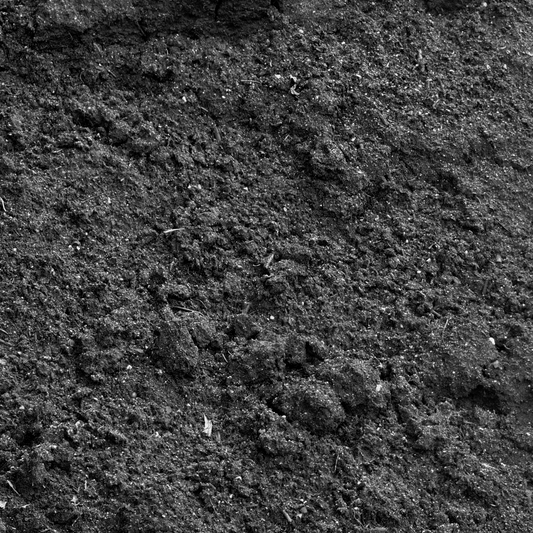
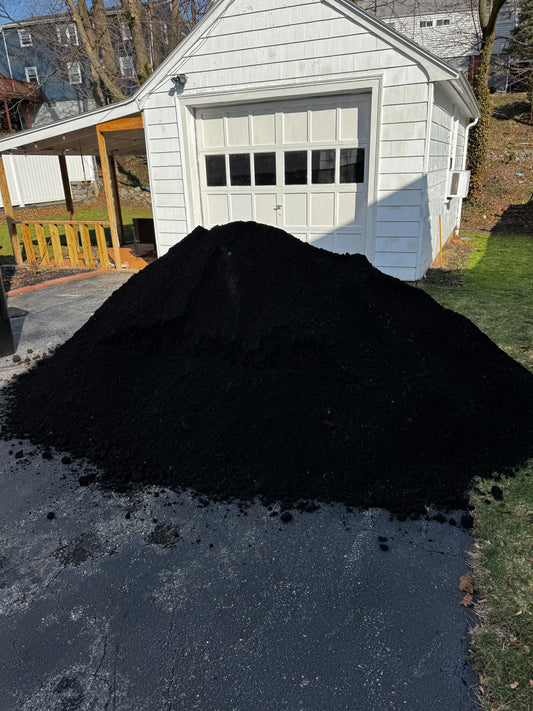
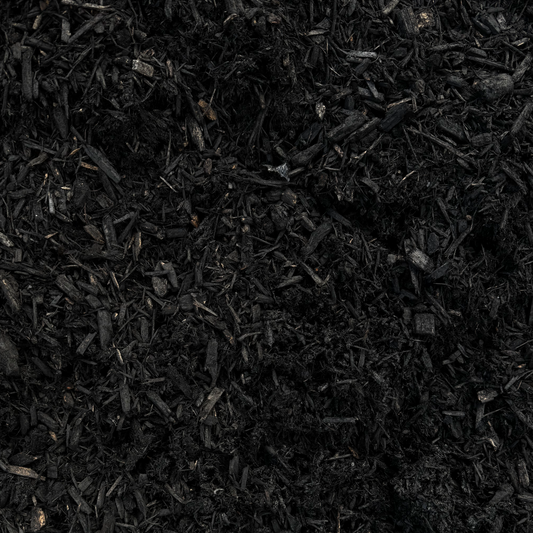
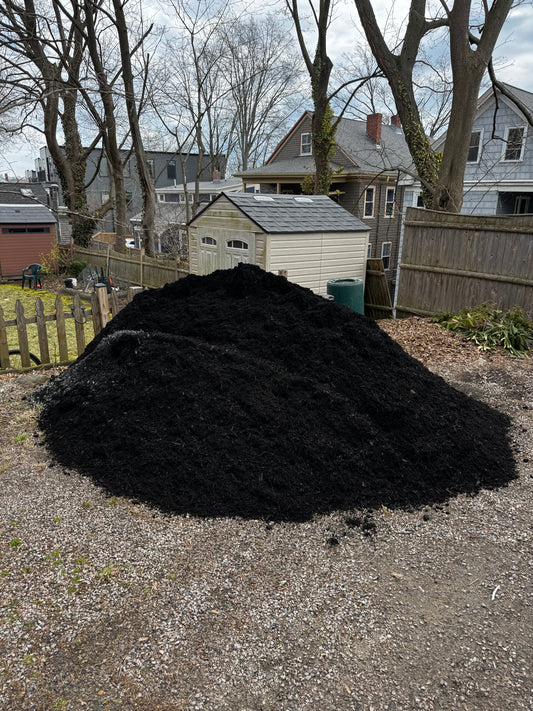
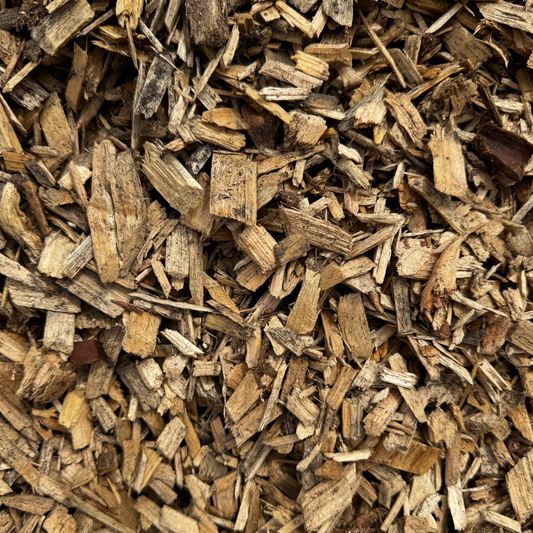
- 1 cubic foot mulch — to refresh behind the line after the reset
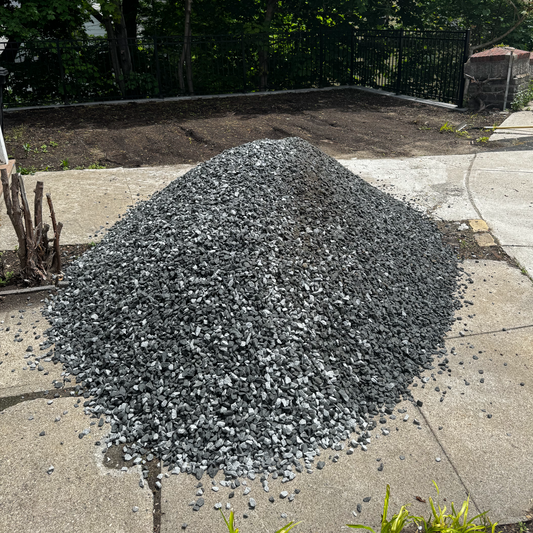
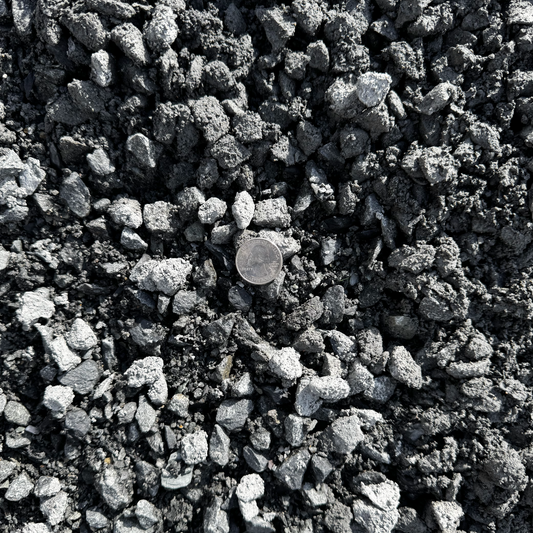
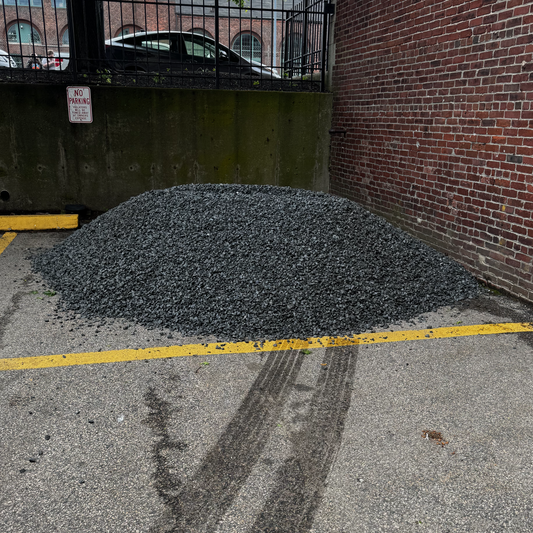
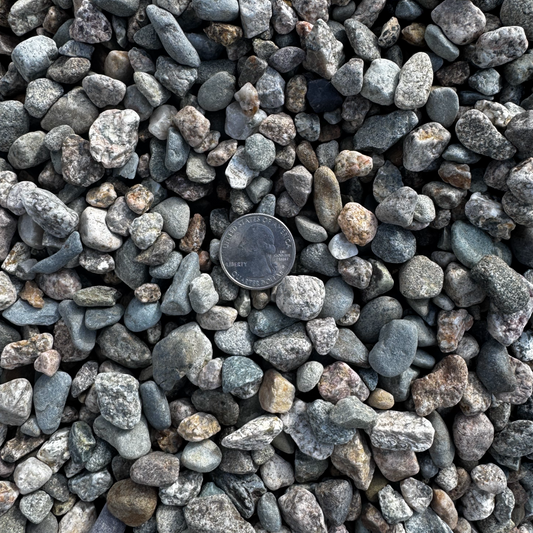
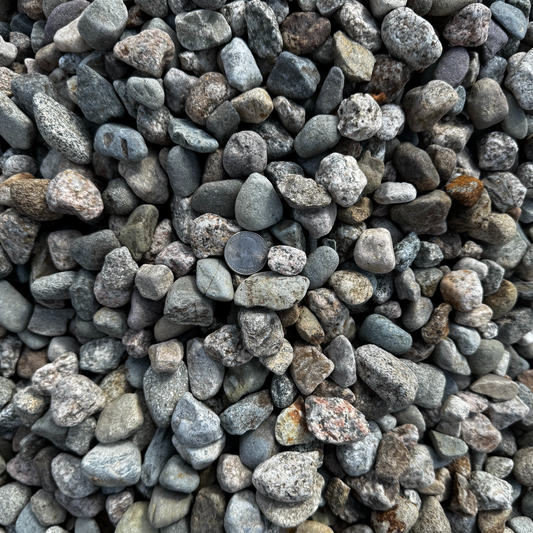
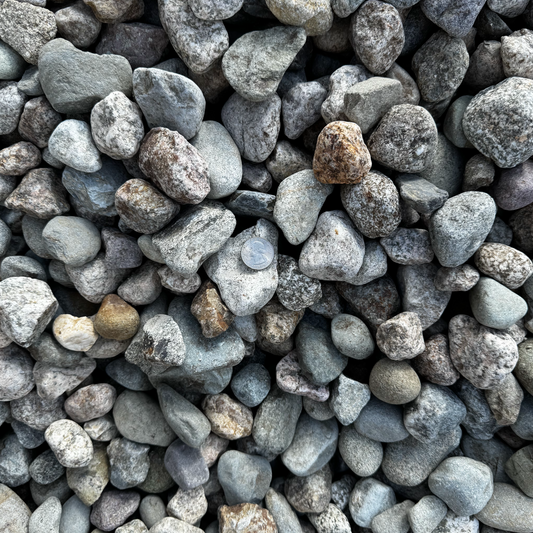
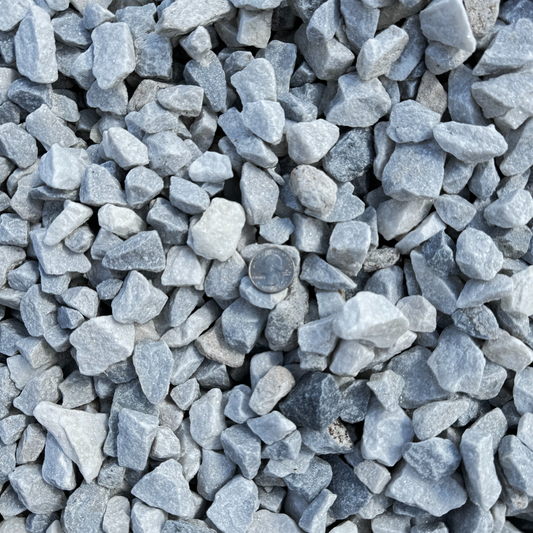
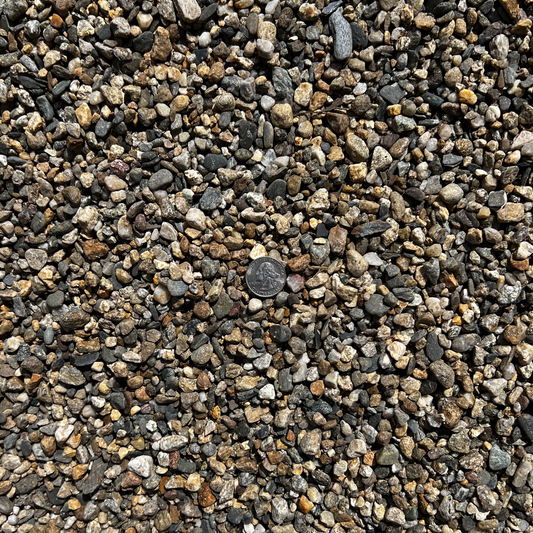
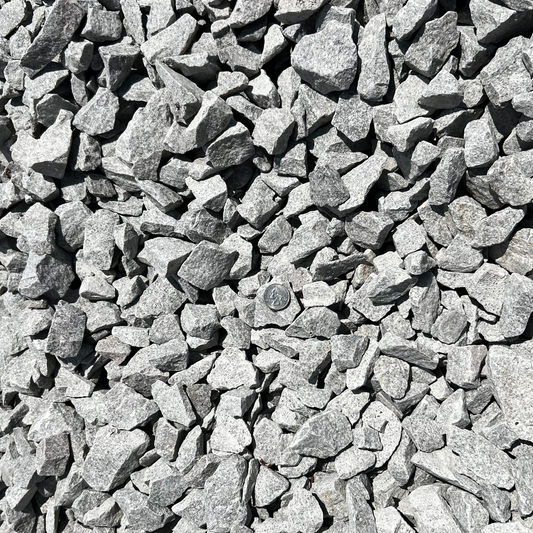
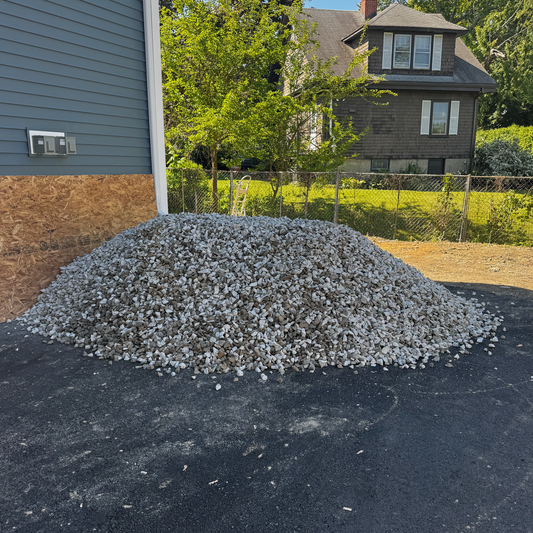
Browse the decorative stone collection for replacement stones and bedding sand by the cubic foot. The ICPI hardscape guidance has the technical spec for stone-bedding depth and bedding-material selection.
Step 1: Walk the Line and Mark the Damage (15 min)
Coffee in hand, walk the border. Mark:
- Stones that are visibly tilted or sunken — most common cause of bad-looking borders
- Cracked or chipped stones — replace these
- Gaps between stones — usually means a stone has migrated, or bedding has washed out
- Spots where weeds are pushing through — fabric or fresh stone dust will help
Use spray chalk or garden flags to mark each damage point. Total typical Plymouth front border damage: 6–12 spots in 50 feet.
Step 2: Lift the Damaged Stones (45 min)
Work in 5-foot sections. Use a garden spade to pop each stone free of the bedding. Set lifted stones on the lawn or in a wheelbarrow — do not stack high (chipping risk).
For stones that won't lift, hammer-and-chisel out the bedding from below. Some old borders have stones half-buried in compacted soil — they need a stronger pry.
Step 3: Scrape the Old Bedding (30 min)
Use the spade to scrape the old bedding flat. Remove root mats, weeds, and any compacted soil that's pushed up.
The goal is a smooth, level trough about 2 inches deep, ready for fresh bedding. Don't dig deeper than necessary — too deep means more bedding material and more settling later.
Step 4: Lay Landscape Fabric (Optional, 20 min)
For borders with persistent weed-through problems, lay a strip of landscape fabric in the trough before bedding. Cut to width with scissors. Overlap seams by 6 inches.
This is the right Plymouth Saturday upgrade — fabric adds 30 minutes now and saves 2 hours of weeding over the next 5 years.
Step 5: Spread Fresh Bedding (30 min)
Pour stone dust or coarse sand into the trough. Spread to a uniform 1-inch depth using a 4-foot level or a flat board. Rake smooth.
The bedding must be level to make the stones level. Sloppy bedding produces sloppy stone lines. Take 2 extra minutes here to save 20 minutes of re-fiddling later.
For the bedding-sand question at depth, see Ottr Mason Sand vs Coarse Sand for a Medford Walkway Set Test — same principles apply to border bedding.
Step 6: Reset the Stones (45 min)
Place each stone back in position. Tap with the rubber mallet to seat. Use the 4-foot level across multiple stones to confirm a consistent top line.
Tight to each other — no gaps. Adjusting the bedding under one stone by 1/4 inch is faster than trying to close a gap by sliding stones together.
For corners or curves, slightly trim the bedding low under the inside-curve stones so they read parallel to the curve direction.
Step 7: Sweep In and Brush Off (15 min)
After all stones are seated, brush a thin layer of stone dust into the joints between stones. Sweep off the stone surfaces. The dust in the joints helps lock stones in place.
For polymeric joint sand on stones that get more foot traffic (steps, threshold areas), see How to Refresh a Cambridge Brick Walkway After a Holiday Weekend — same polymeric-sand technique.
Step 8: Mulch Behind the Line (20 min)
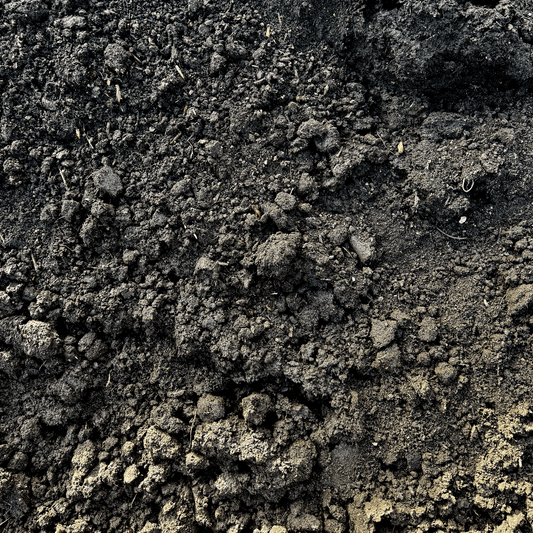
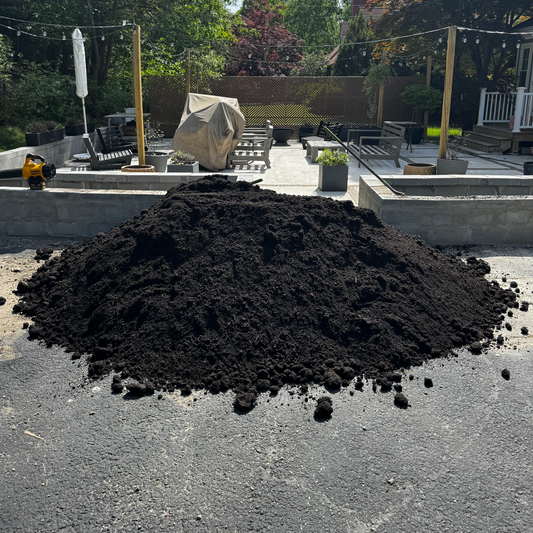
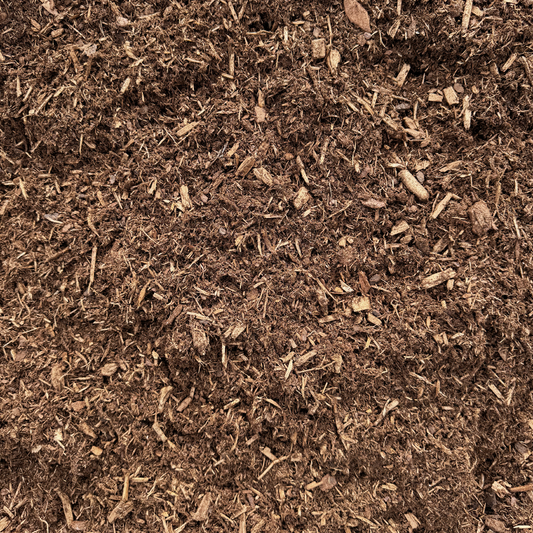
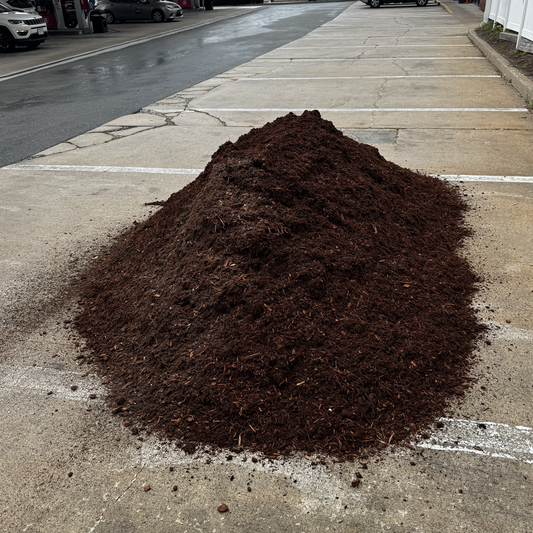
Walk the bed-side of the border with a wheelbarrow of fresh hardwood mulch. Top-dress to a 2-inch total depth in any thin spots, refreshing the visible mulch line behind the stones.
For the broader mulch-refresh question in May, see Is It Too Late to Mulch in May? A Plymouth County Q&A. For the contractor scheduling that pays off on similar Memorial Day-prep jobs, see Memorial Day Weekend Crew Schedule: A Brockton Contractor's Playbook.
Common Plymouth Stone-Border Mistakes
Skipping the level check. Stones look "close enough" while crouched; the top line reads tilted from the street.
Reusing washed-out bedding. Old bedding has lost the fines that help compaction. Fresh stone dust is cheap; reuse only if it's clean and dry.
Mulch piled against stone faces. Mulch should sit below the stone top, not piled against the face. Piled mulch holds moisture against the stone and stains light-colored stones.
For the broader UMass-Extension landscape calendar on May tasks across MA, see UMass Extension Landscape.
What This Means for You
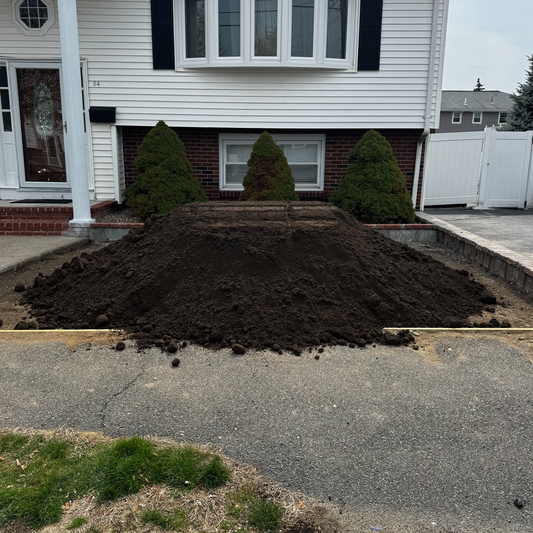
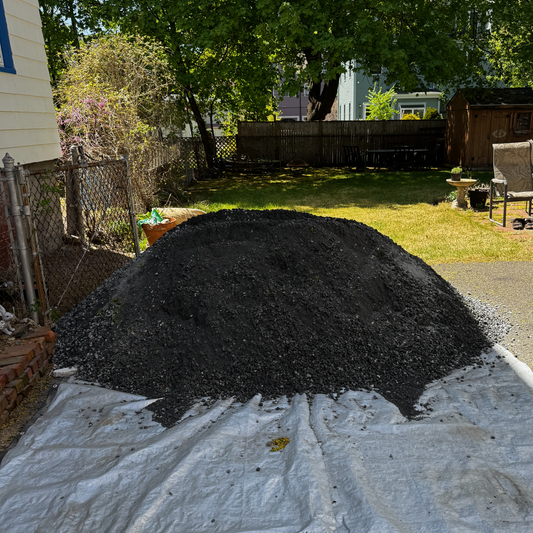
4 hours on a Saturday, $40 in fresh stone dust and mulch, and the Plymouth front border reads as new for Memorial Day weekend. Order delivery through the Plymouth landscape supply routes — Ottr drops stone dust and mulch by the cubic foot or yard.