


Quick Answer
Cambridge side yards (Cambridgeport, Inman Square, Riverside) usually run 36–60 inches wide between house and fence. A stepping-stone path through one needs a real base or it sinks within two winters. The spec: excavate 6" at each stone, geotextile fabric, 4" compacted 3/4" processed gravel, 1" stone dust setting layer, stone set and leveled with rubber mallet. A 30-foot path takes one Saturday and roughly 0.5 cubic yard of base material plus 12–15 steppers. Below: the technique that keeps stones level for a decade.
Why Cambridge Side Yards Are the Hardest
Three issues. The space is narrow (often 4 feet or less between house and fence). The soil is heavily compacted construction fill from when the houses went up 80–120 years ago. And there's near-zero working room — you can't bring in a wheelbarrow easily, can't stage materials, can't run a power compactor without disturbing neighbors.
A stepping-stone path is the right answer because it requires only point excavation (one stone footprint at a time), no heavy equipment, and the gaps between stones can stay grass, groundcover, or pea stone for drainage and aesthetics.
Materials and Tools
- 12–15 bluestone steppers (18–24" across, 2–3" thick) for a 30-foot path with 24" centers. Or fieldstone for a more rustic look — see 5 Stones for a Marshfield Backyard Walking Path That Won't Wash Out for the comparison.
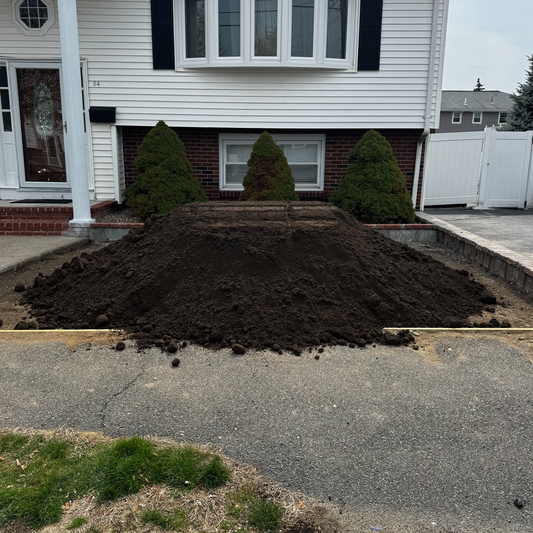
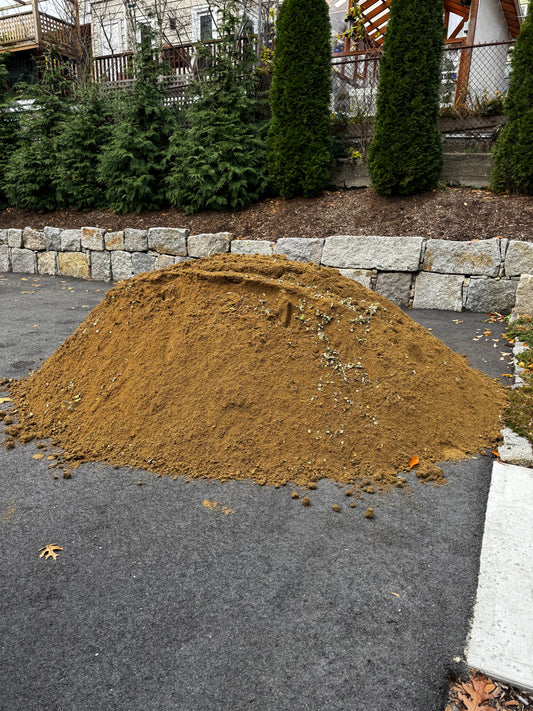
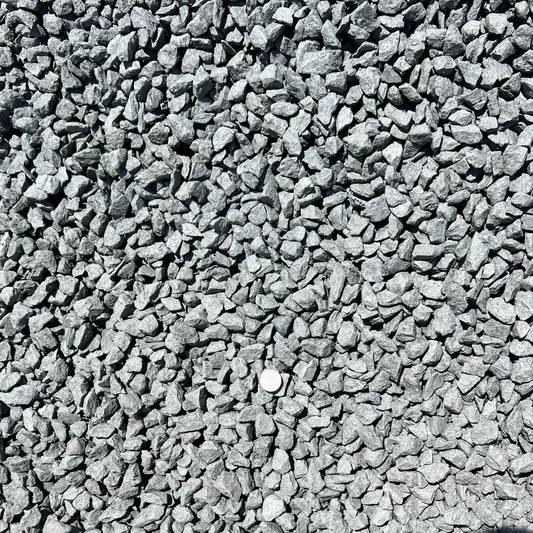
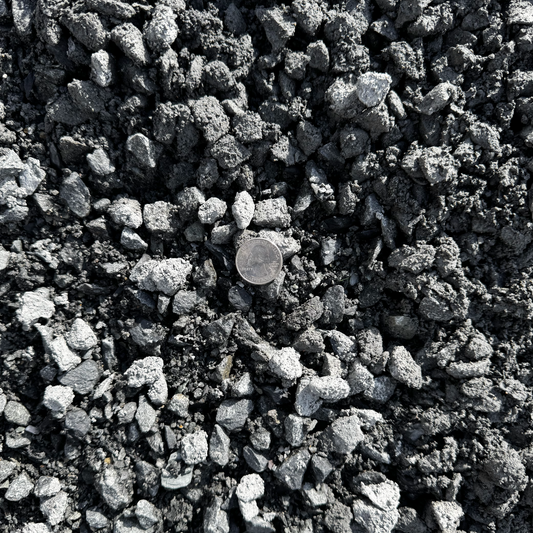
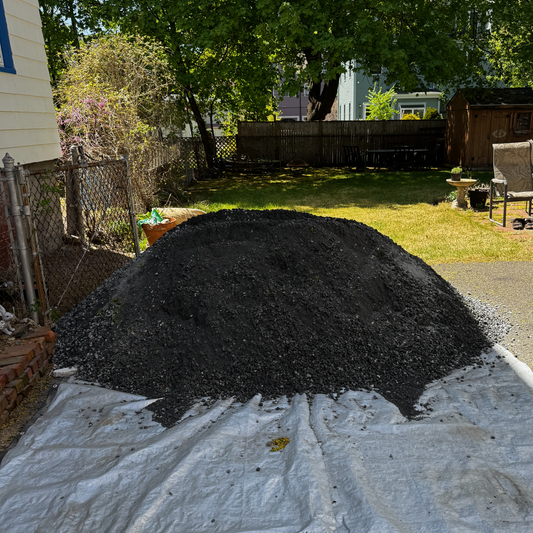
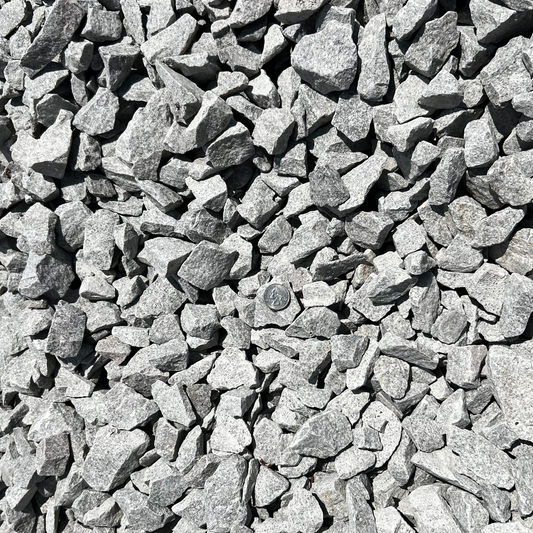
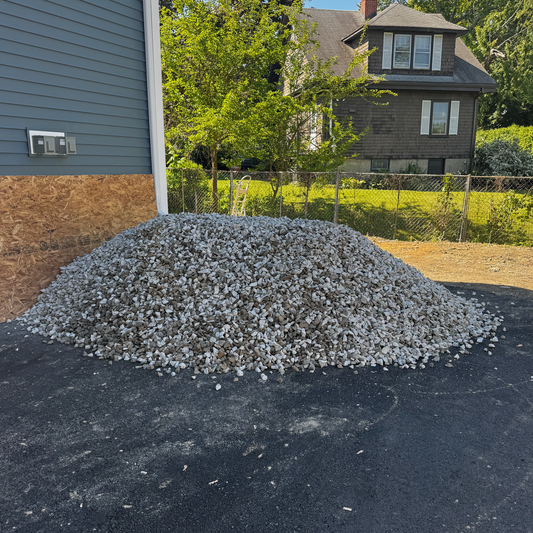
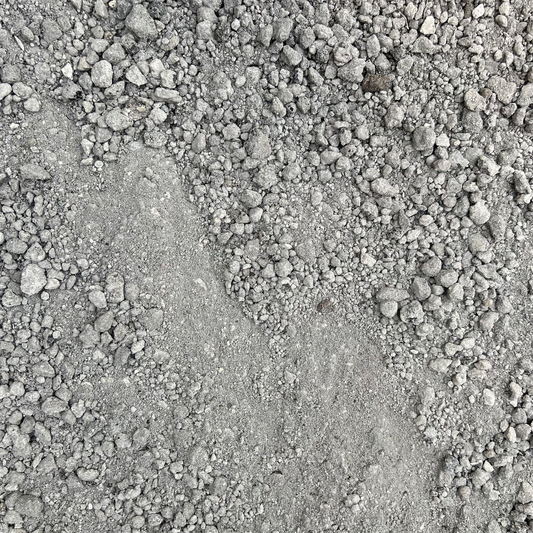
- 0.5 cubic yard of 3/4" processed gravel (base layer)
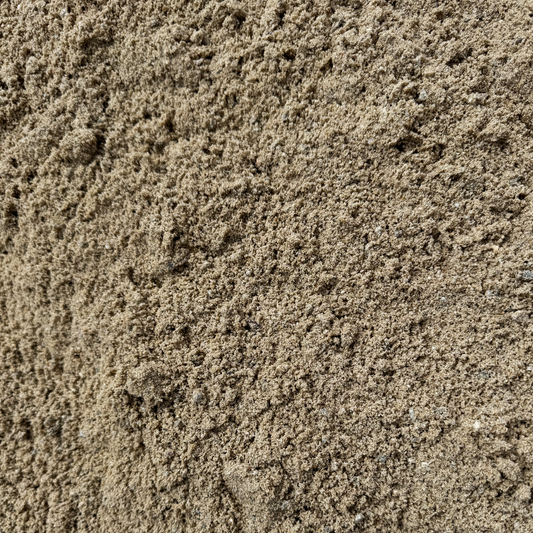
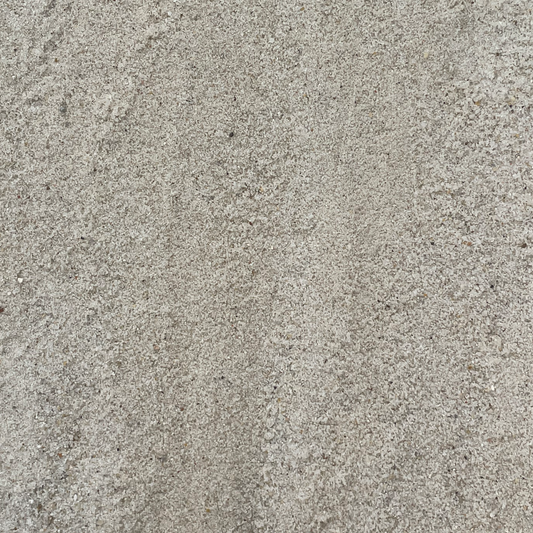
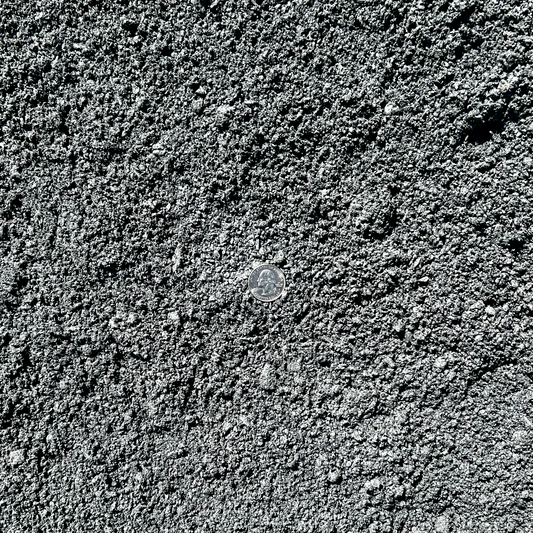
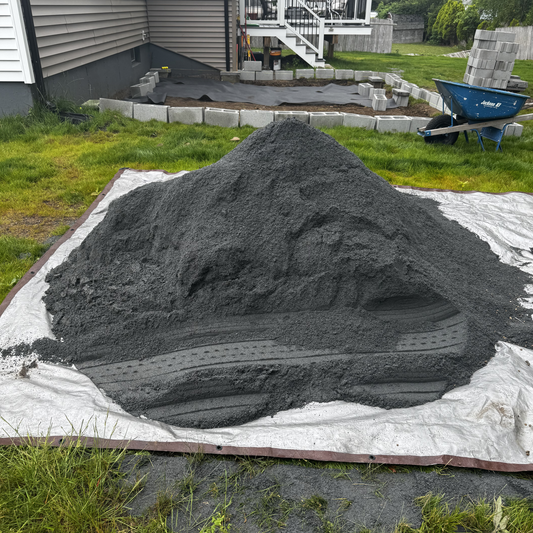
- 0.2 cubic yard of stone dust (setting layer)
- Geotextile fabric (one 50-foot residential roll)
- Round-point shovel, hand tamper, rubber mallet, 4-foot level
Order base materials through the Patio & Walkway Base collection; steppers through the Decorative Stone collection. For Cambridge delivery on small loads, the Cambridge Landscape Supply page handles same-week scheduling.
The Steps
1. Walk the path and mark stone positions
Walk the side yard naturally between the two endpoints (back gate to driveway, deck to garden, etc.) at a comfortable stride. Drop a small flag or rock where each foot lands. Adjust spacing to 24–28 inches center-to-center — the natural human stride. Avoid the trap of evenly spaced stones at 18" or 36" centers; both feel awkward.
2. Excavate each footprint
At each marked stone position, excavate 6 inches deep, slightly larger than the stone footprint. You're not digging a continuous trench — you're creating point footings.
3. Lay geotextile
Cut a geotextile square slightly larger than each excavation. Press it down into the hole. The fabric prevents the gravel base from migrating into the surrounding soil and prevents weeds from growing up through the base.
4. Add the gravel base
Fill each excavation with 3/4" processed gravel to 2 inches below finished grade. Compact with a hand tamper. The base should be level and firm — if you can drive a heel into it and leave a print deeper than 1/4", compact more.
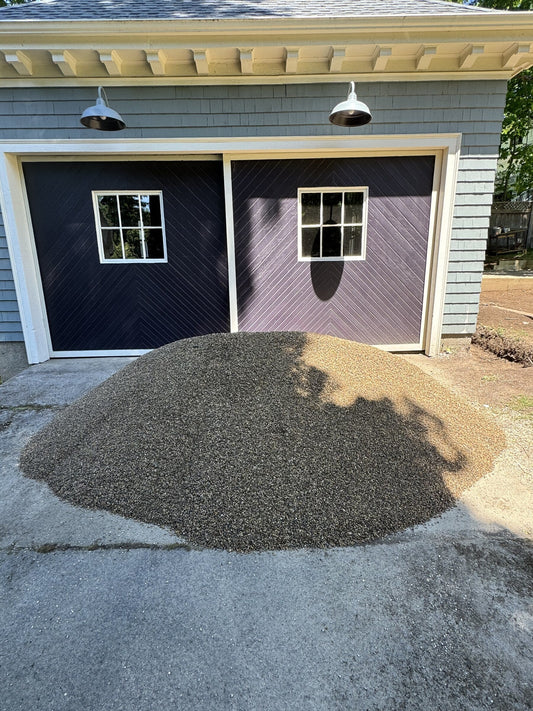
5. Add the stone-dust setting layer
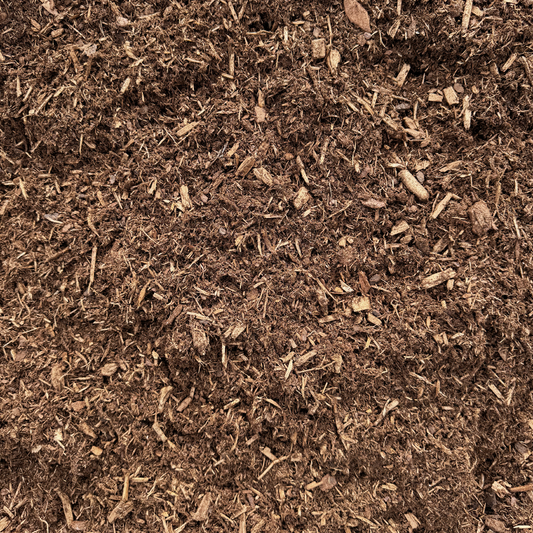
Spread 1 inch of stone dust over the compacted gravel. This is the forgiving layer that lets you tap each stone level without fighting the harder gravel underneath.
6. Set and level each stone
Place the stone, press down. Use a 4-foot level across the stone (not just on it — the level should bridge to the previous stone). Tap with a rubber mallet to adjust. Goal: each stone level individually, and roughly continuous in elevation with neighbors. Slight variations are normal and look natural.
For 30-foot paths or longer, check elevations every 5–6 stones with the level running back to the start. Drift is a real problem on long runs.
7. Backfill around the stones
Three options for the gaps:
- Stone dust — clean, easy, suppresses weeds, won't interfere with rain drainage.
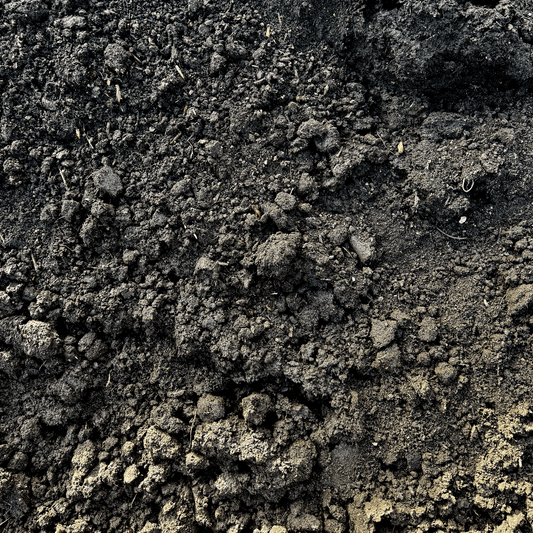
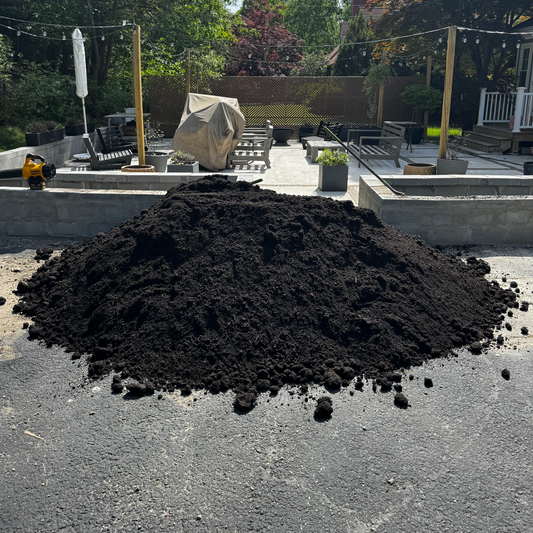
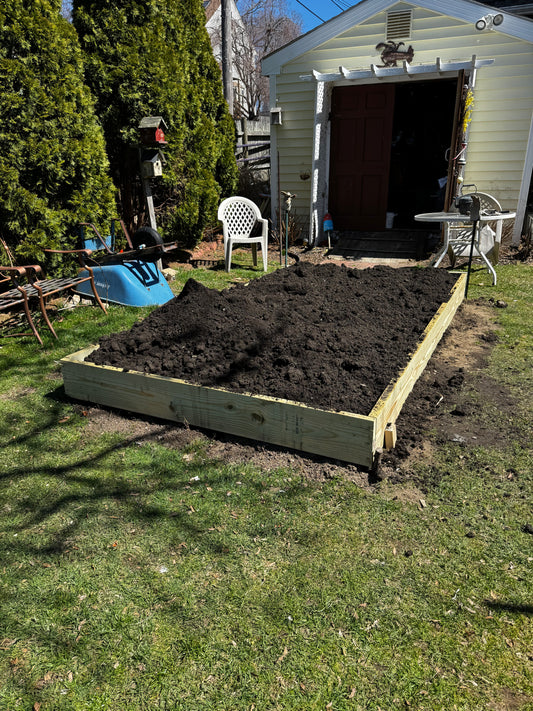
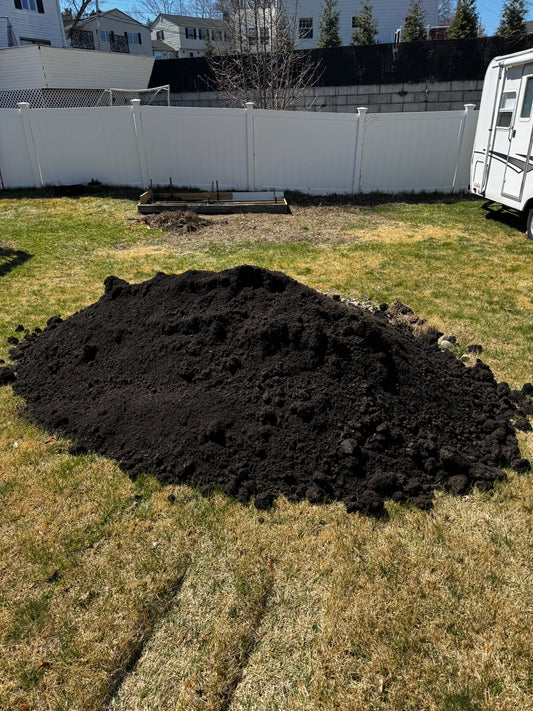
- Topsoil and creeping thyme or moss — softer aesthetic, fills in over a season.
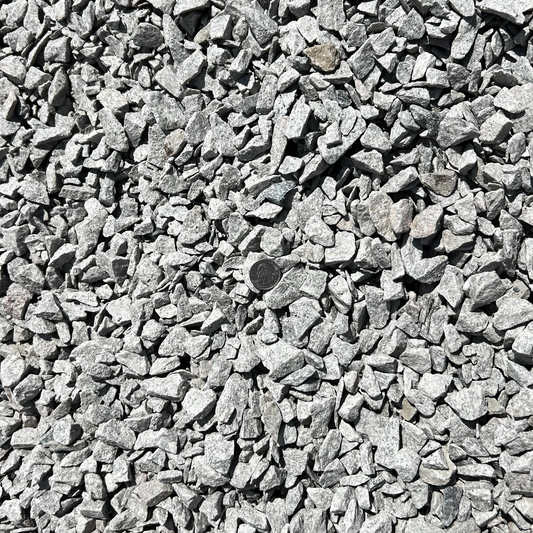
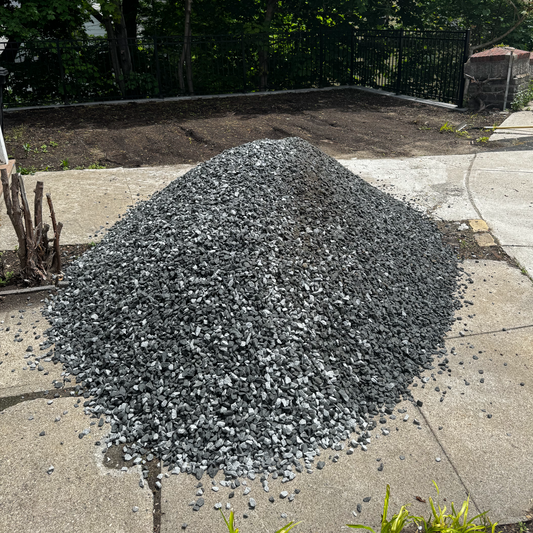
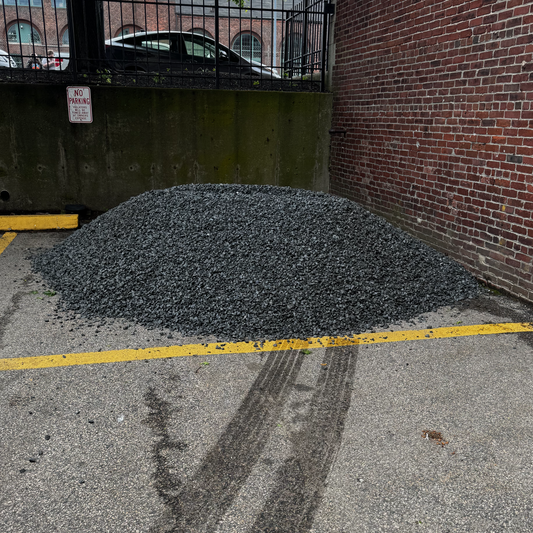
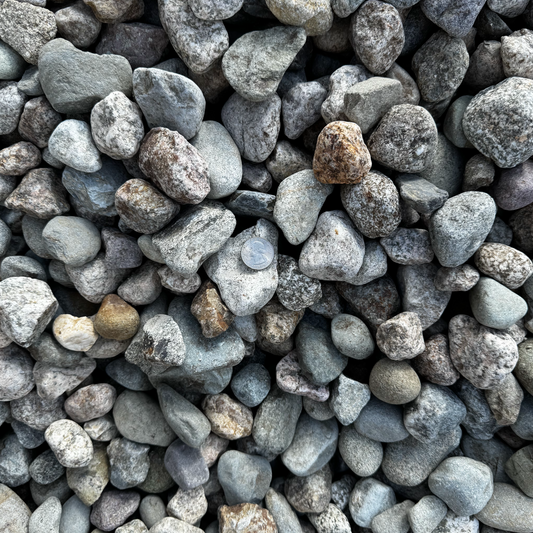
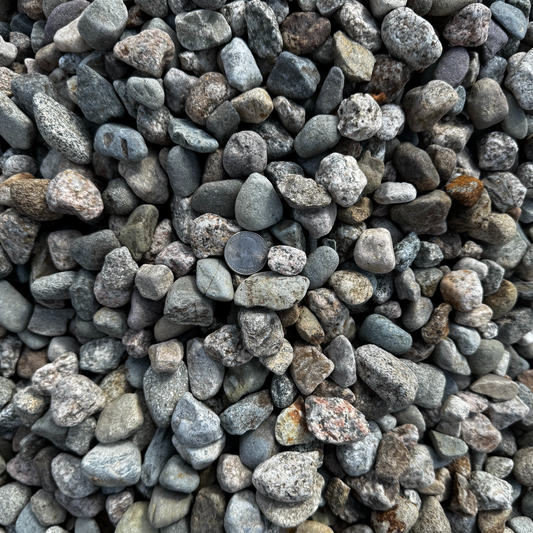
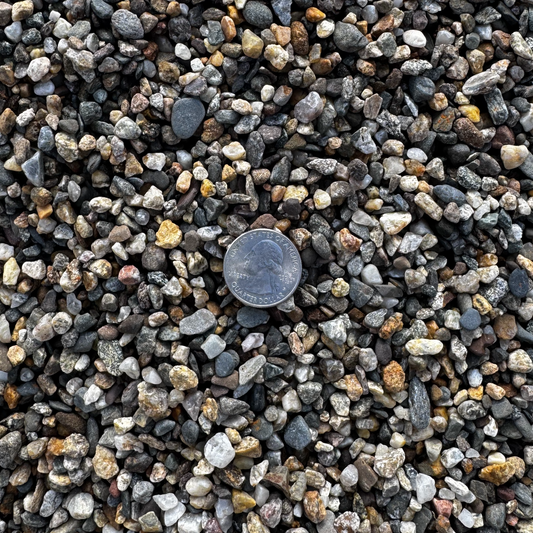
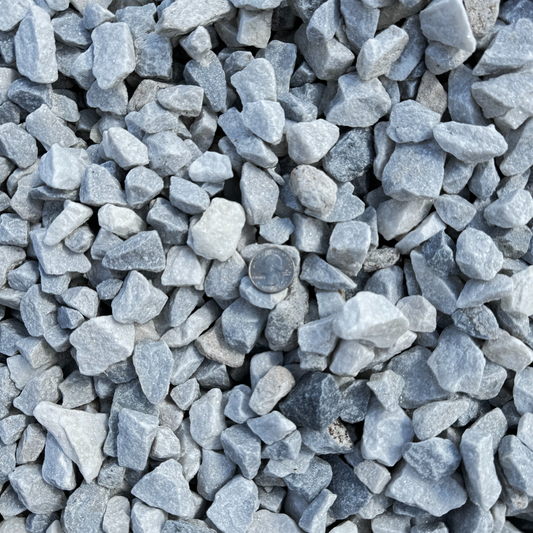
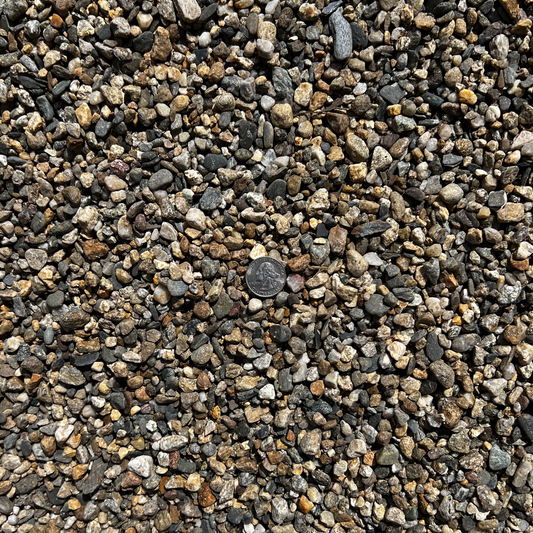
- Pea stone — drains beautifully, complements the steppers, low-maintenance. Available in the Decorative Stone collection.
For decorative-stone framing of the path edges, 5 Decorative Stones That Anchor a Brookline Front Walk Without Looking Busy has compatible options.
What to Watch the First Year
Spring: Stones may have heaved 1/4–1/2 inch from frost. Lift, add or remove stone dust, re-set. Normal.
Summer: Settling shows up as low spots after heavy rain. Same fix — lift, add dust, re-set.
Fall: Inspect once. The path should be stable by year two with minor adjustments.
Year 2 and beyond: Stable if the base was right. If stones rock or sink consistently, the gravel base wasn't deep enough or wasn't compacted properly.
How This Compares to Other Path Approaches
For a continuous-surface walk (paver or cut bluestone in a tight pattern), the spec is heavier — see 5 Walkway Base Materials Compared for a Belmont Front Yard for the full continuous-walk base spec. For a path through a wet or drainage-problem zone, the stepping-stone variant in 5 Drainage Fixes a Stoneham Homeowner Can Tackle With One Pallet of Stone #5 covers the wet-zone variant.
For ICPI's residential walkway guidance, a stepping-stone path is technically a "stepping stone walk" — distinct from the continuous-surface specs but using the same base principles. UMass Extension Landscape covers MA-specific drainage considerations.
Where to Order in Cambridge
The Patio & Walkway Base collection has gravel and stone dust by the cubic yard. Steppers in the Decorative Stone collection. Cambridge same-week delivery through the Cambridge Landscape Supply page.


