


Quick Answer
A Newton patio base that won't heave needs 6 inches of compacted ¾-inch Dense Pack crushed stone over a woven geotextile, on subgrade dug 12 inches below finished patio elevation, with a 1.5% slope away from the house and 1 inch of bedding sand on top. The whole assembly: 12 inches of excavation, geotextile, 6 inches of stone in 2-inch lifts compacted with a plate compactor, 1 inch of bedding sand screeded flat, then pavers. Skip a layer or shortchange the depth and Newton's freeze-thaw destroys the patio in 3 winters.
Why Newton Patios Heave
Newton sits on glacial-till and clay-loam soils with a frost line of about 48 inches in the coldest winters. Water held in the soil under a patio freezes, expands, lifts. Without a properly draining base, the lift is uneven — pavers tilt, joints open, the whole patio reads as "settled" by year 4.
The fix is structural: a base layer that drains water laterally before it freezes, sits on a stable subgrade, and compacts to a density that doesn't shift under load. Done right, a Newton patio holds true for 15–25 years. Done wrong, you're rebuilding in 5.
This article covers the base. For the broader spring sequence — when to schedule, how Newton freeze-thaw differs from coastal Plymouth County — see Pavers, Bluestone, or Concrete: Which Hardscape Survives a Norfolk County Winter Best?.
What You'll Need
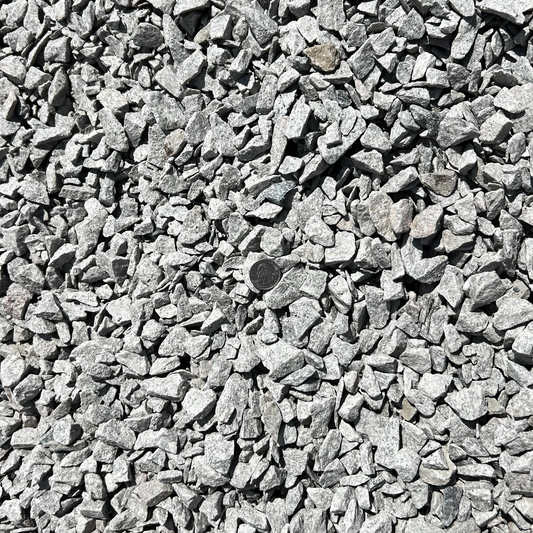
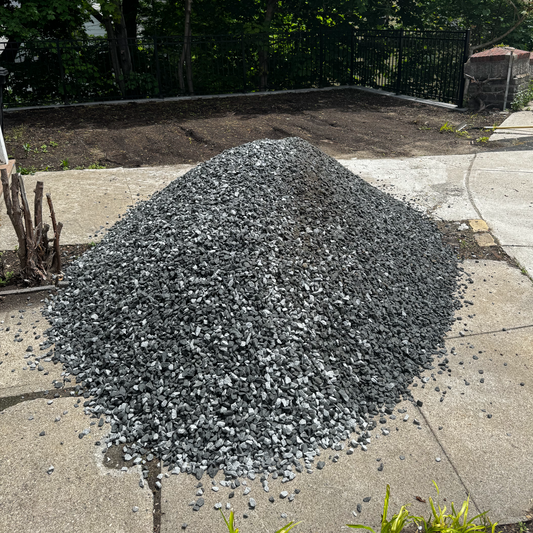
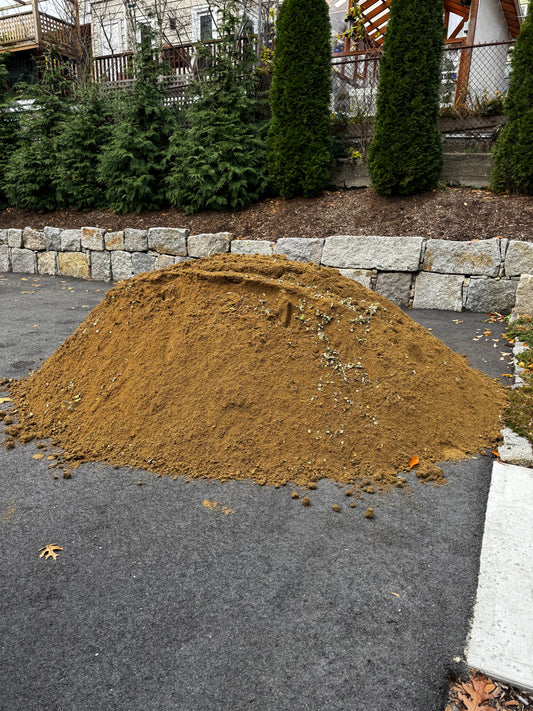
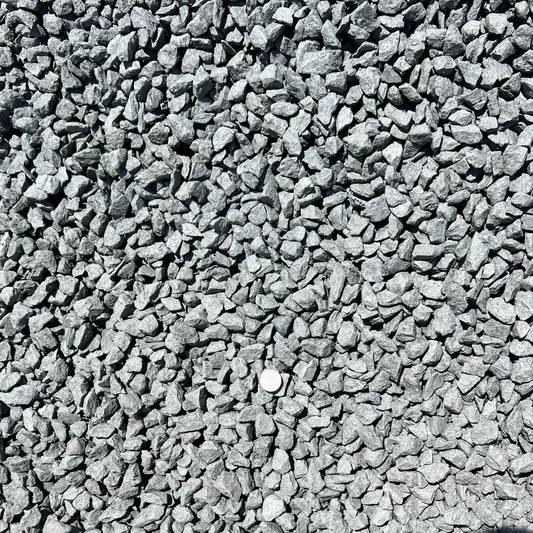
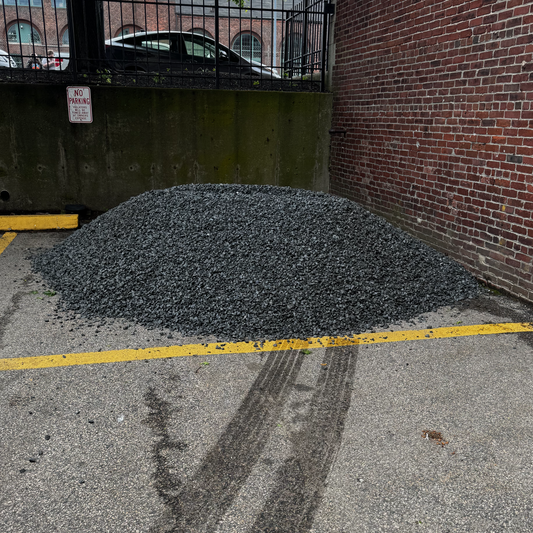
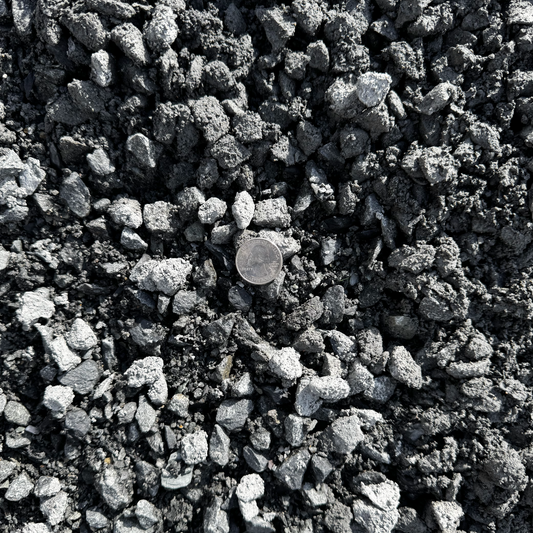
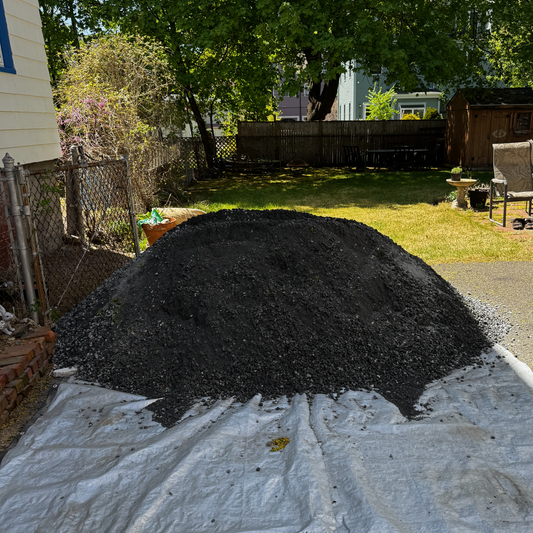
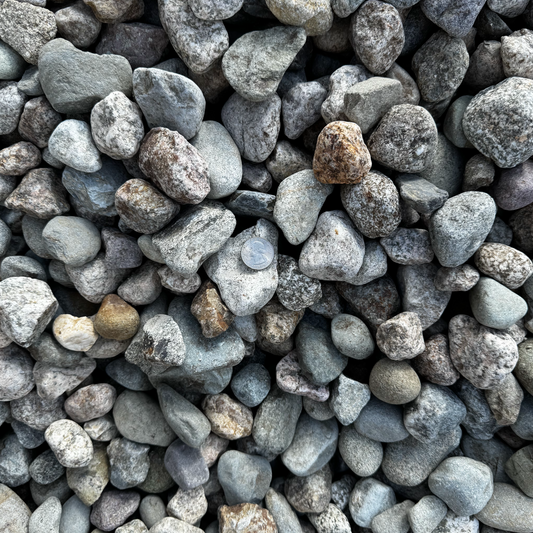
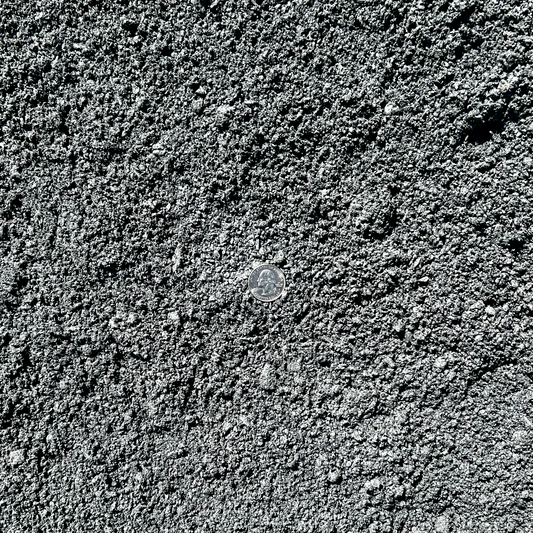
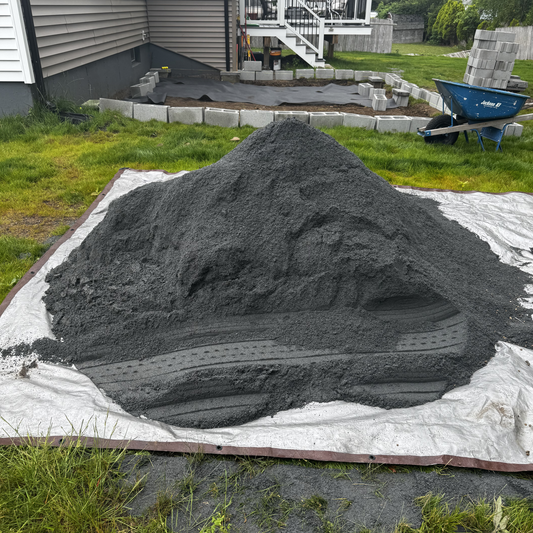
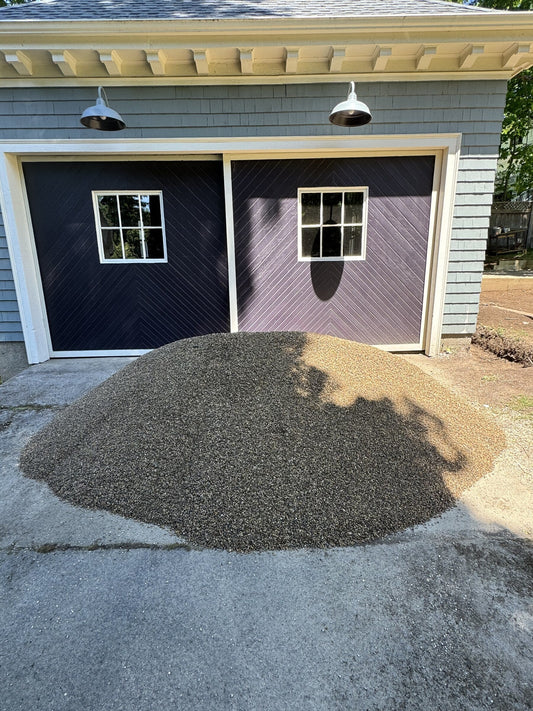
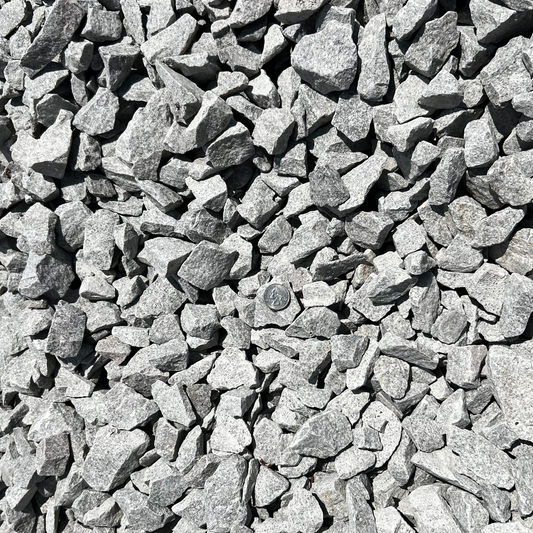
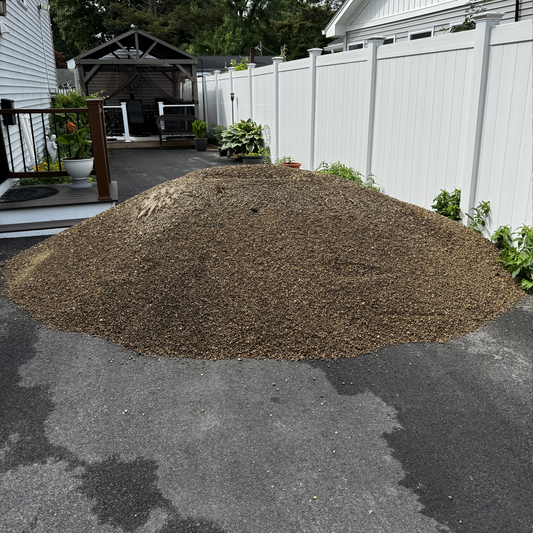
- ¾-inch Dense Pack crushed stone (also called processed gravel or DGA). The structural base. Quantity: see Step 2 math.
- Woven geotextile fabric. Separates the stone base from the subgrade soil so the stone doesn't migrate down into clay. Roll size based on patio square footage.
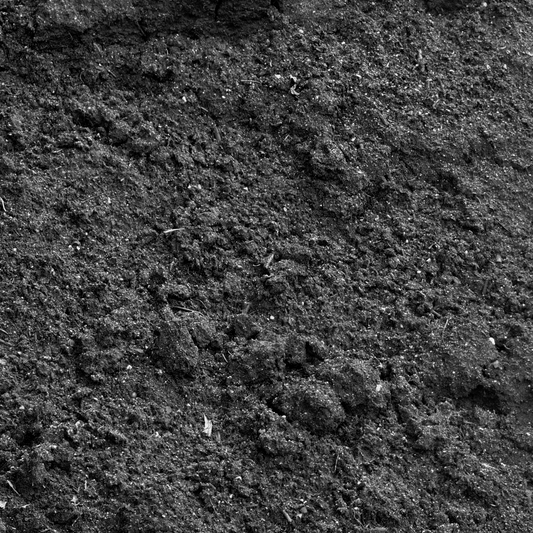
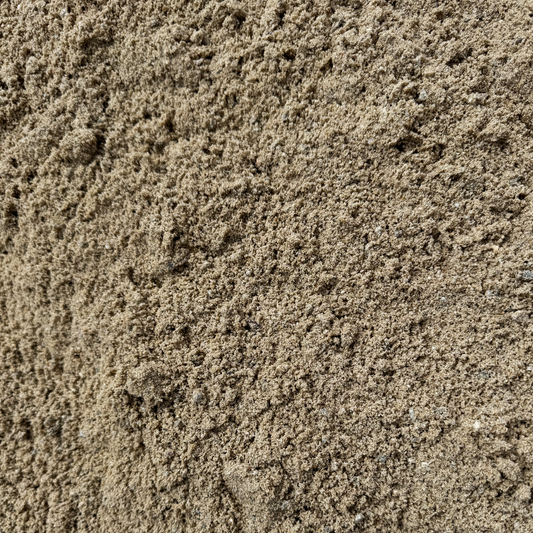
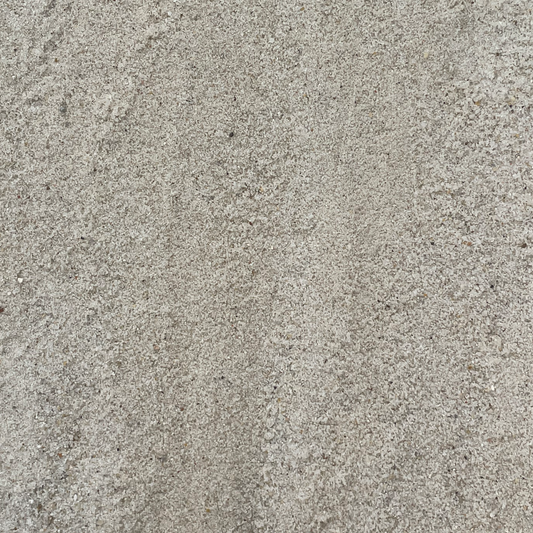
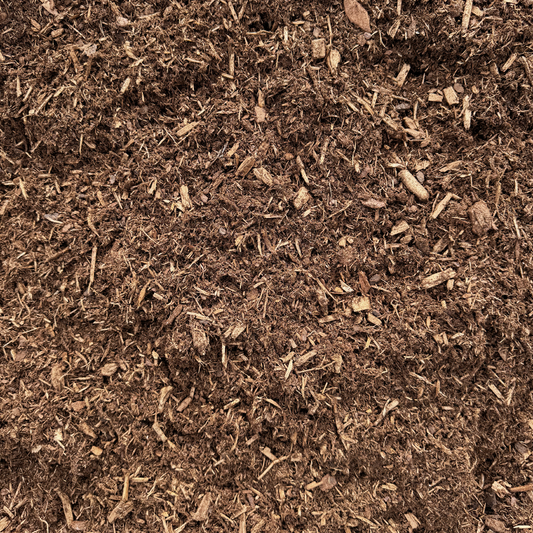
- Bedding sand (concrete sand or coarse mason sand, NOT play sand). 1 inch over the compacted stone, screeded flat.
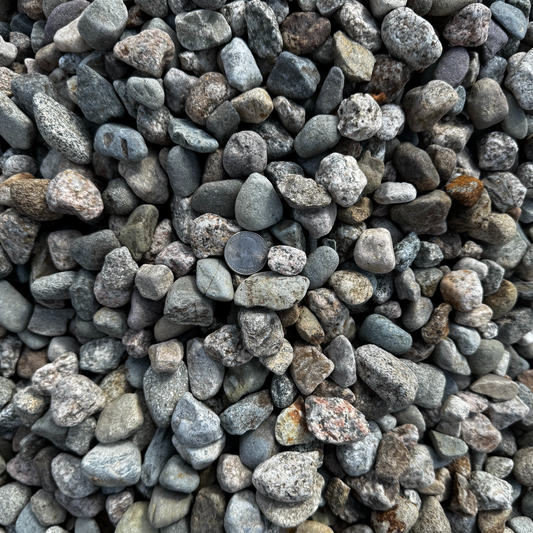
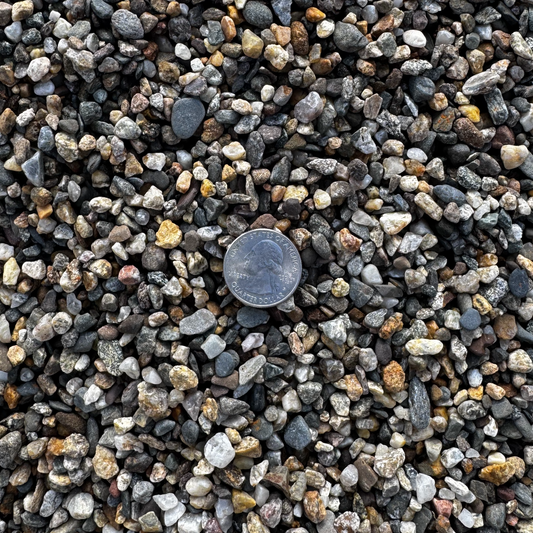
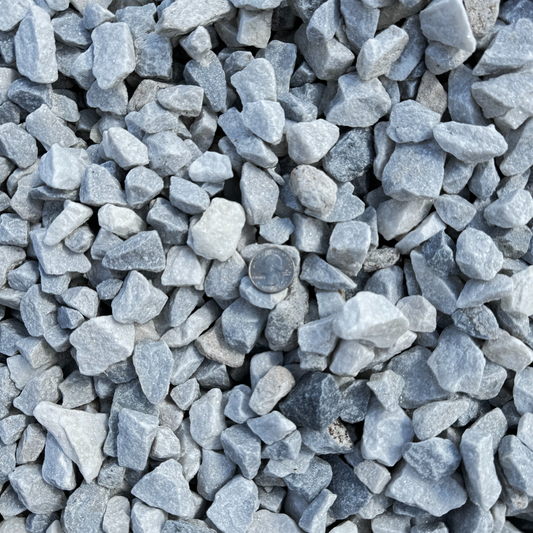
- Pavers, bluestone, or stone of your choice. Material picks live in 5 Decorative Stones That Anchor a Brookline Front Walk Without Looking Busy and Pavers, Bluestone, or Concrete.
- Plate compactor. Rented from any Newton-area equipment yard. Critical tool — hand-tamping a patio base does not work.
- Grade rake, screed pipes (¾-inch EMT conduit work), 4-foot level.
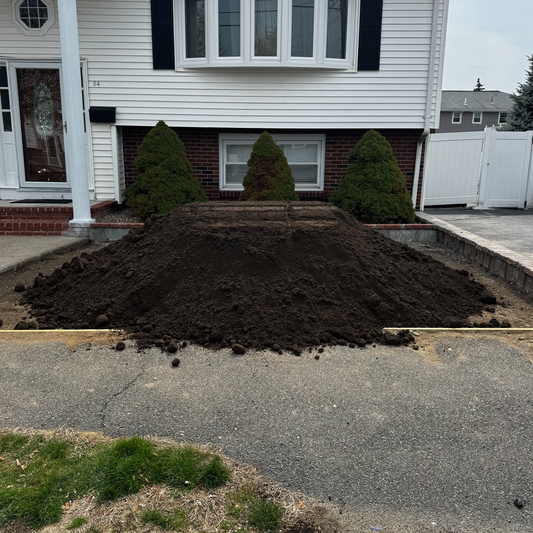
- Excavator or hand digging. A 200 sq ft patio at 12 inches deep is roughly 7.5 cubic yards of excavation — that's a long day with a shovel or 2 hours with a mini-ex.
The full base material lineup is in the patio and walkway base collection.
Step 1 — Excavate to 12 Inches Below Finished Patio Elevation
Mark the patio footprint with stakes and string. The excavation depth is 12 inches below the finished surface elevation — that accounts for 6 inches of compacted base, 1 inch of bedding sand, and ~2 inches of paver thickness, plus a little working room.
Slope the excavation 1.5% away from the house (about 1 inch of drop per 6 feet of run). This is the drainage slope; the patio will follow this slope.
Check the ICPI standards for patio installation specs — the 1.5% minimum slope and 6-inch minimum base depth are from their published guidelines.
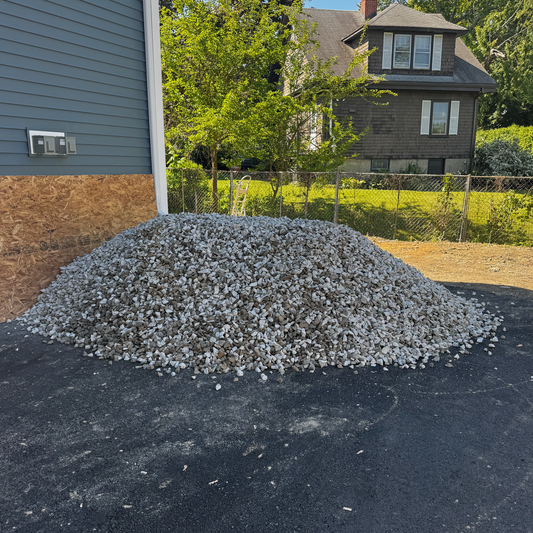
Step 2 — Calculate and Order the Stone
Stone math: square feet × inches deep ÷ 324 = cubic yards.
For a 200 sq ft Newton patio at 6 inches base depth: 200 × 6 ÷ 324 = 3.7 cubic yards
Round up to 4 yards (compaction loses ~10% volume). For a 400 sq ft patio: ~7.5 yards. The yardage logic mirrors mulch math — see How to Calculate Crushed Stone Tonnage for a Bridgewater Driveway Base for the tonnage-vs-volume conversion if your supplier sells by ton.
For Newton-specific delivery and material handling, browse Newton landscape supply.
Step 3 — Roll Out the Geotextile
Lay woven geotextile across the entire excavation. Overlap seams by 12 inches. Run the fabric 6 inches up the excavation walls. The geotextile blocks fines from clay subgrade migrating up into the stone base, which is the failure mechanism that ages bases the fastest in Newton clay-loam.
Skip the geotextile and you'll lose 1–2 inches of base structure within 5 years.
Step 4 — Place the Stone in 2-Inch Lifts
Critical detail: place the stone in three 2-inch lifts and compact each lift before the next. Do not dump 6 inches of stone and try to compact it once. The bottom 4 inches won't densify and the patio will settle.
For each lift:
- Spread the stone evenly with a grade rake.
- Check rough elevation with the slope reference.
- Run the plate compactor in overlapping passes — 4 passes minimum, in two perpendicular directions.
The plate compactor is doing the work; you're just walking it. Each pass densifies. After 3 lifts × 4 passes = 12 passes total over the base. The base is done when the compactor stops "settling in" — the stone underfoot rings hard.
For the contractor scheduling and material-staging side of this work, see Bulk Material Account Setup for Eastern MA Landscape Contractors.
Step 5 — Verify Slope and Elevation
Set a string line across the patio at finished elevation. Measure from string to compacted stone surface. The gap should be 3 inches uniformly (1 inch sand + 2 inch paver). Verify slope: 1.5% away from the house, no birdbaths, no ridges.
If a section is high, plate-compact more. If low, add stone, compact, recheck.
Step 6 — Lay and Screed the Bedding Sand
Place screed pipes (¾-inch conduit) on the compacted base, parallel, 6 feet apart, set to the elevation that gives 1 inch of sand. Spread bedding sand between pipes, screed flat with a 2×4 or screed bar.
Do not compact the bedding sand. Pavers go on top of the screeded sand untouched — the paver weight and the post-install compaction do the densifying.
For the broader paver-versus-bluestone material choice, Pavers, Bluestone, or Concrete: Which Hardscape Survives a Norfolk County Winter Best? covers the comparison.
Step 7 — Place Pavers, Compact, Joint-Sand
Lay pavers per pattern. Cut perimeter pavers as needed (wet saw). Once all pavers are placed, run the plate compactor across the surface (use a rubber pad or sacrificial sheet to protect paver faces). The compactor seats pavers into the bedding sand.
Sweep polymeric joint sand into the joints, mist with water per manufacturer instructions, let cure 24 hours.
Common Newton-Specific Mistakes
- Skimping on base depth. 4 inches of base in Newton's frost depth is a 5-year patio. Use 6 inches minimum; 8 inches for high-traffic or heavy furniture loads.
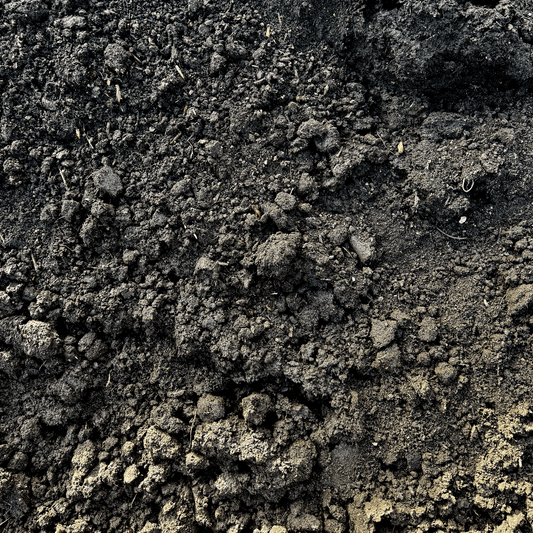
- Using stone dust as base. Stone dust packs to a near-impervious layer that holds water. Use ¾-inch Dense Pack with fines, not pure dust.
- Skipping geotextile in clay. Newton clay subgrades destroy bases without separation fabric.
- Single-lift compaction. The bottom layer never densifies. Always 2-inch lifts.
- Ignoring drainage slope. A flat patio holds water, freezes, heaves. 1.5% minimum.
- Using play sand or screened sand for bedding. Wrong material — too fine, doesn't drain. Use concrete sand or coarse mason sand.
When to Build in Newton
The Newton ground is workable from mid-April through late November. Optimal window: late April to mid-June (subgrade dry, summer compaction excellent) or September to mid-October (mild temps, crews available). Skip July-August construction — heat slows polymeric sand cure and stresses crews.
For broader hardscape sequencing across a Newton property, see How to Set a Plymouth Crushed Stone Driveway Base That Lasts a Decade — same compaction logic on a larger scale.
Where to Buy
The patio and walkway base collection carries the ¾-inch Dense Pack, geotextile, and bedding sand sized for residential patio jobs. For Newton delivery, browse Newton landscape supply.
For authoritative installation standards, the ICPI library is the national reference, and UMass Extension Landscape covers regional Massachusetts site considerations.
The short version: 6 inches of ¾-inch Dense Pack over woven geotextile, three 2-inch lifts plate-compacted, 1 inch of bedding sand, pavers, joint-sanded. Cut corners on depth, geotextile, or compaction and Newton freeze-thaw will find the weakness within 3 winters. Built right, the patio carries 20 years.


