


Quick Answer
A Plymouth driveway that lasts 10+ years takes 12 inches of compacted base below the finished surface: 6 inches of bank-run gravel as sub-sub-base, 6 inches of 3/4" processed gravel as sub-base, geotextile fabric between subgrade and base, 1–2% crown from center to edge, and a 1–2-inch finish coat of 3/8" crushed for a stone-driveway look. Skip any of those layers and you're rebuilding in 3–5 years. Below: the full sequence with Plymouth-soil-specific notes.
Why Plymouth Driveways Fail Early
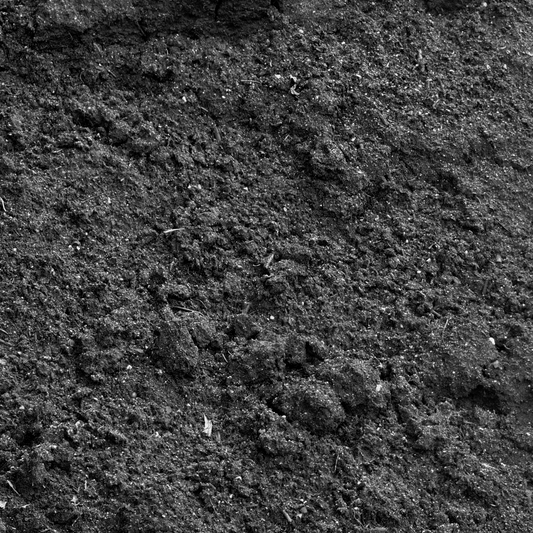
Plymouth's coastal sandy loam drains well but doesn't have the structural integrity to support a driveway directly. Build a driveway on raw subgrade and the surface dishes within two winters as the underlying soil shifts and the stone migrates downward.
The fix is a properly engineered base layered correctly. The Massachusetts Department of Transportation standards on residential driveway construction translate directly to private builds — the depth and material specs are the same.
Materials You'll Need
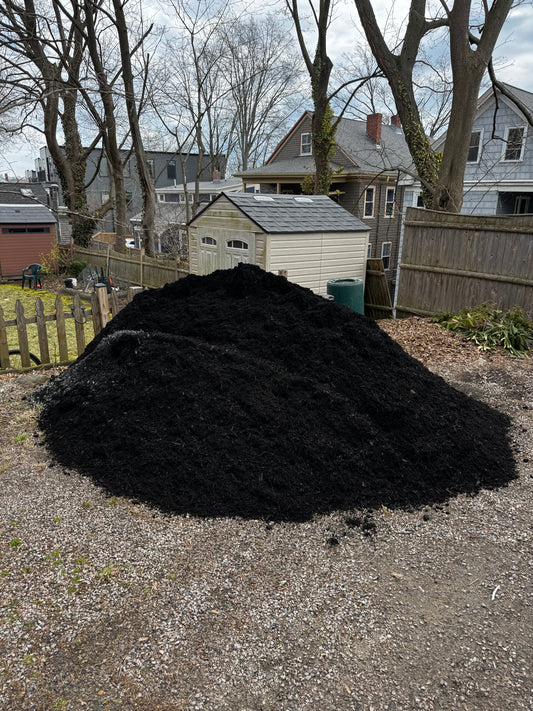
For a typical Plymouth driveway (12 ft wide × 60 ft long = 720 sq ft):
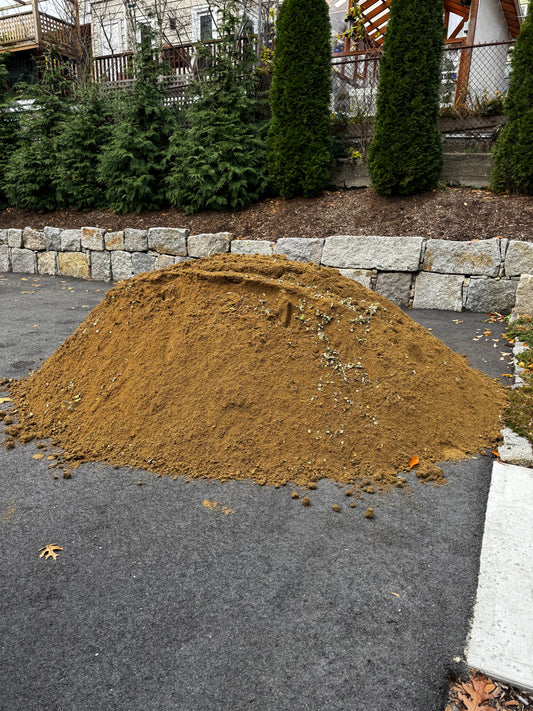
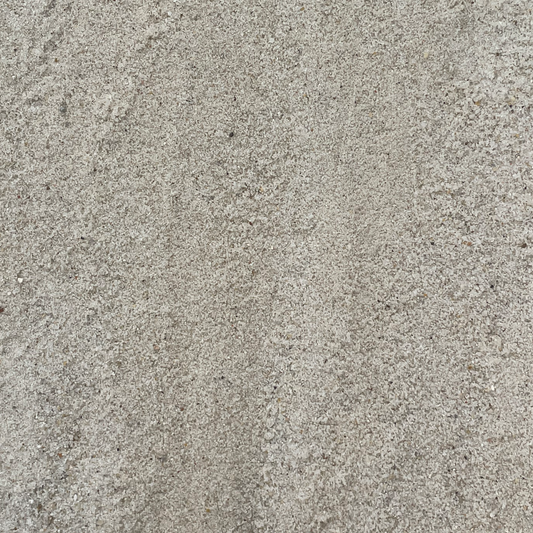
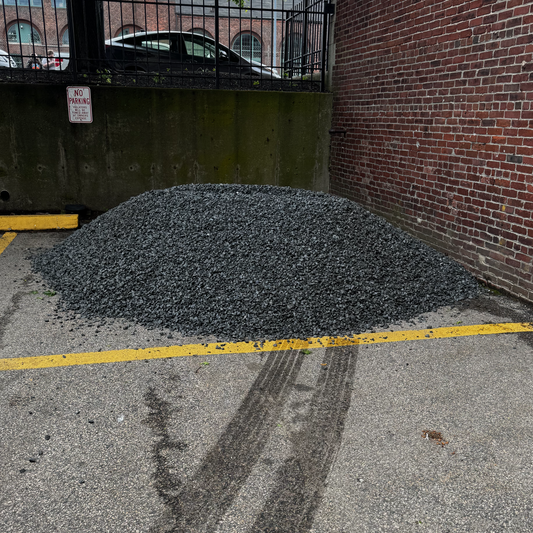
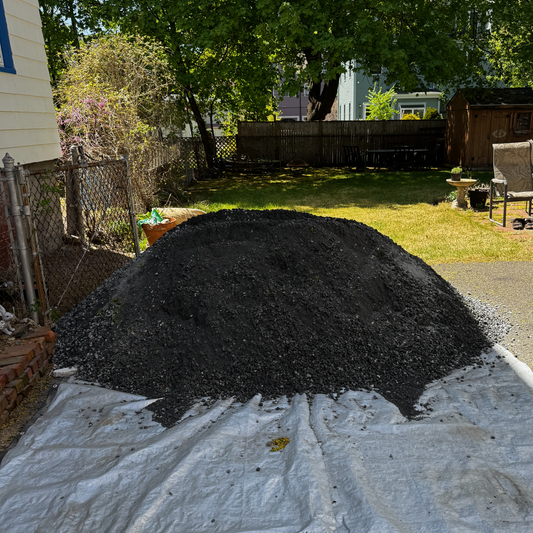
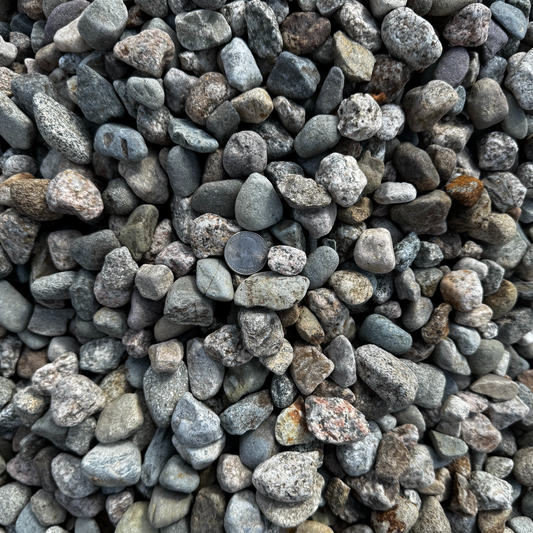
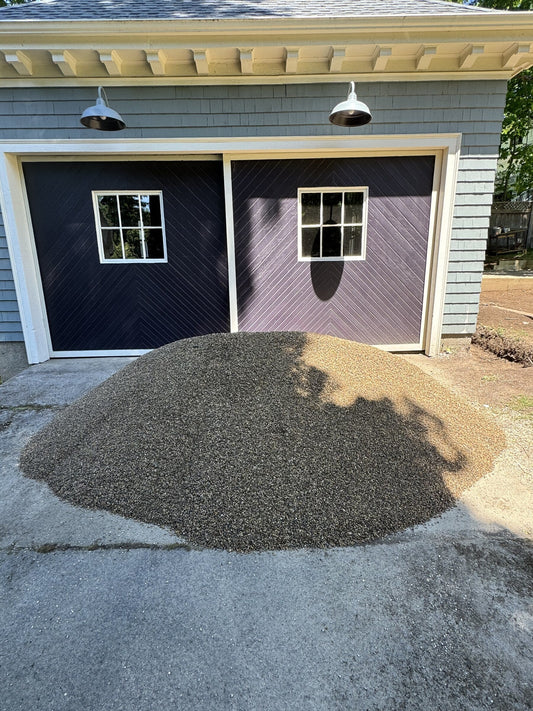
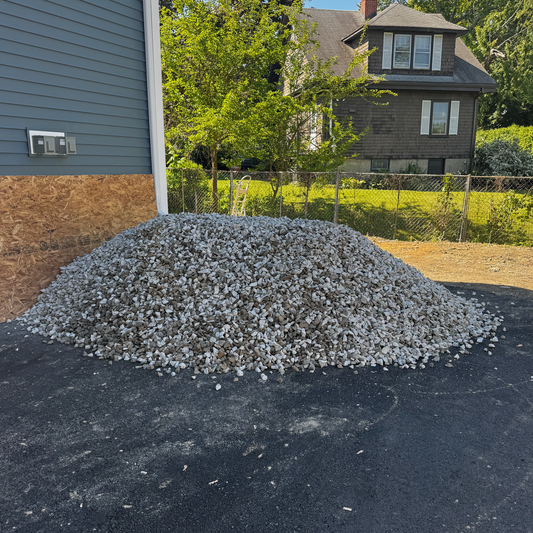
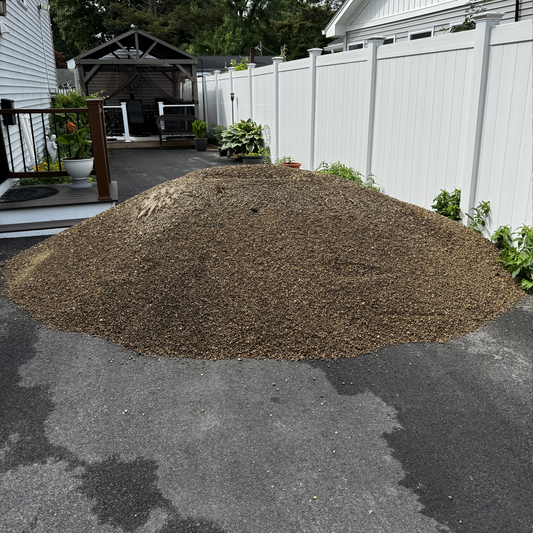
- Bank-run gravel: 720 sq ft × 0.5 ft = 360 cu ft = 13 cubic yards
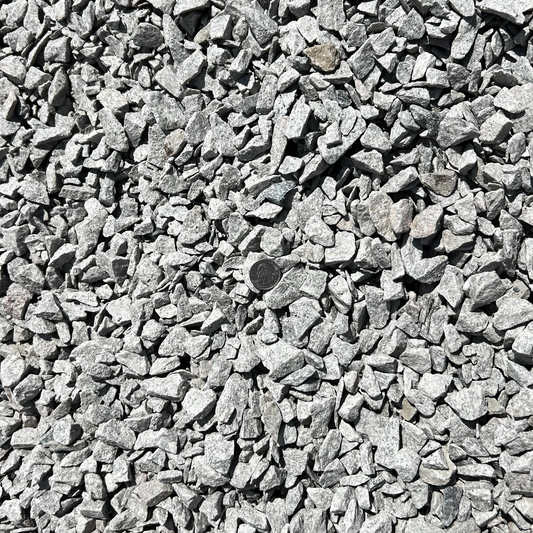
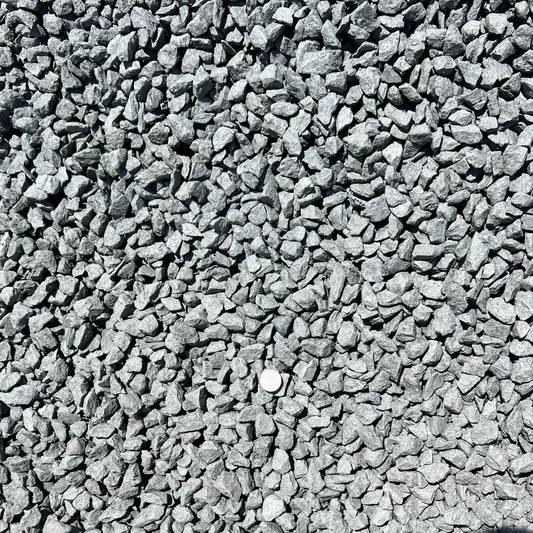
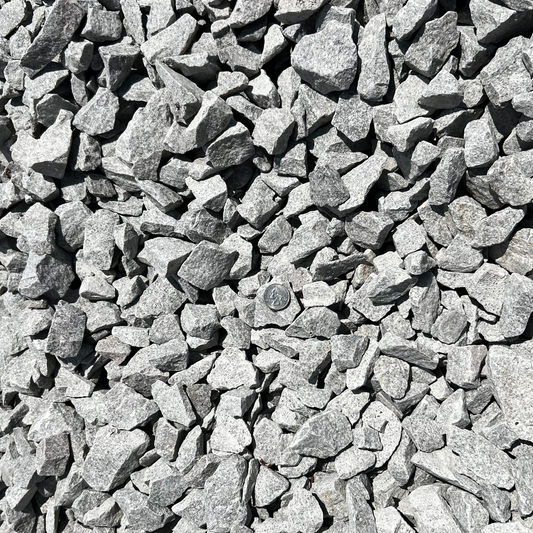
- 3/4" processed gravel: 13 cubic yards
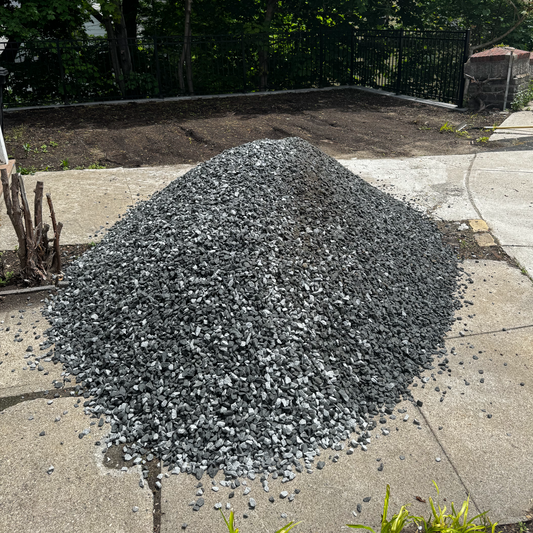
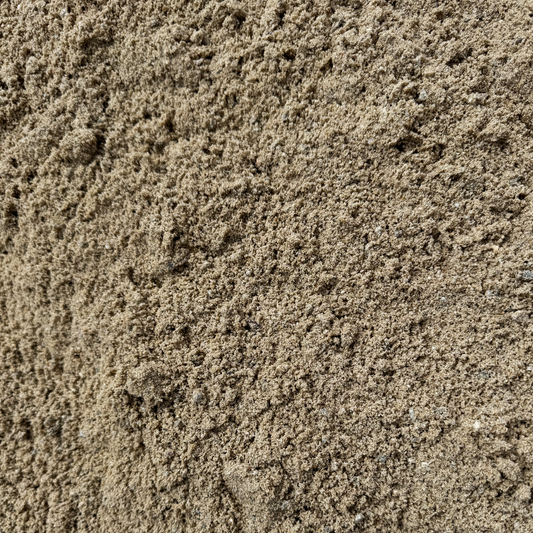
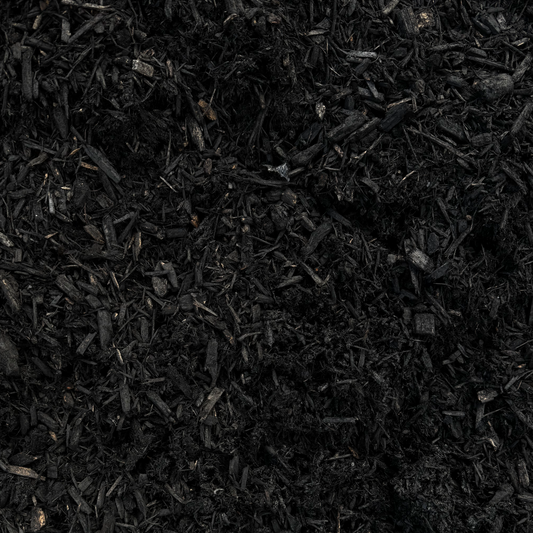
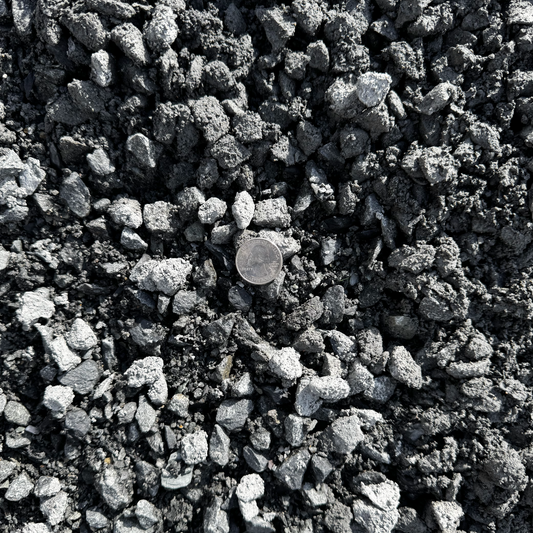
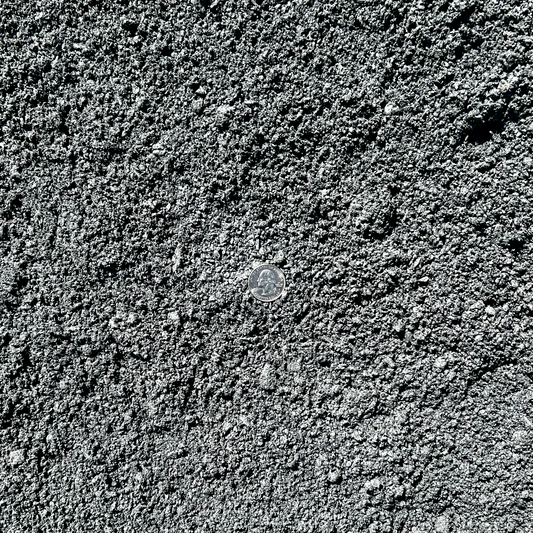
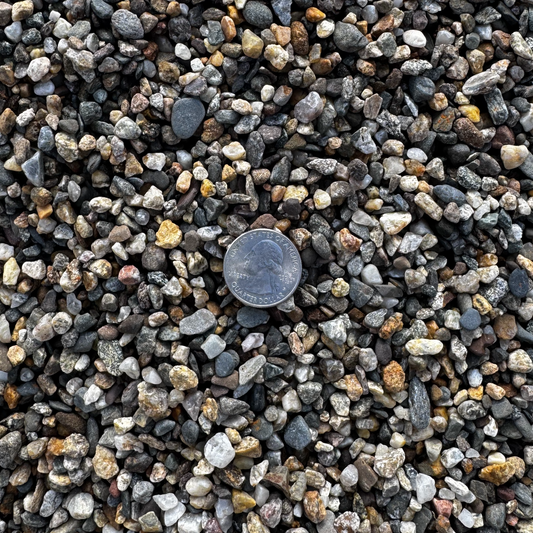
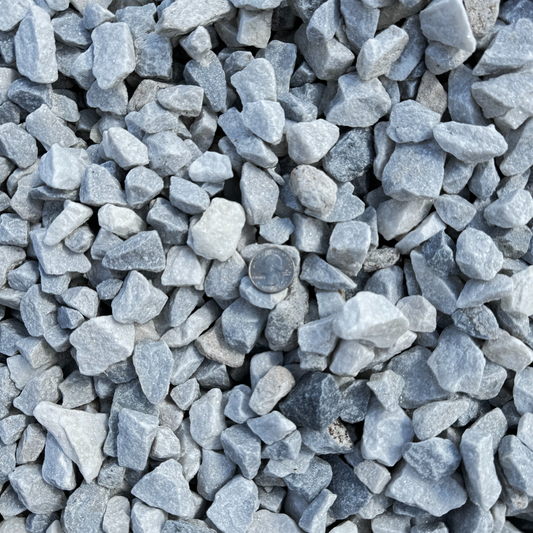
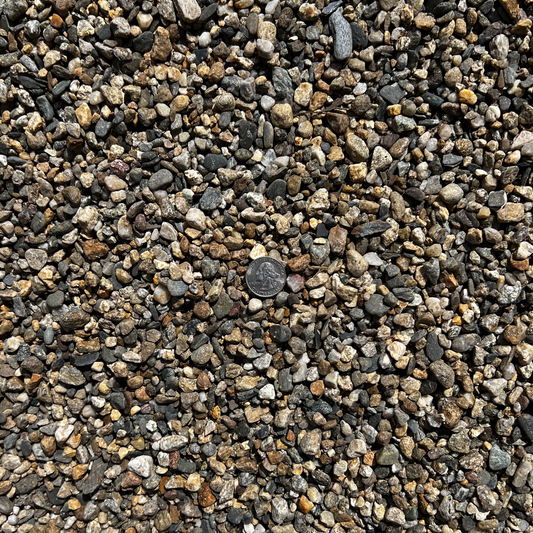
- 3/8" crushed top coat: 720 sq ft × 0.15 ft = 108 cu ft = 4 cubic yards
- Geotextile fabric: approximately 800 sq ft (one large residential roll)
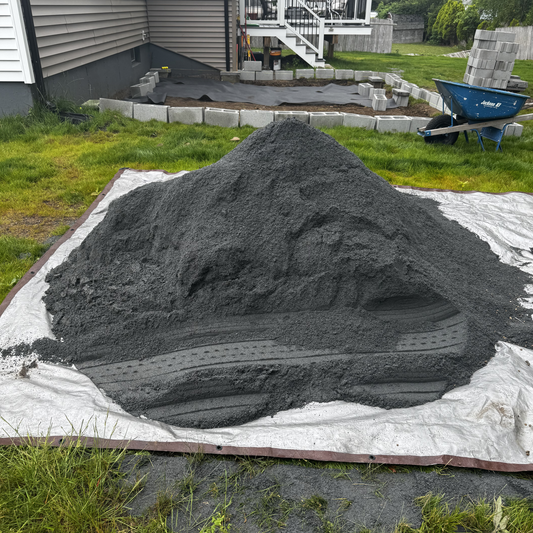
Order through the Driveway Gravel collection. For Plymouth delivery, the Plymouth Landscape Supply page handles bulk-truck scheduling. Total bulk material ~30 cubic yards — typically 2 deliveries.
For the broader driveway-build pillar with full sequencing, How to Build a Gravel Driveway in Plymouth County: Sub-Base to Top Coat covers the additional Plymouth County context.
For tonnage math at scale, How to Calculate Crushed Stone Tonnage for a Bridgewater Driveway Base walks through the per-yard conversions.
The Steps
Day 1 — Excavation and Subgrade Prep
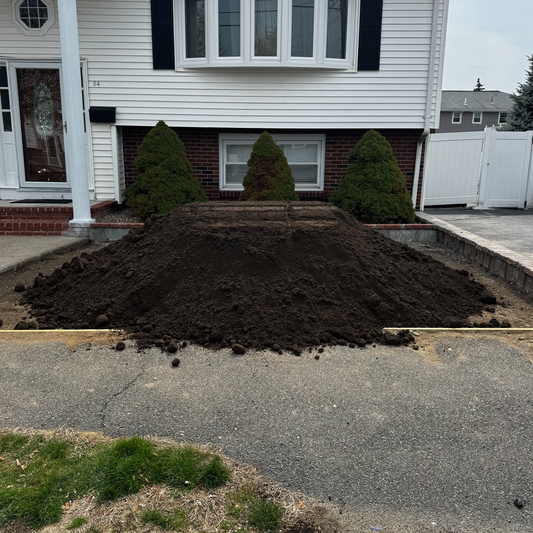
1. Strip topsoil and unsuitable subsoil. Excavate to 12–14 inches below finished grade. In Plymouth's sandy zones, the subsoil is usually structural at this depth. In clay pockets (closer to Halifax/Plympton), excavate deeper or add a sand-clay separation.
2. Crown the subgrade. Even before the base goes in, the subgrade should slope 1–2% from center to edge. Drainage starts at the bottom. Skip this step and water pools under the base, freezes, and heaves the entire driveway.
3. Compact the subgrade. Light pass with a plate compactor. Don't over-compact sandy Plymouth subgrade — you'll seal the surface and prevent drainage.
Day 1–2 — Geotextile and Sub-Sub-Base
4. Lay geotextile fabric. Continuous across the entire driveway, lapped 12 inches at seams. The fabric prevents subgrade soil from migrating up into the base — the single biggest cause of long-term driveway failure.
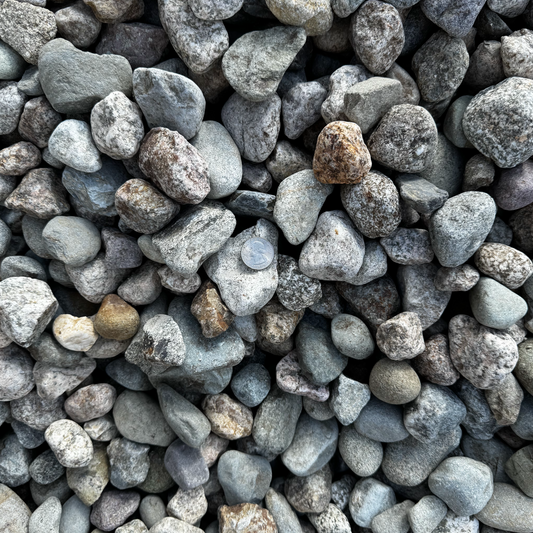
5. Bank-run gravel, 6 inches in 3-inch lifts. Spread, compact, repeat. The compacted depth comes out to roughly 6 inches finished. Bank-run is the structural fill — it does the load-bearing work.
Day 2 — Sub-Base
6. Processed gravel (3/4" with fines), 6 inches in 2-inch lifts. Spread, compact, repeat. This is the binding layer that compacts to near-concrete hardness. Each lift gets 4–6 passes with a plate compactor or 2–3 passes with a small roller.
7. Maintain the crown. Each lift carries the same 1–2% crown. Easiest to check with a string line and a 4-foot level across the centerline at multiple points along the driveway.
Day 3 — Top Coat
8. Apply 3/8" crushed stone, 1–2 inches. This is the finish surface for a crushed-stone driveway. Spread evenly, light compaction. The driveway is now driveable.
For homeowners paving with asphalt over the base, skip the 3/8" top coat — the asphalt contractor lays binder and finish course directly over the compacted processed gravel.
What to Watch the First Year
First spring: Light dishing in tire tracks is normal — top up with extra 3/8" stone and recompact.
First summer: Edges may erode slightly as adjacent landscape settles. Add edge restraint (4x4 lumber, steel edging, or stone curb) where edges are eroding.
First winter: Plows scrape the top coat — losing 1/4" of finish stone over a winter is normal. Top up annually each spring.
Year 2 and beyond: Annual top-up of 3/8" stone, occasional re-compaction in heavy traffic zones. The structural base should not need attention for 10+ years if built right.
Common Mistakes
Skipping the geotextile fabric. "Saves" $300–$600. Costs the driveway in 5 years.
Underbuilding the base depth. 8 inches total vs. 12 inches total seems like a 33% saving — until you pay 100% of the rebuild cost in year 4.
No crown. Standing water = freeze-thaw cycle damage. Every Plymouth driveway needs a crown, even subtle.
Compacting in too-thick lifts. 6 inches of stone compacted in one pass leaves voids. Always 2-inch lifts for processed gravel, 3-inch lifts for bank-run.
Wrong stone size at the top. 3/4" or 1.5" as a finish stone tracks into the garage and tires. 3/8" is the right finish-coat size — see 3/4-Inch Crushed Stone vs 1-1/2 Inch: A Middleborough Driveway Test for the spec comparison.
For more on the mistakes that show up across Plymouth County driveways, 5 Gravel Driveway Mistakes Common Across Plymouth County covers the diagnostic walk-through.
Where to Order
Driveway Gravel collection for the full material lineup. Plymouth Landscape Supply for delivery scheduling. Geotextile fabric available bundled with bulk gravel orders.
For broader hardscape and pavement specs, ICPI standards covers paver-driveway alternatives, and Massachusetts DOT highway division covers the technical specifications that drive both private driveway and public-road work.


