


Quick Answer
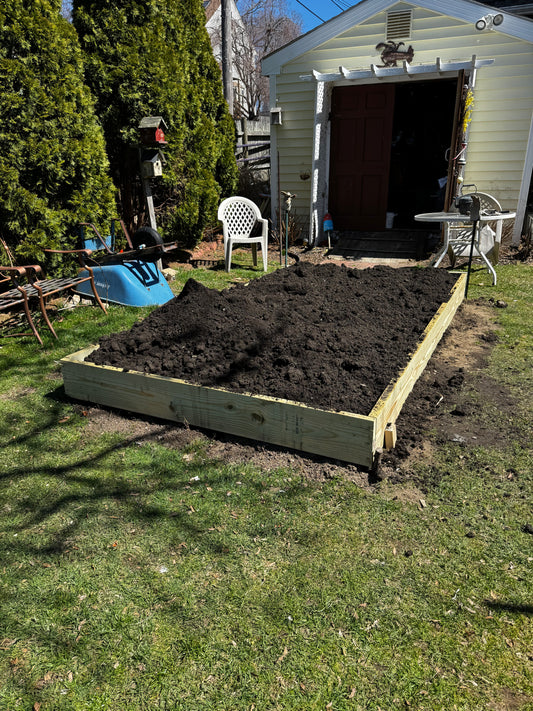
A 4x8x12" Somerville raised bed layers in this order, bottom to top: cardboard (1 layer), small branches and yard waste (2"), screened loam (6"), finished compost (3"), and a thin top-dress of mulch (1"). The cardboard suppresses weeds, the branches add long-term organic matter, the loam is where roots actually grow, the compost feeds the microbes, and the mulch holds moisture. Don't blend everything into a uniform mix — the layers do different jobs.
Why the Order Matters in a Somerville Bed
Somerville lots are tight and the soil underneath is mostly construction fill. A raised bed in Davis, Union Square, or Winter Hill is your one chance to grow vegetables in real soil — and dumping a single homogeneous mix into the box wastes the depth.
Layered beds, sometimes called modified hugelkultur, give you four distinct functional zones in one frame: weed suppression at the bottom, slow-release organic matter in the middle, root zone in the top half, and moisture retention on the surface. Each layer serves a purpose. Done right, the bed gets better every year as the bottom layers break down.
Before You Layer: Build the Frame and Pick the Spot
This guide assumes you've already built the cedar frame (see Building Cedar Raised Beds for a Cambridge Backyard — same approach for Somerville) and ordered your loam (see How to Order a Yard of Loam for a Watertown Raised Bed Build).
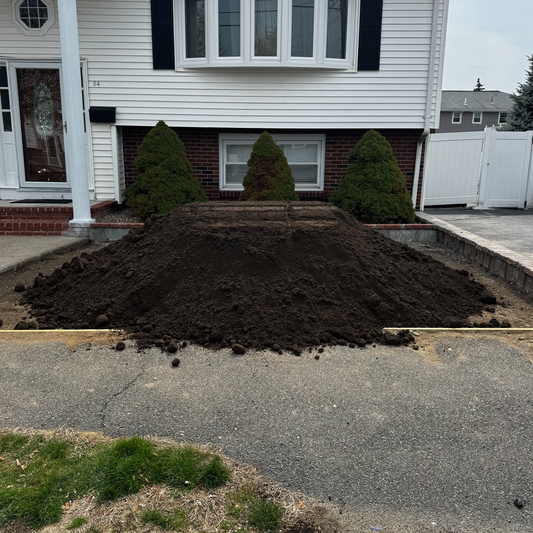
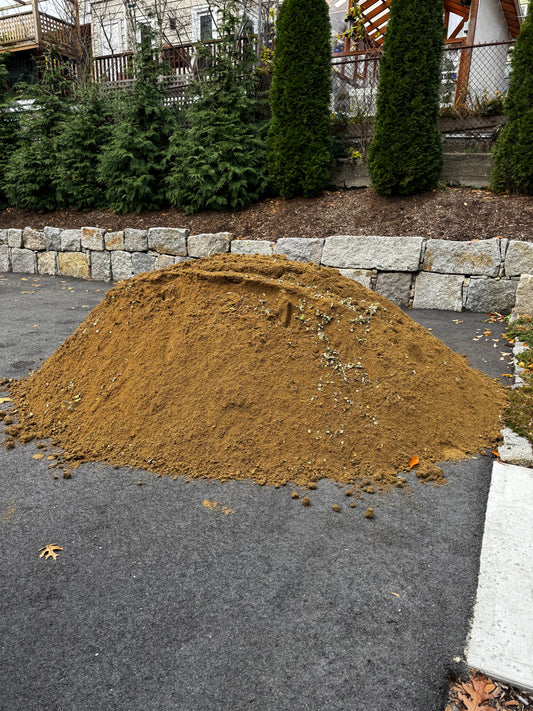
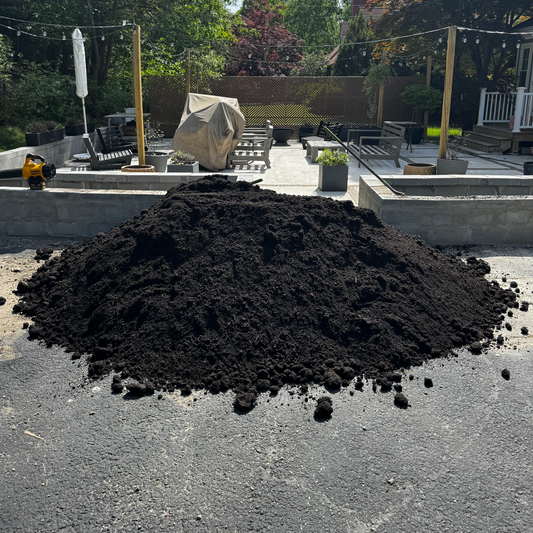
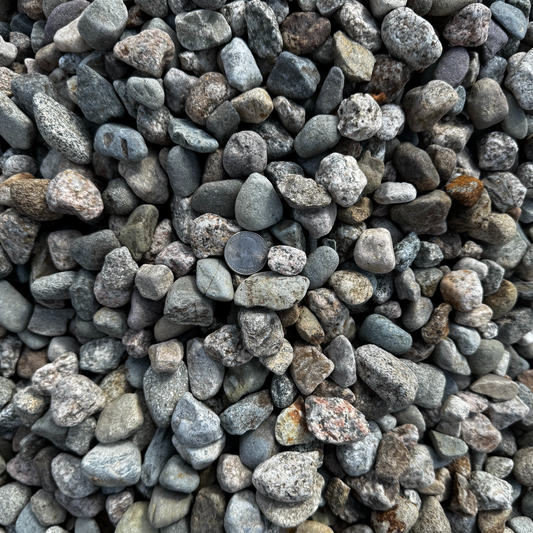
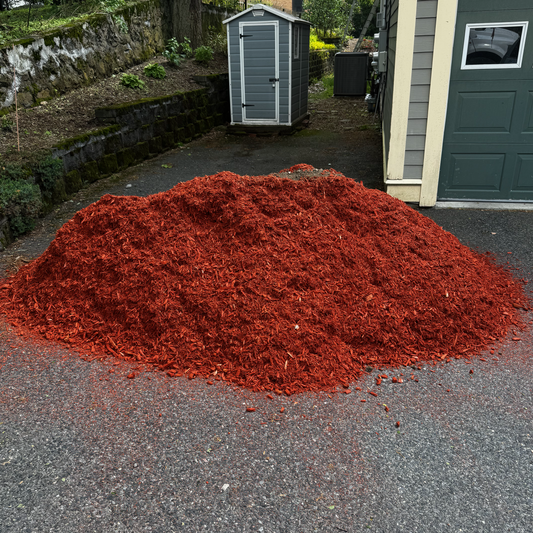
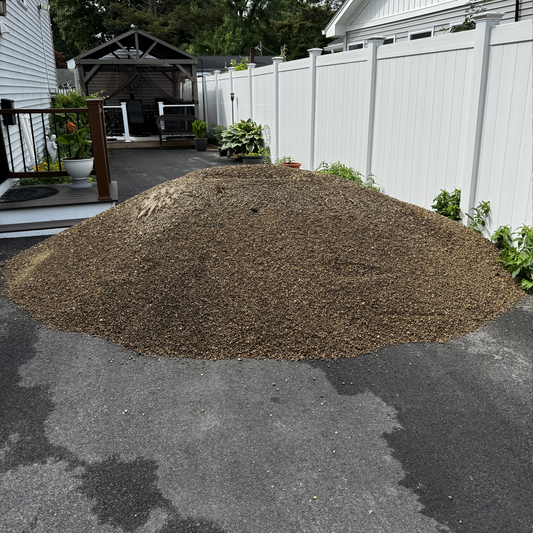
A 4x8x12" bed needs: - 0.7 cu yd screened loam - 0.4 cu yd finished compost - 0.1 cu yd mulch - 1 layer cardboard (broken-down moving boxes work) - A wheelbarrow's worth of branches from spring pruning
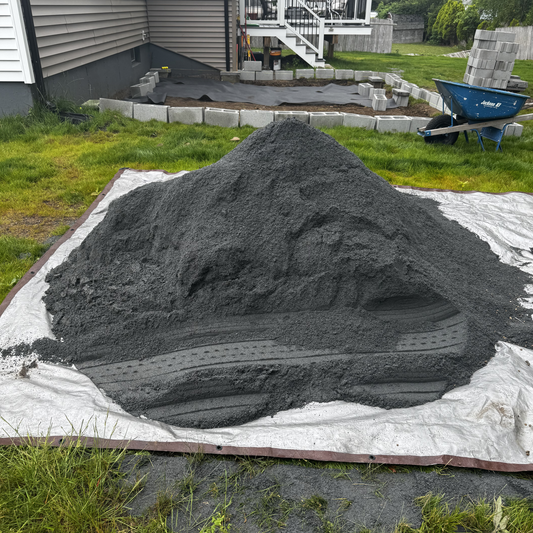
Order from Raised Garden Bed Materials for a single delivery — loam and compost can drop together.
Step 1 — Cardboard Base (1 Layer)
Lay flat cardboard across the entire footprint of the bed, overlapping seams by 6". Avoid glossy or printed cardboard; plain corrugated is the right material. Wet the cardboard down with a hose so it stays put.
The cardboard suppresses Bermuda grass, dandelion, and ground ivy that would otherwise grow up through the bed for the first season. By year two, the cardboard has decomposed into the soil — earthworms move freely through it.
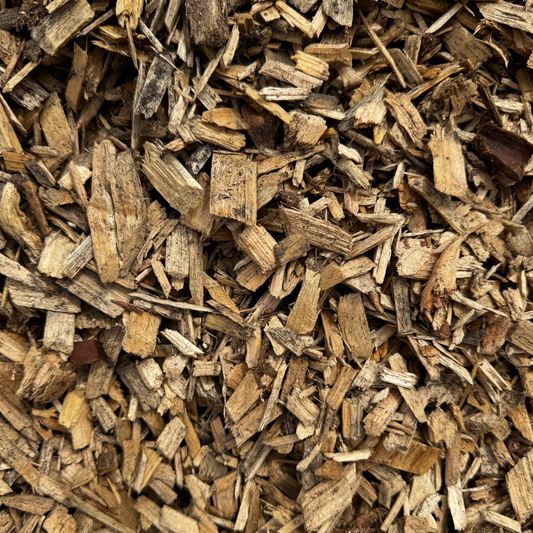
Step 2 — Branches and Yard Waste (2 Inches)
A thin layer of small branches, twigs, and dry leaves goes on top of the cardboard. Pruning leftovers from forsythia, hydrangea, or rose canes are perfect. Avoid black walnut (allelopathic) and avoid anything actively diseased.
This layer adds long-term carbon to the bed. As it decomposes over 3–5 years, it releases nutrients slowly into the soil above. It also creates micro-pockets of air that improve drainage in a wet Somerville April.
Don't overdo it. Two inches max, broken down small. A foot of whole branches creates voids that collapse and tank your bed level by year two.
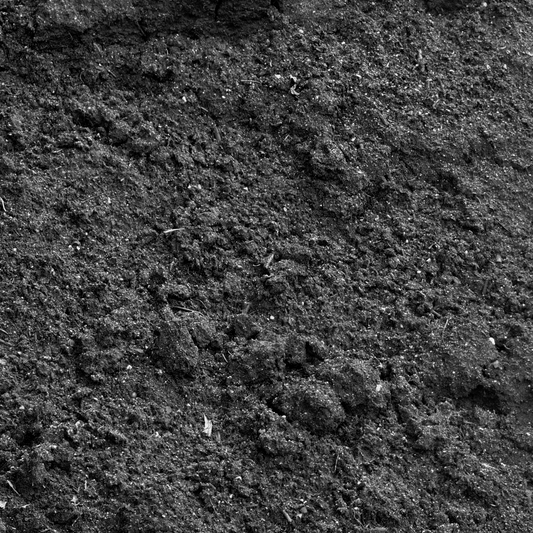
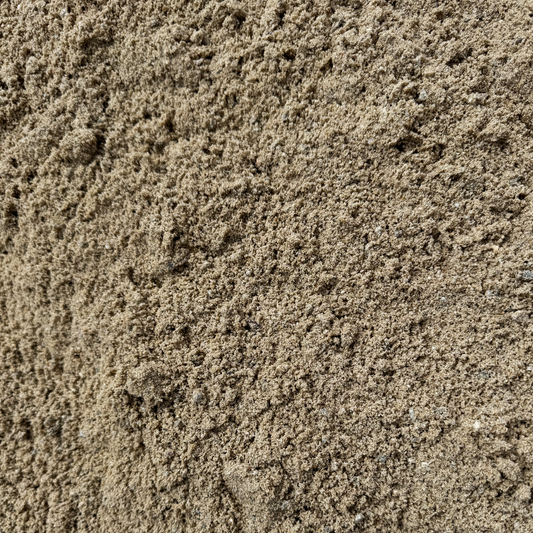
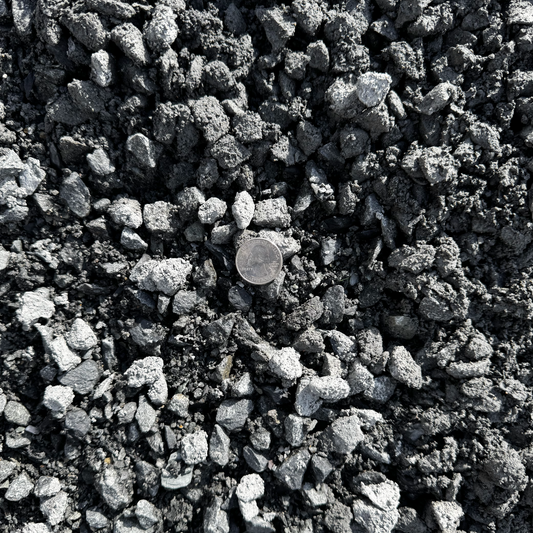
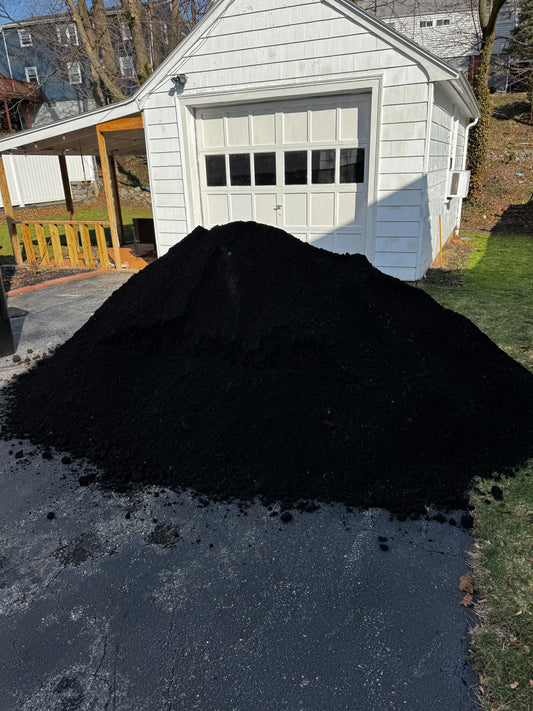
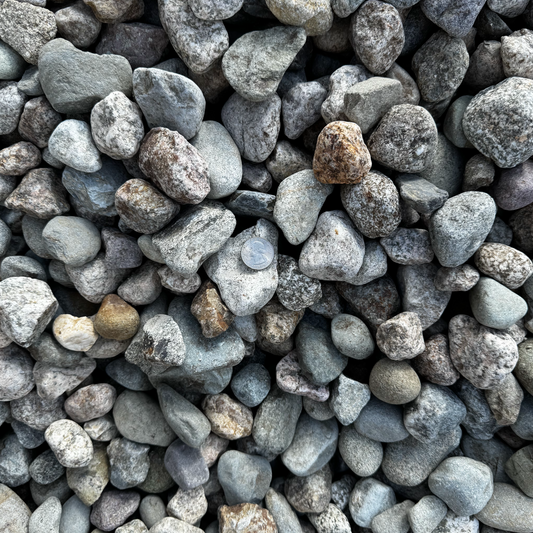
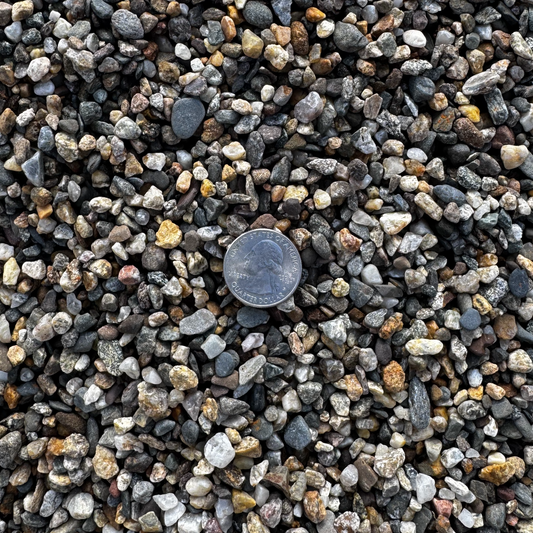
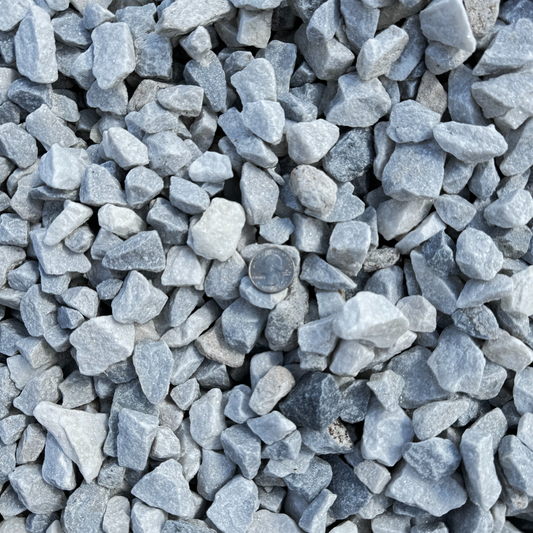
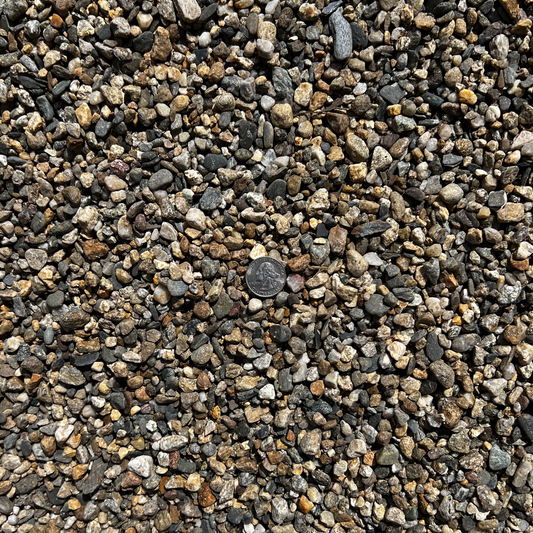
Step 3 — Screened Loam (6 Inches)
This is the biggest layer and the most important one. Screened loam fills the bed to roughly the halfway mark — 6 inches up from the bottom.
Spread it evenly with a garden rake, lightly tamping but not compacting. You want air pockets in the soil structure. The US Composting Council and UMass Extension both note that compacted soil is the leading first-year failure mode in raised beds — vegetables can't push roots through a loam that's been packed down hard.
For more on what's actually in Ottr's screened loam, see Ottr Screened Loam: Walkthrough of What's in the Pile.
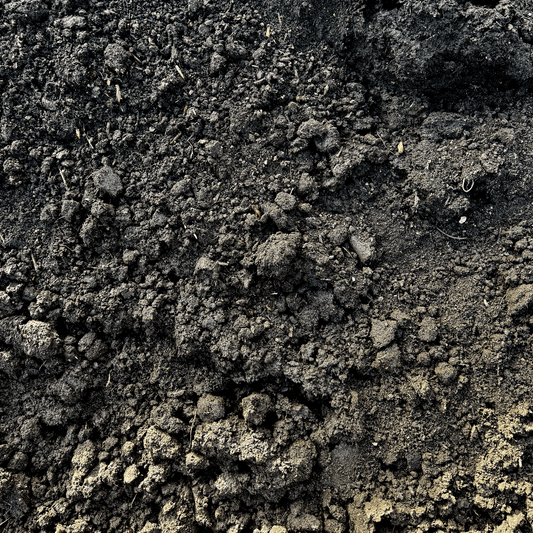
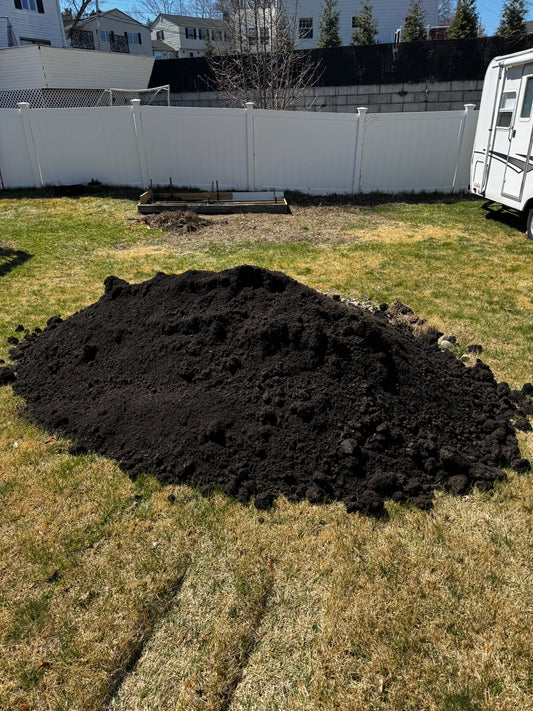
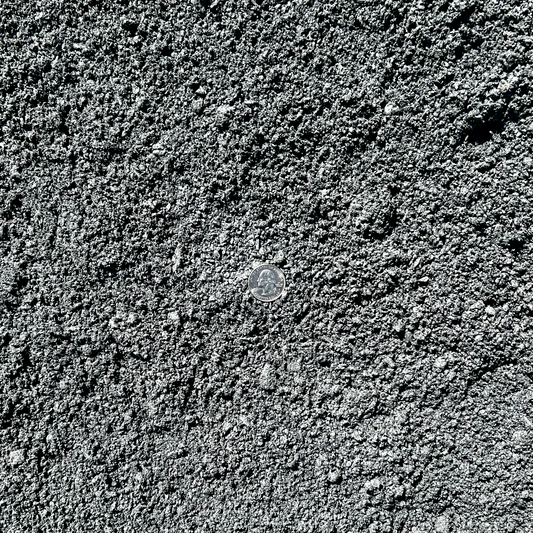
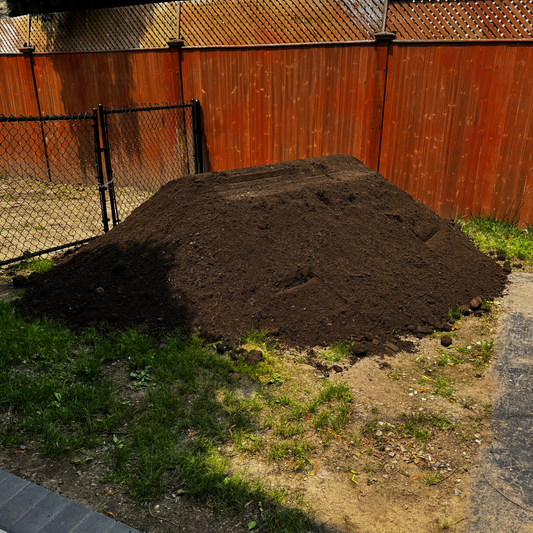
Step 4 — Finished Compost (3 Inches)
A 3-inch layer of finished compost goes on top of the loam. Don't blend it in — let it sit on top. Earthworms and microbes will mix it down through the loam over the first season.
"Finished" matters. Half-rotten compost burns young roots and ties up nitrogen as it continues breaking down. Buy compost that meets the US Composting Council STA standards — stable C:N ratio, neutral pH, no ammonia smell.
Three inches lands you at 11 inches of fill in a 12" bed. Leave the top inch for mulch.
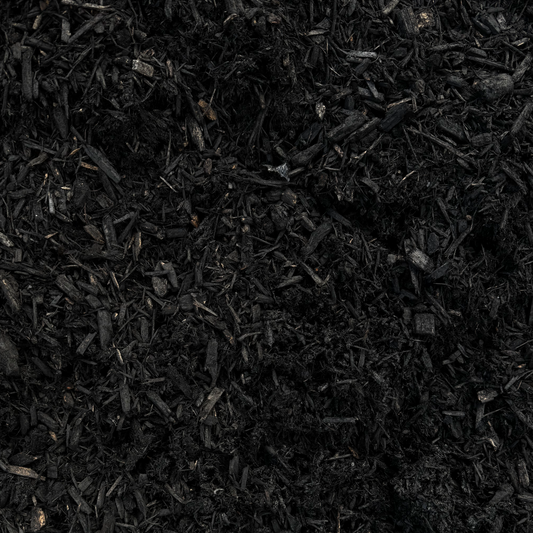
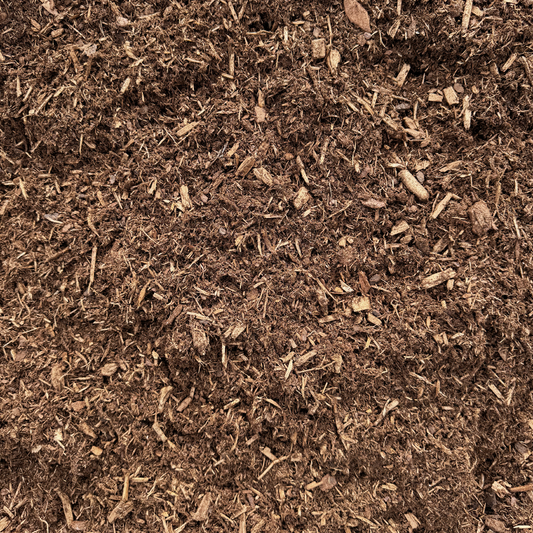
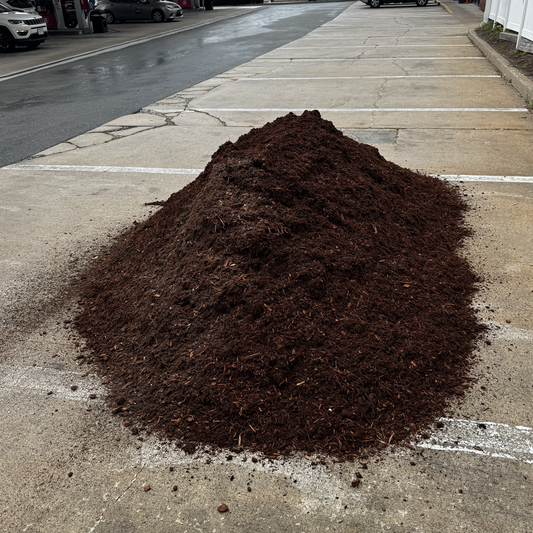
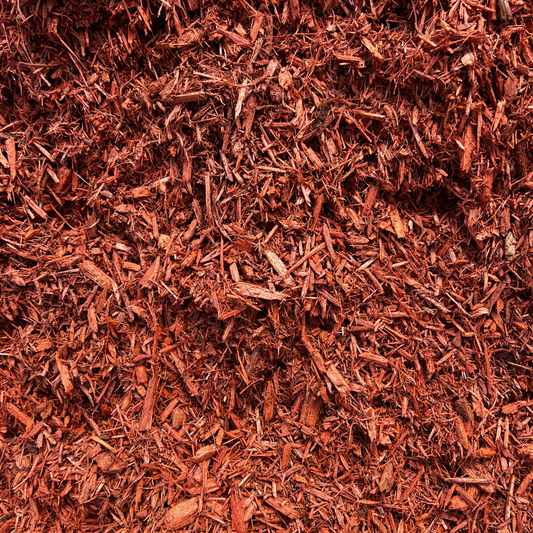
Step 5 — Mulch Top-Dress (1 Inch)
A thin top-dress of fine-textured mulch — hemlock, pine bark fines, or aged hardwood — caps the bed. Don't use chunky bark mulch in a vegetable bed; it ties up nitrogen at the soil surface and looks wrong against tomato plants.
The mulch holds moisture, blocks weed seeds from blowing in, and moderates soil temperature in a hot August. One inch is enough. More than that and seedlings struggle to break through.
Step 6 — Water Deeply, Then Wait Two Weeks
Water the finished bed slowly and deeply — 30 minutes with a sprinkler or hose on low. The water settles the layers and triggers the microbial activity that knits everything together.
Wait two weeks before planting. The bed will settle 1–2 inches as the cardboard wets through and the air pockets adjust. Top off with extra loam if needed before transplants go in.
For a related approach in a different MA city — building the bed start to finish in one weekend — see How to Build a 4x8 Raised Bed in a Watertown Backyard.
What to Plant First
Somerville's last frost lands around April 25. After the bed settles, the first crops to go in are cool-season vegetables — lettuce, spinach, kale, peas — by mid-April. Tomatoes, peppers, and basil wait until after Memorial Day. The layered bed will outperform a homogeneous fill from the first season on, and the gap widens every year as the bottom layers continue to feed the soil above.
For the comprehensive MA raised-bed pillar guide, see How Do I Build a Raised Garden Bed in Massachusetts?.


