


Quick Answer
A dry river bed is the right Scituate-backyard answer when you have a defined runoff path that erodes turf every spring storm. The spec: lay out gentle curves with a garden hose, excavate 12" wide × 6–12" deep, geotextile lining, 2" washed stone base, larger boulders at turns, river rock fill. A 30-foot bed takes 1.5 yards of river rock plus base materials and one weekend. Looks like a designed garden feature, handles 1"–2" rain events, eliminates the muddy washout strip permanently.
Why a Dry River Bed Works for Scituate
Scituate's typical backyard problem (especially around Egypt, Greenbush, and the North River neighborhoods) is sheet flow that concentrates into a single runoff path during storms. The flow is too persistent for grass — the lawn turns into a mud track — but too irregular to justify a buried French drain.
A dry river bed embraces the flow path instead of fighting it. Stones absorb the velocity, the channel handles the volume, and the look is intentional landscape design instead of a drainage problem. The EPA Stormwater program recognizes the technique as a residential stormwater best practice.
Materials and Tools
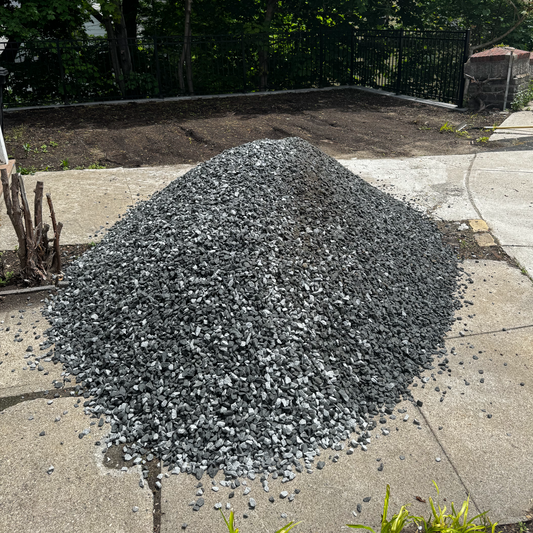
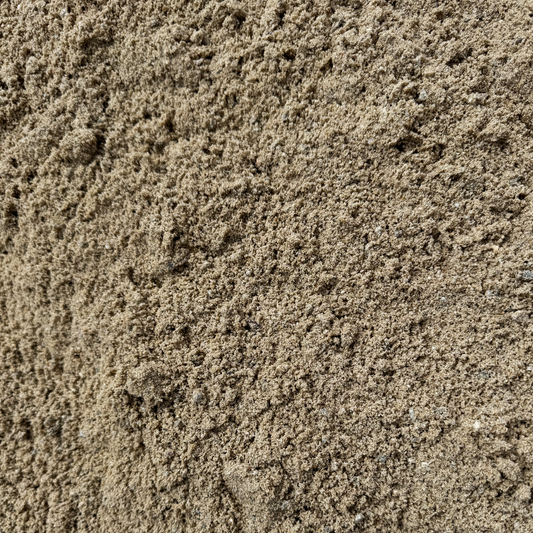
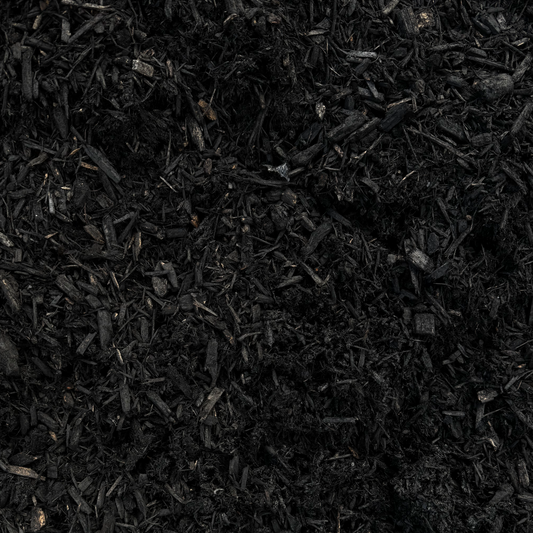
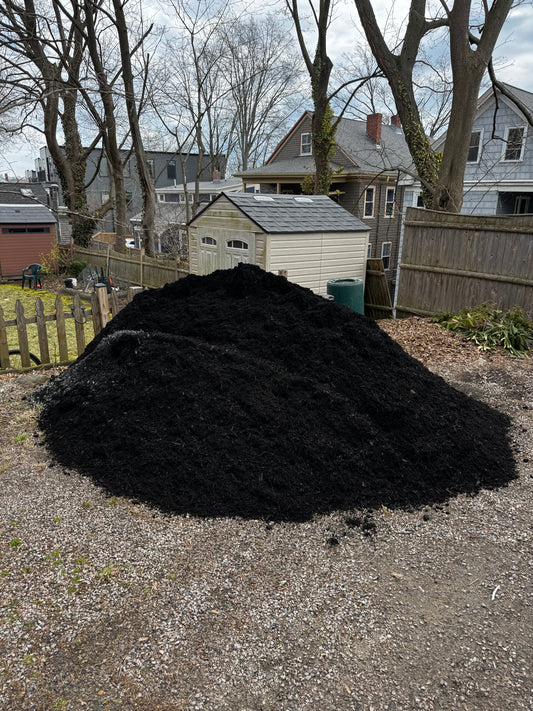
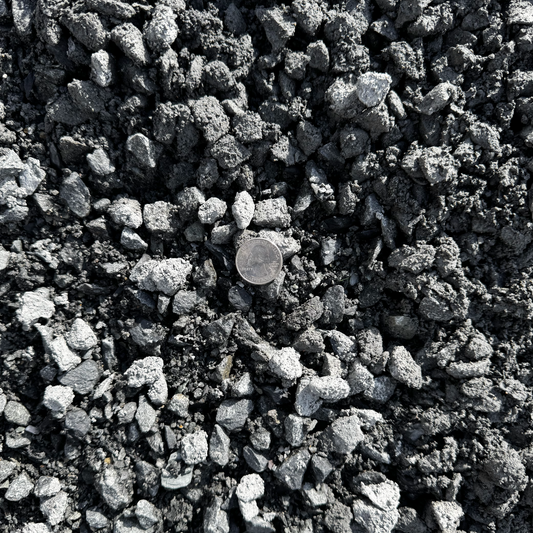
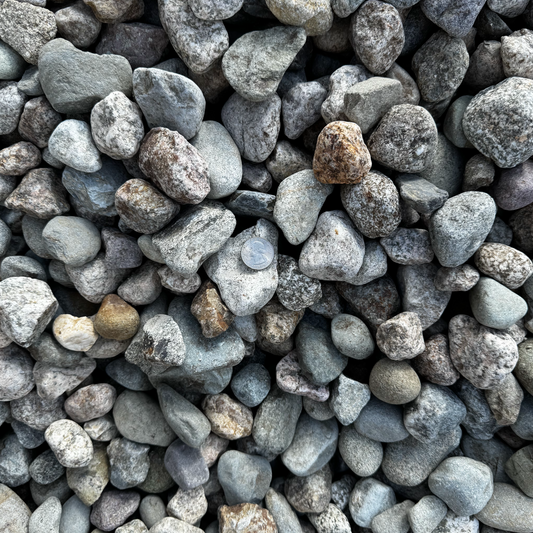
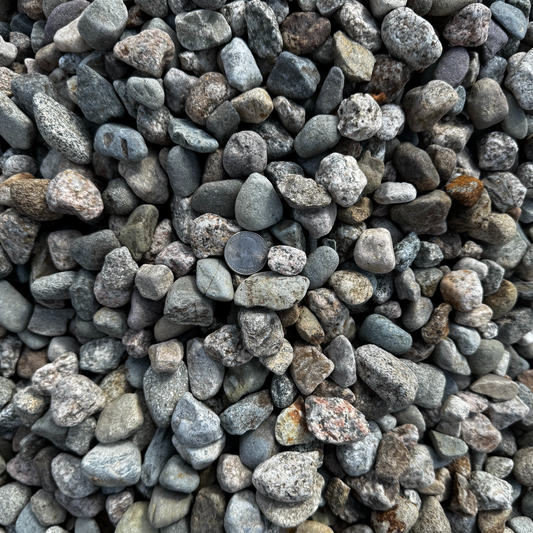
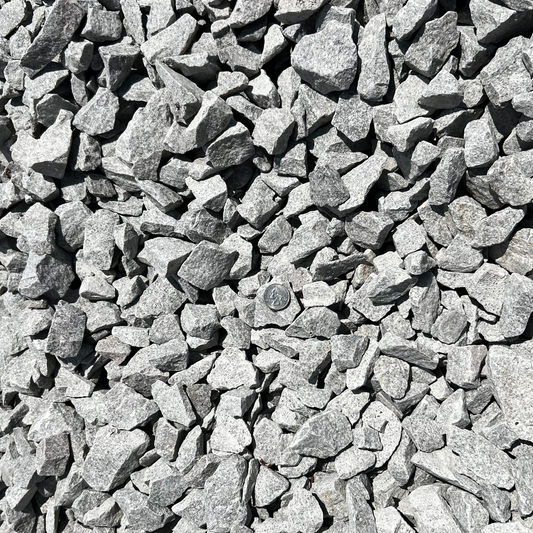
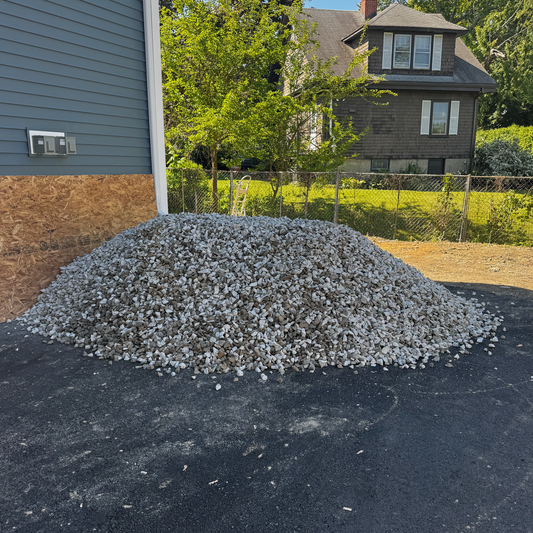
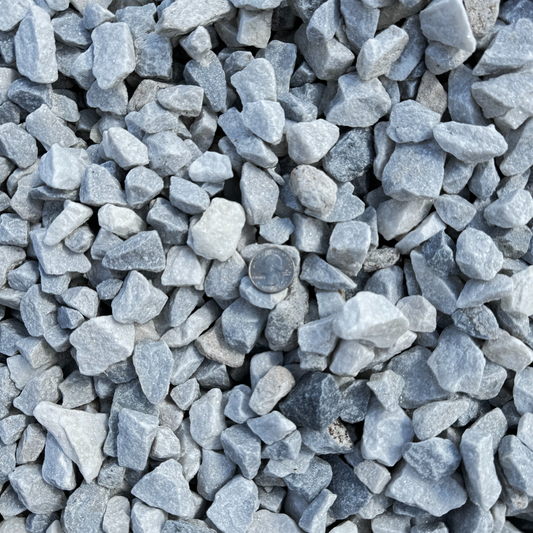
- 3"–6" river rock: 1.5 cubic yards for a 30-foot bed of typical 18" width. Available in the Decorative Stone collection.
- 3–5 larger boulders (12"–18"): anchors at turns and inlet
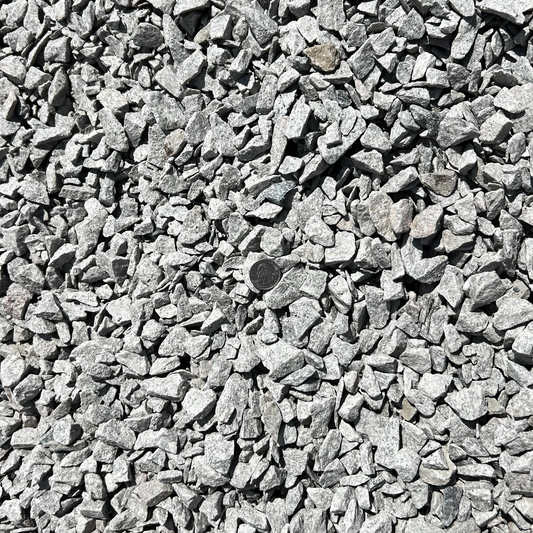
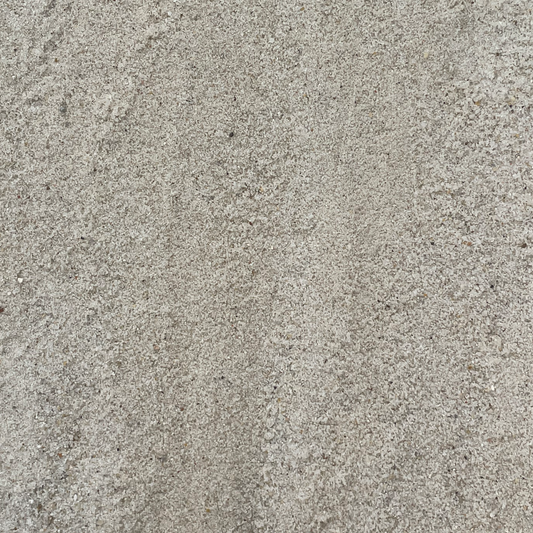
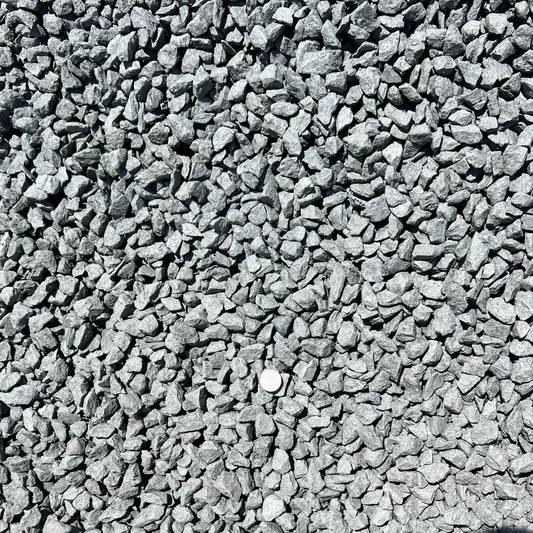
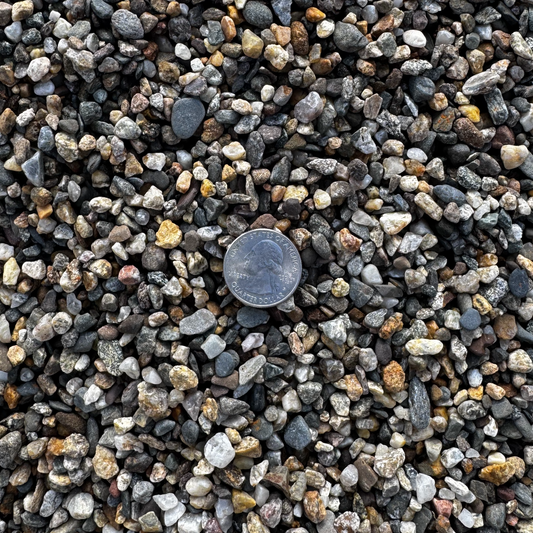
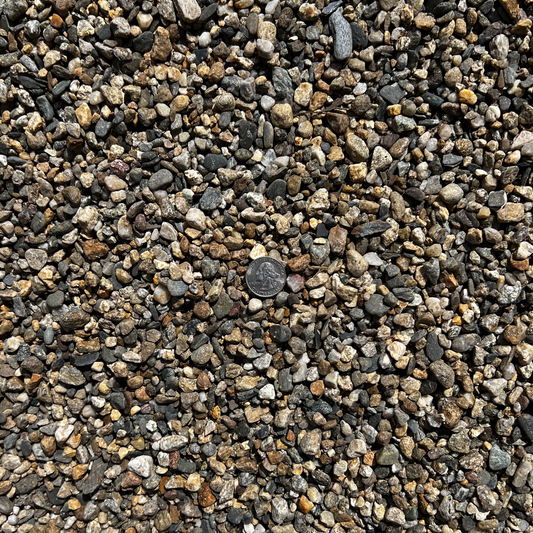
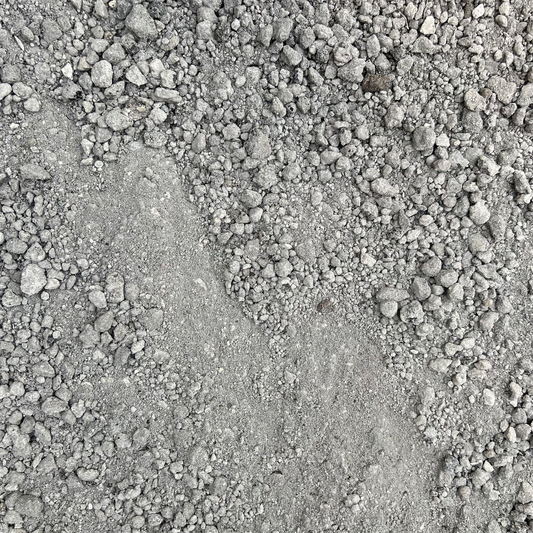
- 3/4" washed stone: 0.3 cubic yard for the base layer (in the Crushed Stone collection)
- Geotextile fabric: one 50-foot residential roll
- Tools: round-point shovel, wheelbarrow, hand tamper, garden hose for layout
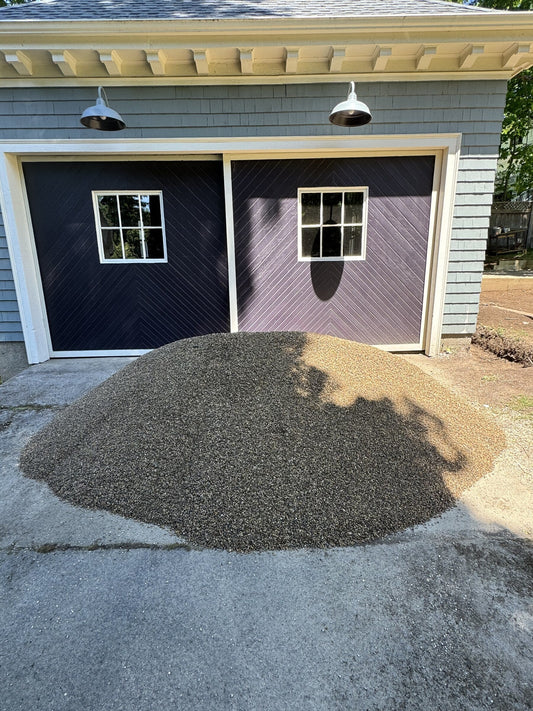
For Scituate delivery, the Scituate Landscape Supply page handles small-load scheduling. River rock is heavy — most homeowners need 2 trips to the wheelbarrow per cubic yard.
The Steps
1. Lay out the channel
Watch the yard during a real rainstorm. Mark where water actually flows — flagging or chalk on the lawn. After the storm, walk that line with a garden hose laid in gentle curves. Curves matter — a straight channel reads as a drainage ditch; gentle curves read as a stream. Aim for two or three subtle bends in a 30-foot run.
The bed should follow the natural runoff path within reason. Don't redirect more than a few feet from where water already wants to go — the redirect won't hold during heavy events.
2. Excavate the channel
12 inches wide minimum at the bottom; the visible top edge will be 18–24 inches because of the slope of the sides. 6 inches deep at the inlet, gradually deepening to 10–12 inches at deeper sections, then back up at the outlet. The cross-section is a shallow V, not a U or rectangle.
Maintain a gentle continuous downhill slope (1–2%) from inlet to outlet. Use a 4-foot level on a string line if needed. No back-flow zones.
3. Line with geotextile
Press fabric into the trench, lap up the sides 6 inches above grade, and pin every 3 feet with landscape staples. The fabric stops soil from migrating up and weeds from coming through. Critical for longevity — skip it and you'll have weed pressure within 18 months.
4. Add the washed-stone base
Spread 2 inches of 3/4" washed stone across the bottom of the channel. This adds drainage capacity beneath the visible river rock layer and prevents fines from being deposited into the channel during heavy flow. Compact lightly with a hand tamper.
5. Place larger boulders at turns and inlet
3–5 larger boulders (12"–18" across) at strategic spots:
- One at the inlet — directs incoming flow into the channel
- One or two at each curve — visually anchors the bend and prevents flow displacement during storms
- One at the outlet — frames the discharge
Place boulders before filling with river rock so they're seated firmly into the base.
6. Fill with river rock
3"–6" river rock filled to just below grade. Vary the rock size — mix the smaller 3" stones with occasional 5"–6" pieces. Pure-size river rock looks artificial; varied size reads natural.
The bed should sit 1" below adjacent grade so storm flow is contained within the channel and doesn't sheet over the edges.
7. Plant the edges (optional but recommended)
Native grasses and perennials along the edges complete the look. Switchgrass, little bluestem, joe-pye weed, blue flag iris all tolerate the moisture variability. The native picks are in 5 Native MA Plants That Thrive in Average Norfolk County Suburban Yards.
What to Connect to Each End
Inlet: The bed needs a defined inlet from the source of runoff:
- Downspout extension (with rip-rap or larger stone where the pipe daylights)
- French drain outlet (see What Goes In a French Drain? A Complete Massachusetts Homeowner Guide)
- Natural sheet flow concentration point
Outlet: Discharge to a lower spot:
- A rain garden or low-spot infiltration bed (see Fix #4 in 5 Drainage Fixes a Stoneham Homeowner Can Tackle With One Pallet of Stone)
- A rock pad at the property edge that lets flow disperse
- An existing drainage easement or storm-sewer inlet (check with your DPW first)
What to Watch the First Big Rain
- Inflow capture: All the runoff should enter the channel; if water sheets around it, your inlet placement is wrong.
- Channel containment: Water flows within the bed; no overtopping at curves.
- Outlet discharge: Water exits cleanly without backing up.
- No displacement: River rock stays in place. If stones move, your boulders aren't sized right or there's too much velocity at a turn.
If anything fails the first storm, recheck the slope, reposition boulders, and consider larger anchor stones at high-velocity points.
For coastal-property variants where the bed connects to bigger erosion-control work, 5 Erosion Control Materials Compared for Coastal Plymouth County Properties covers the heavier-stone approach.
For broader landscape stormwater guidance, UMass Extension Landscape and EPA Stormwater cover the residential-scale spec.


