


Quick Answer
To set stepping stones in a Melrose garden path without sinking, excavate each stone's footprint 4 inches deep, lay 2 inches of compacted 3/4" crushed stone, top with 1 inch of mason sand, and bed the stone with a rubber mallet so it sits 1/4 inch above grade. Skip any layer and the stone tilts or sinks within one freeze-thaw cycle. For a 30-foot path with stones at 24-inch spacing: roughly 0.5 cubic yards crushed stone and 0.25 cubic yards sand.
The Sinking Problem
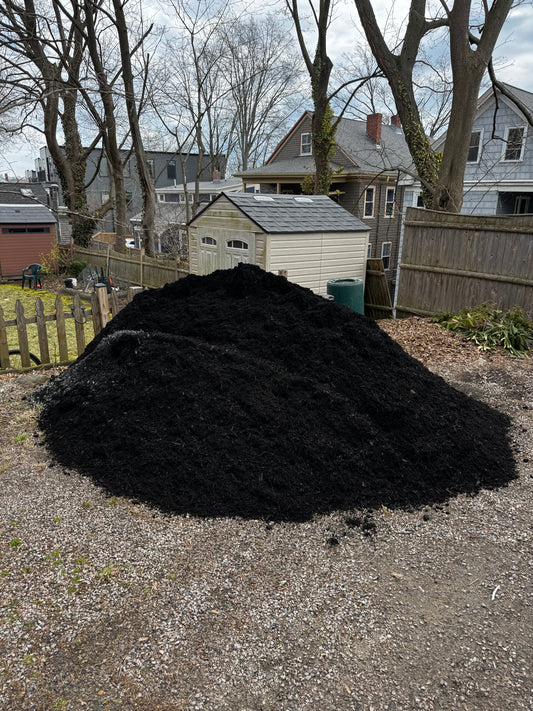
Most Melrose garden paths fail the same way: a homeowner sets pretty flagstones directly on lawn, the stones sink into the soft topsoil after one summer, and by April they're tilted, slick with moss, and tripping the dog. The fix is base prep — the same engineering used for a paver patio, scaled down to one stone at a time.
The principle is identical to what ICPI hardscape standards use for full patios: drainage layer + setting bed + finish course. Skip the drainage layer in Melrose's clay-heavy soils and water pools under the stone; the freeze-thaw lifts the stone, and spring leaves it tilted.
What You Need
For a 30-foot meandering path with 15 stones at 24-inch spacing:
- 15 stepping stones — 12–18 inch diameter flagstone, bluestone, or fieldstone (1.5–2.5" thick)
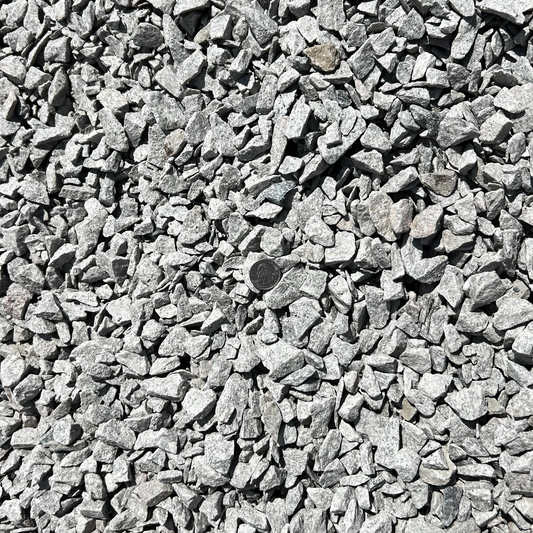
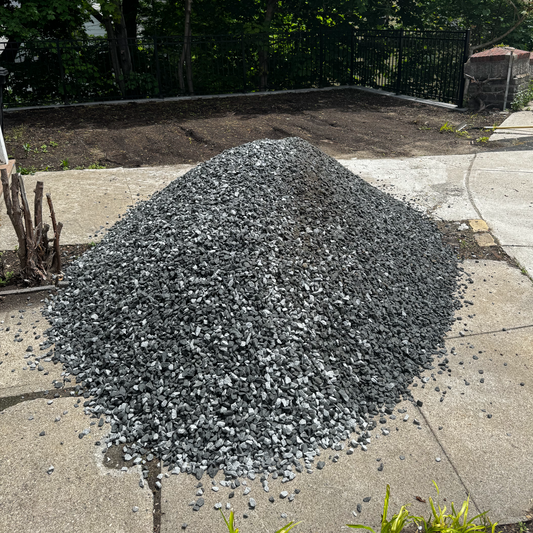
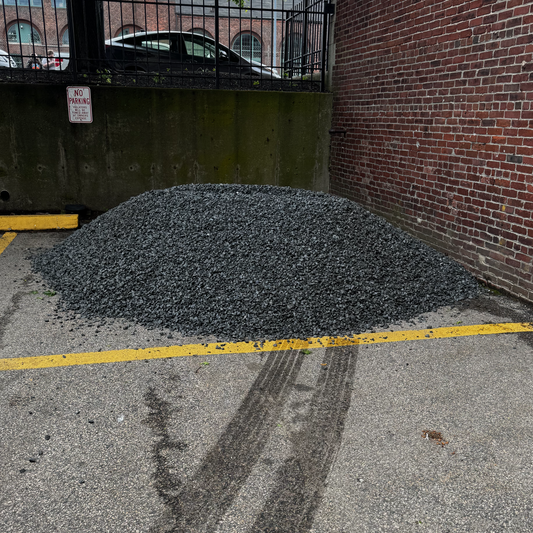
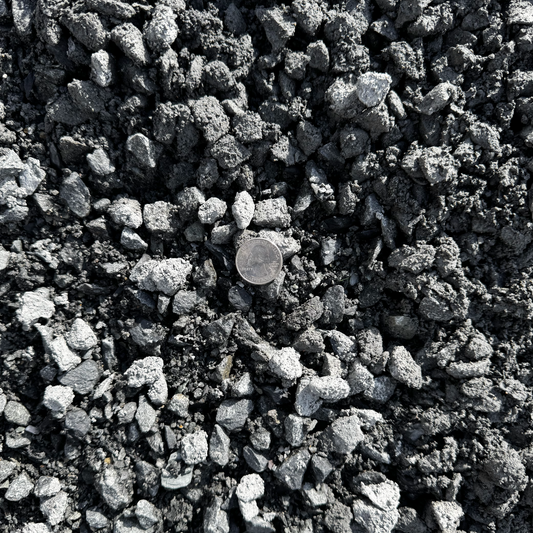
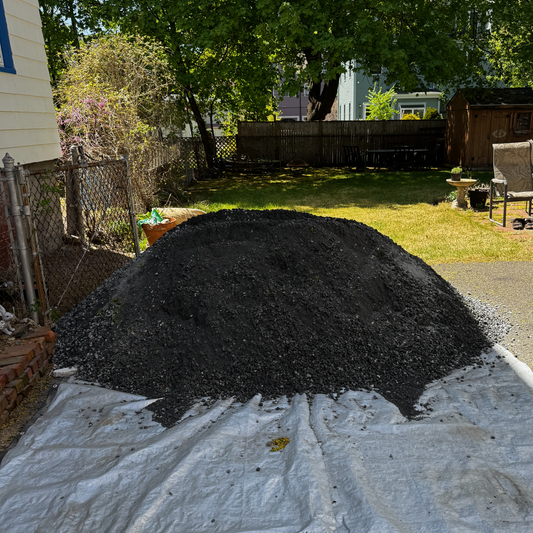
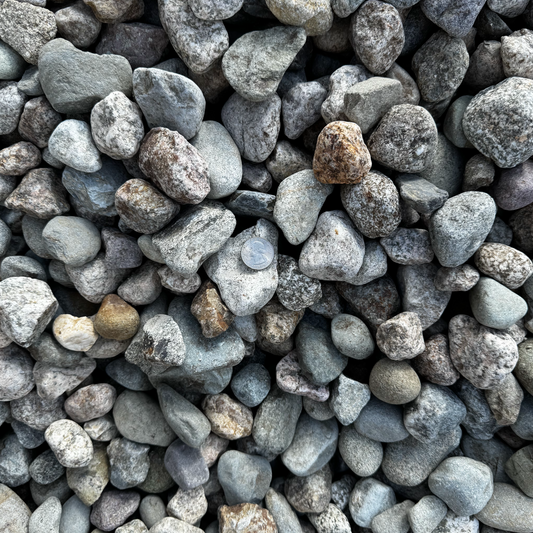
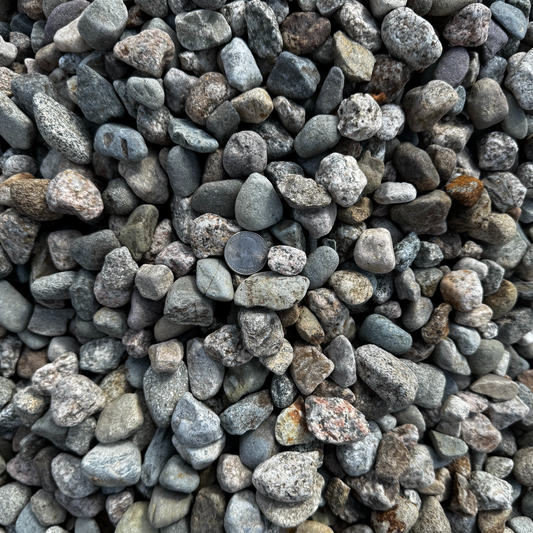
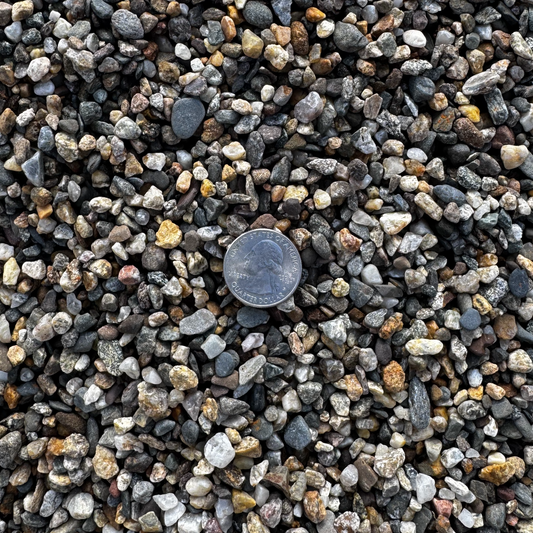
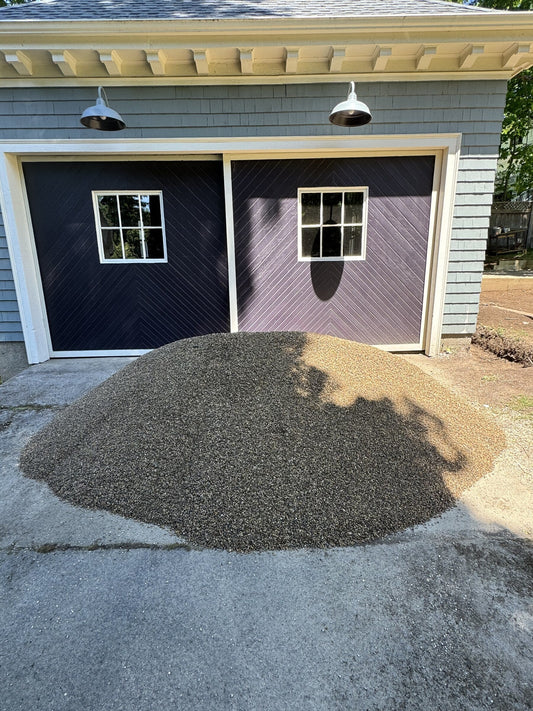
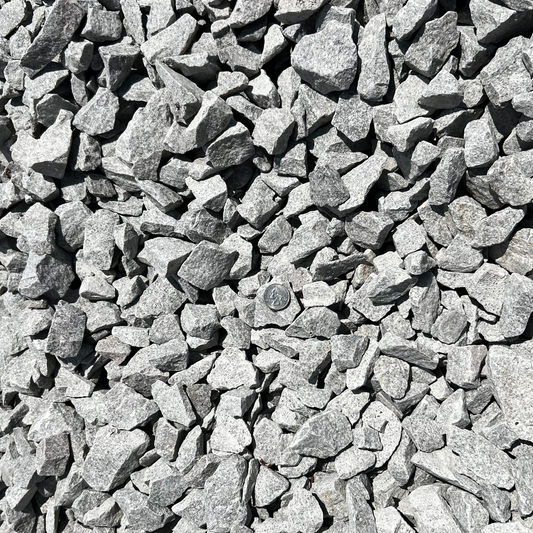
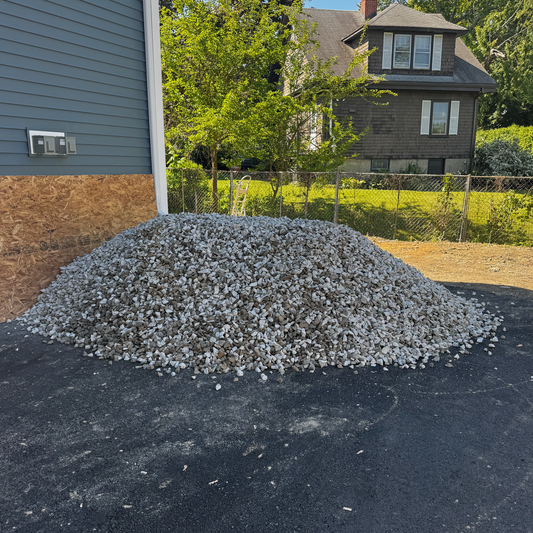
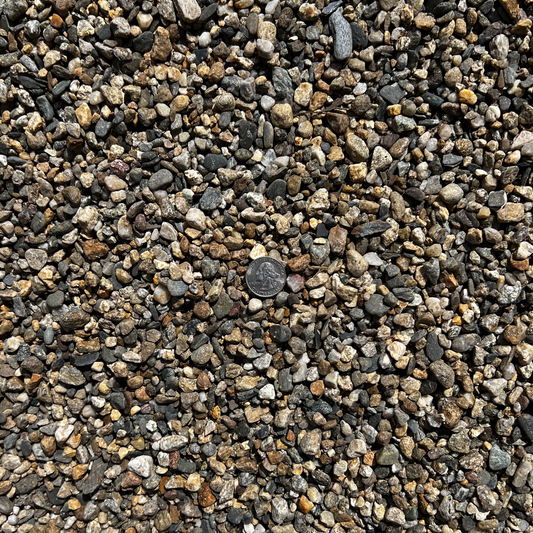
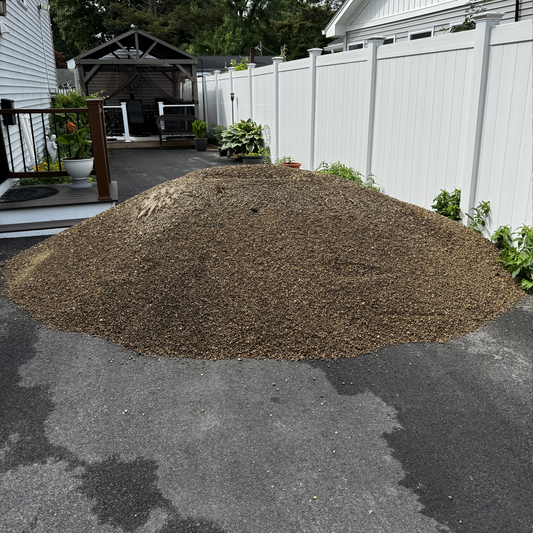
- 0.5 cubic yards 3/4" crushed stone — base/drainage layer
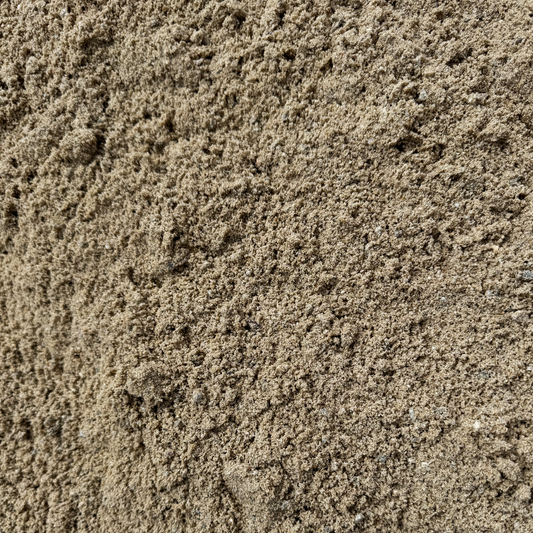
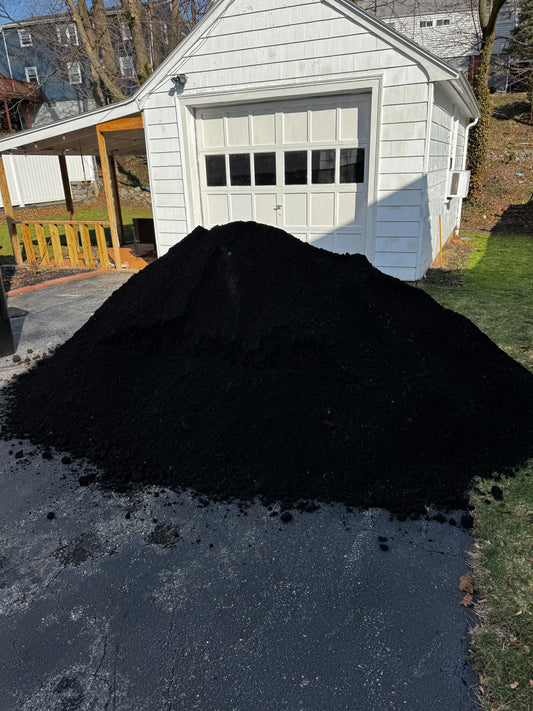
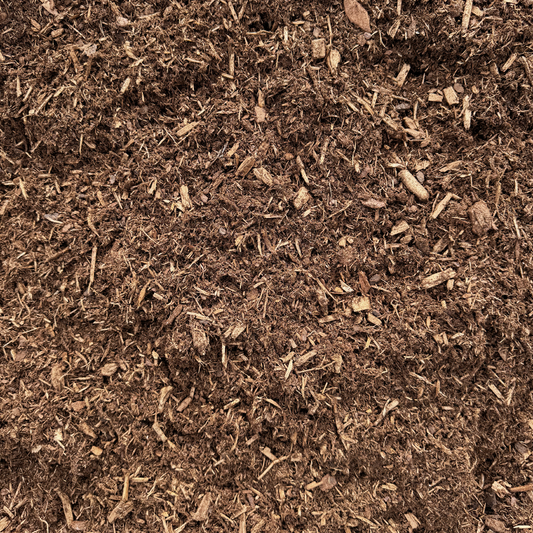
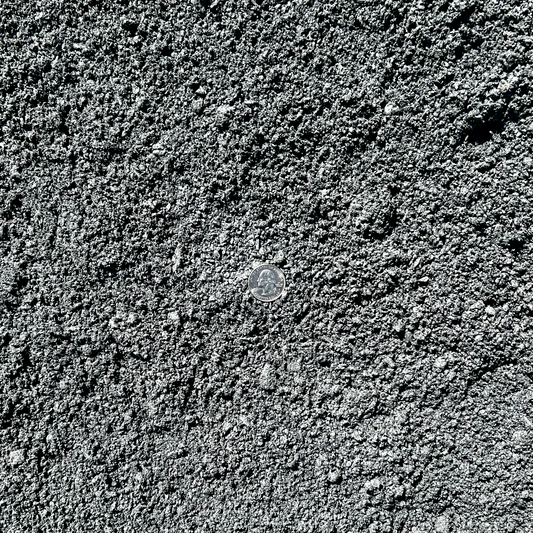
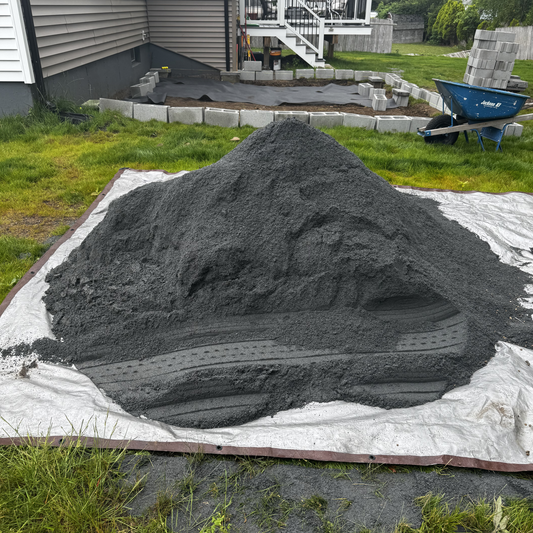
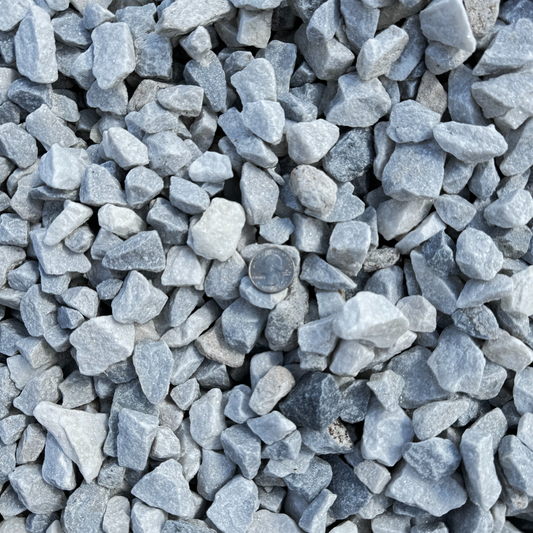
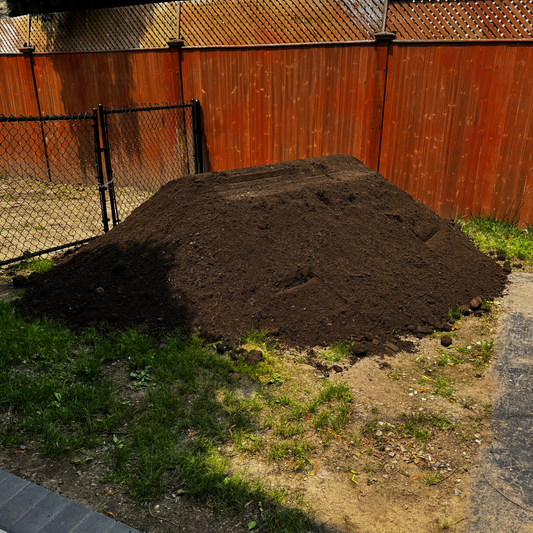
- 0.25 cubic yards mason sand — setting bed
- 15 sq ft woven landscape fabric — cut into stone-sized squares
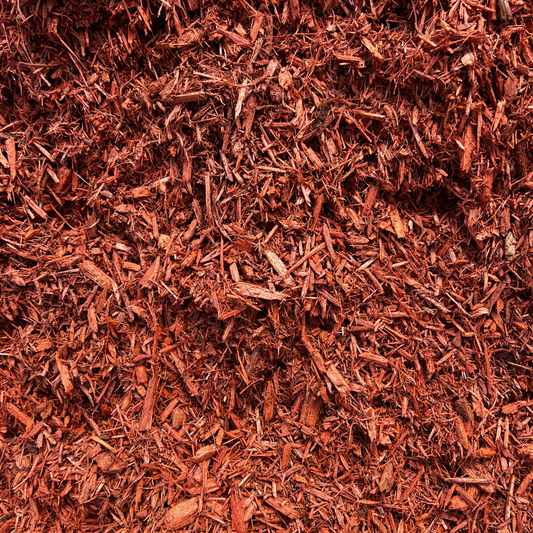
Browse the decorative stone collection for stepping-stone-grade flagstone and bluestone.
Tools
Flat-bladed shovel, hand tamper, rubber mallet, torpedo level, tape measure, marking paint or chalk.
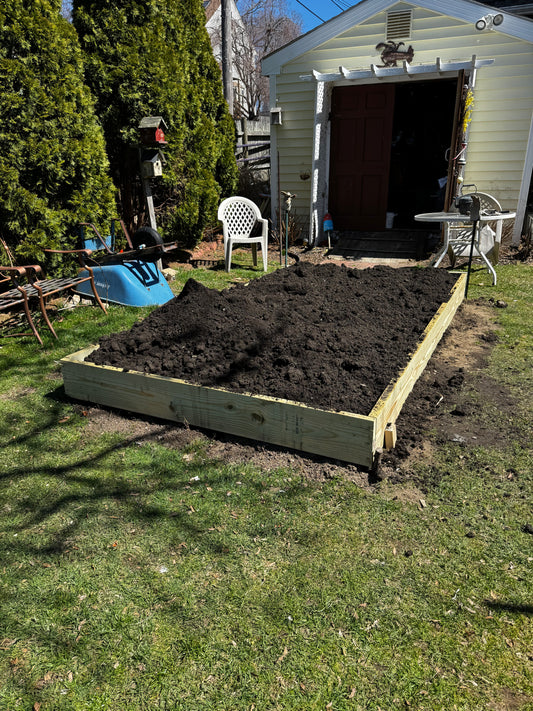
Step 1: Lay Out the Path (15 minutes)
Walk the path with the stones unloaded next to it. Place each stone exactly where it'll go. Spacing follows natural stride length — for adults, 24 inches center-to-center is the standard; for a longer-stride path, 26 inches.
Mark the outline of each stone with marking paint or chalk. Move the stones aside.
Step 2: Excavate the Footprint (45 minutes)
Dig 4 inches deep, 2 inches wider than the stone in every direction. The extra width gives you room to seat the stone without smashing the surrounding lawn.
For a meandering Melrose path through azaleas or a hosta bed, dig carefully — the stones go between plants, not through them. The foundation planting principles covered for a Brookline brownstone apply here too: respect existing root zones.
Step 3: Cut Fabric Squares (10 minutes)
Cut woven landscape fabric to fit each excavation with 2 inches of overhang. Woven fabric blocks weed root penetration without holding water. Drop one square in each hole.
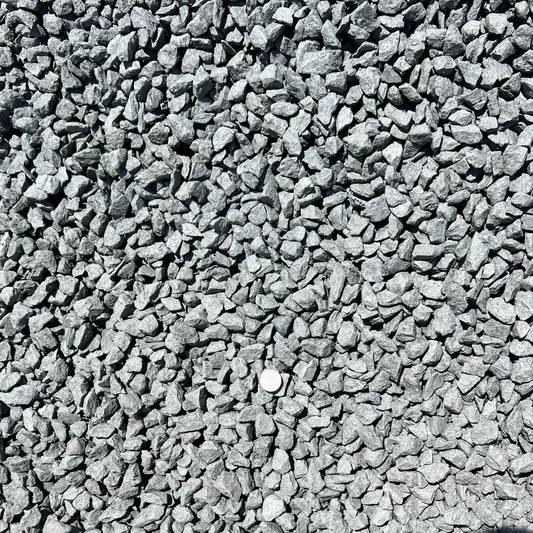
Step 4: Lay and Compact the Base Stone (30 minutes)
Add 2 inches of 3/4" crushed stone to each hole. Tamp firmly with a hand tamper — 4–6 solid hits per stone. The base should ring solid, not soft. This is the layer that prevents sinking.
For a stone walking-path comparison covering different surface stones, see 5 Stones for a Marshfield Backyard Walking Path That Won't Wash Out.
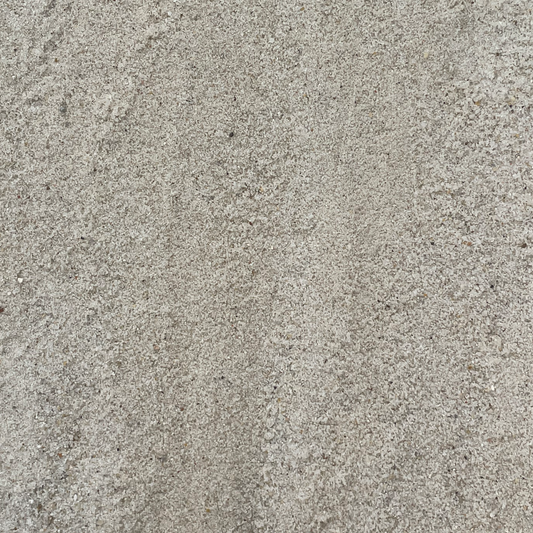
Step 5: Add the Sand Setting Bed (20 minutes)
Spread 1 inch of mason sand evenly over the compacted base. Rake smooth. The sand fills small voids in the stone face when you set it, distributes load, and lets you fine-tune the level with a rubber mallet.
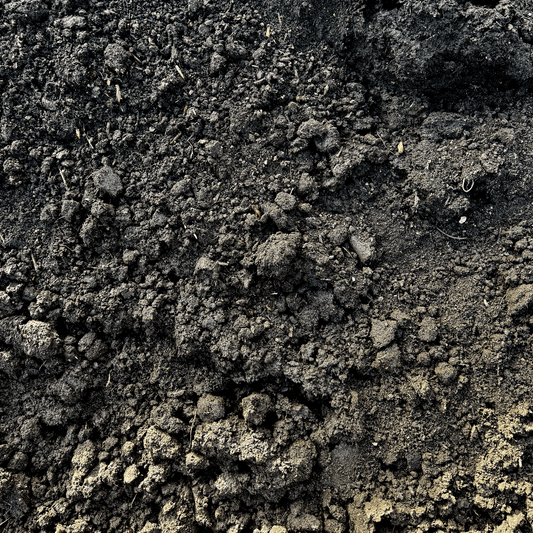
Don't substitute screened loam for mason sand. Loam holds water, freezes, lifts the stone. Mason sand drains.
Step 6: Set the Stone (45 minutes)
Place each stone on the sand bed. Tap with a rubber mallet to seat it. Check level with a torpedo level — across the stone in two directions. Ideal finish: stone sits 1/4 inch above grade, not flush. The slight crown sheds water and accommodates seasonal settling.
For uneven flagstones, set the flat side up. The bottom can be irregular; the surface needs to be even.
Step 7: Backfill and Reseed (30 minutes)
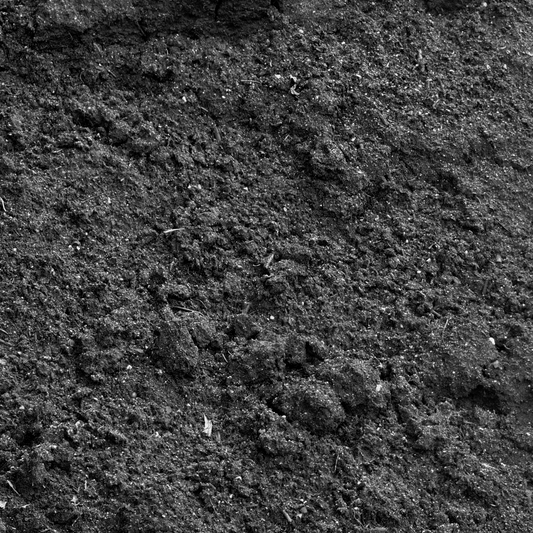
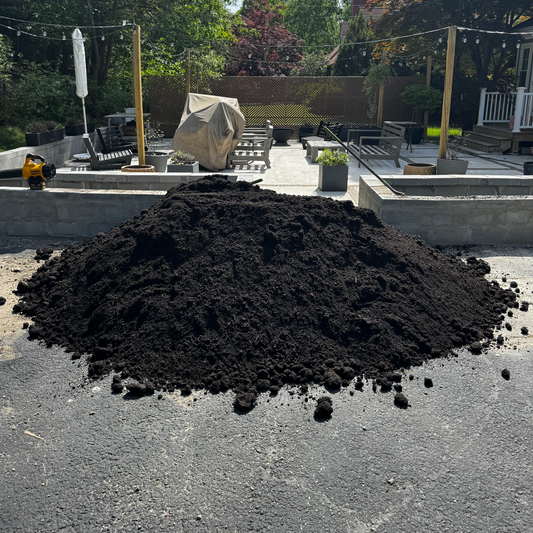
Pack the gap around each stone with screened loam. Press firm with your boot. Sprinkle grass seed if the path runs through lawn — see How to Reseed a Bare Spot Where the Snow Plow Tore Out a Medford Lawn for the seed mix appropriate to the Boston-North suburbs.
Water the path lightly. The seed germinates in 10–14 days; the stones don't shift while it does.
The Freeze-Thaw Test
Melrose hits 25–30 freeze-thaw cycles in an average winter. Stones that sit on bare soil heave. Stones that sit on a 2-inch crushed stone base with 1 inch of mason sand stay put. The base reservoirs the water; the sand bed redistributes pressure.
For the UMass Extension landscape guidance on freeze-thaw soil dynamics, the regional cue cards confirm the same engineering — drainage matters more than depth.
What This Means for You
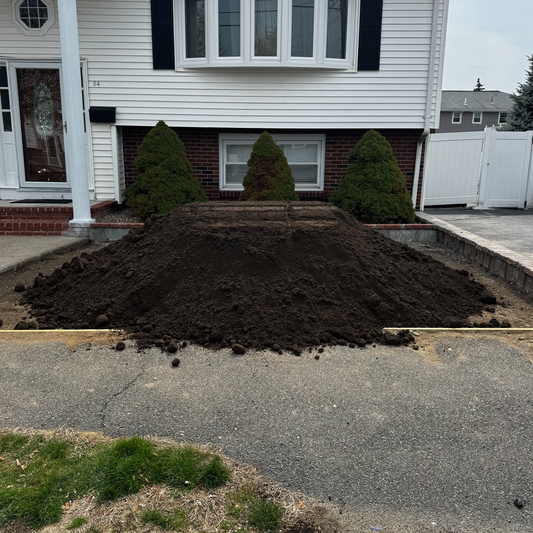
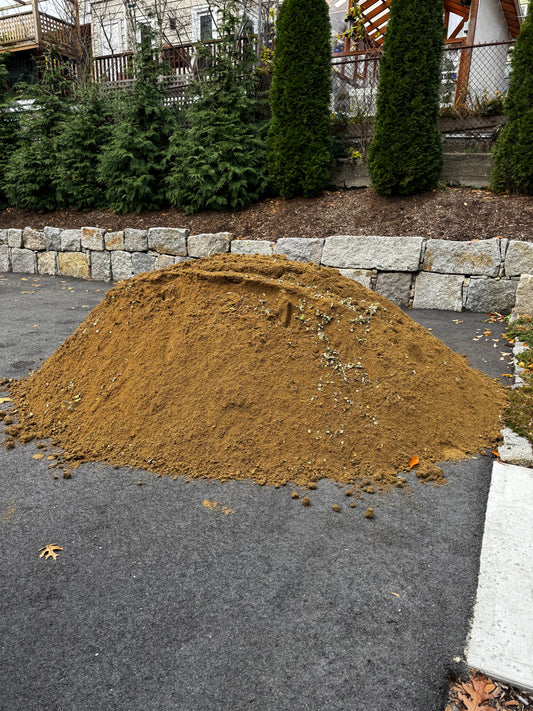
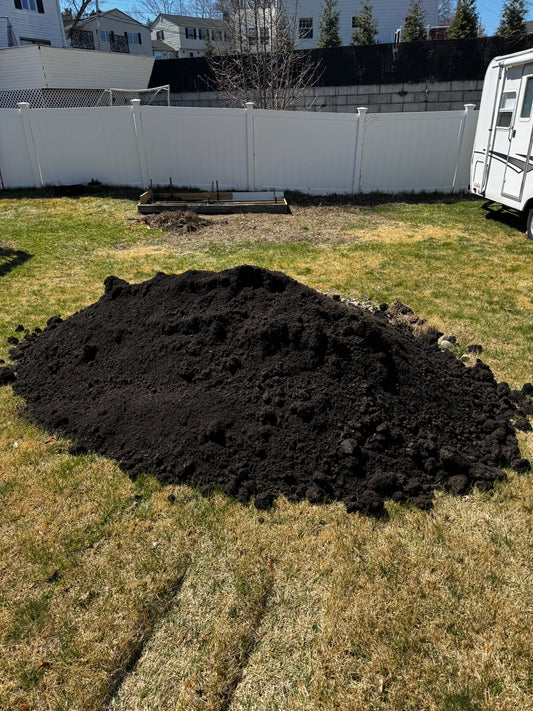
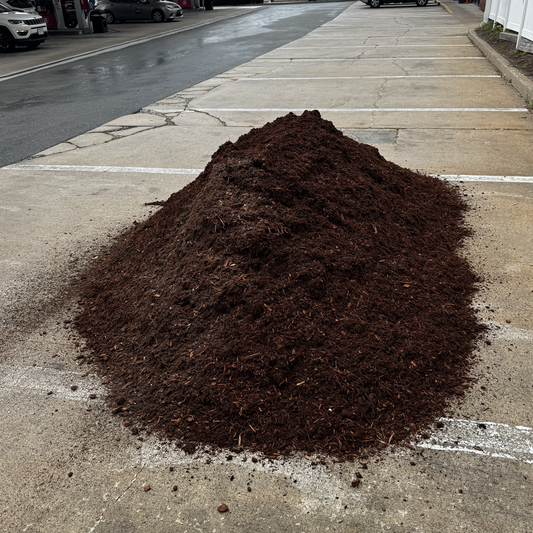
Four hours, one cubic yard total of bulk material from Ottr, and a stepping stone path that looks the same in April 2029 as it does Saturday afternoon. Order the crushed stone and mason sand together; both are stocked by the cubic yard at the Melrose-area landscape supply routes.
For a related stepping-stone build through a tighter side yard, see Building a Stepping-Stone Path Through a Cambridge Side Yard — same engineering, different access constraints.


