


Quick Answer
To layer annuals into a mulched Newton bed without disturbing the existing planting, pull the mulch back to expose 6 inches of soil around each new plant, dig the planting hole, drop in 1 inch of Compost at the base, set the plant, water deeply, then pull the mulch back over to within 2 inches of the stem. A 50 sq ft bed takes 12 to 18 annuals, 0.1 cubic yard of Compost, and 2 hours. The result reads as if the annuals grew in place.
Why Newton Beds Need a Layered Approach
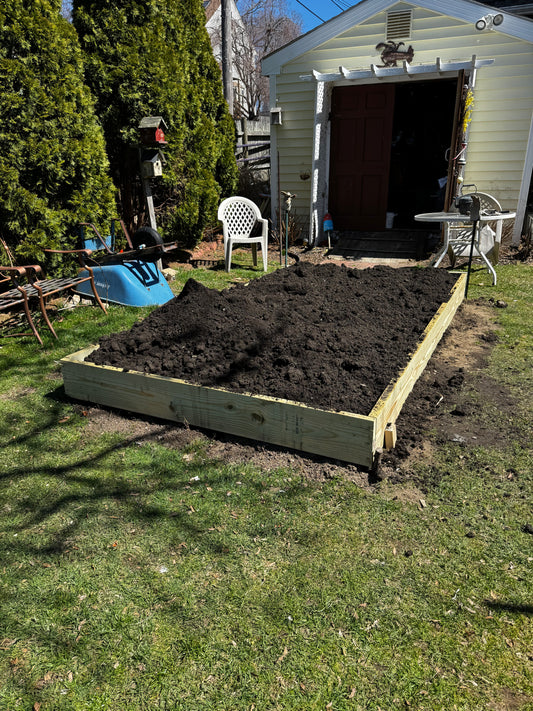
Newton's mature foundation beds — many planted in the 1970s and 80s — are full of perennials, shrubs, and root systems that you can't cut into without damage. Adding annuals for color requires working around those roots, not through them. The "layered" approach plants the annuals at the surface without disturbing the established planting beneath.
The UMass Extension Landscape program treats this as the standard residential approach for adding seasonal color to existing beds. Browse the mulch bed refresh collection for the bulk Compost and Hemlock Mulch.
What You Need
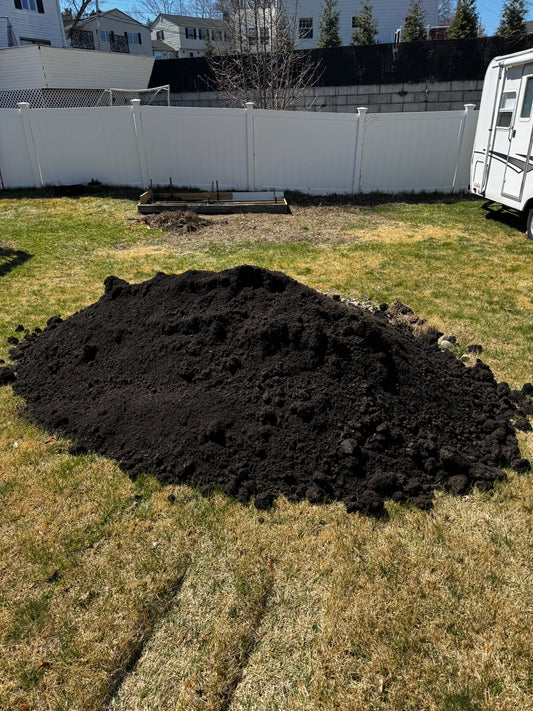
For a 50 sq ft section of an established Newton bed:
- 12 to 18 annual plants in 4-inch or 6-cell packs
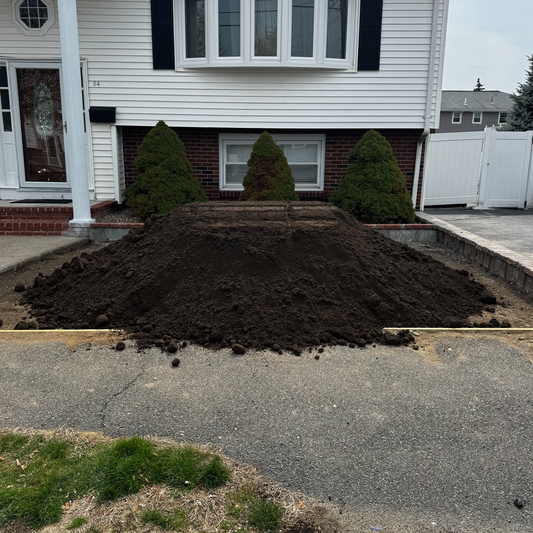
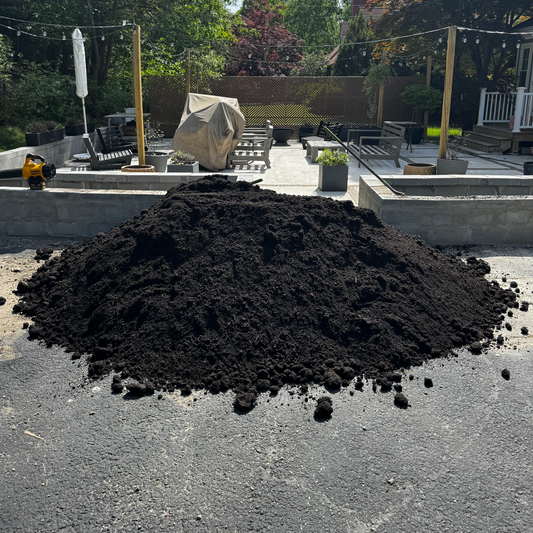
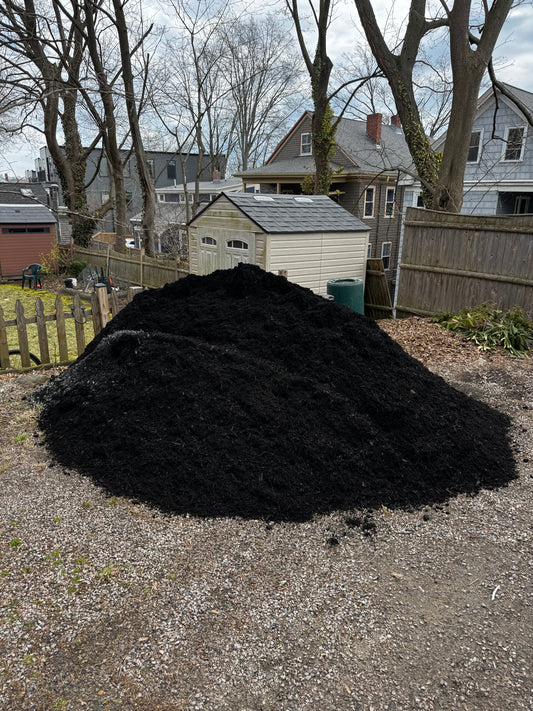
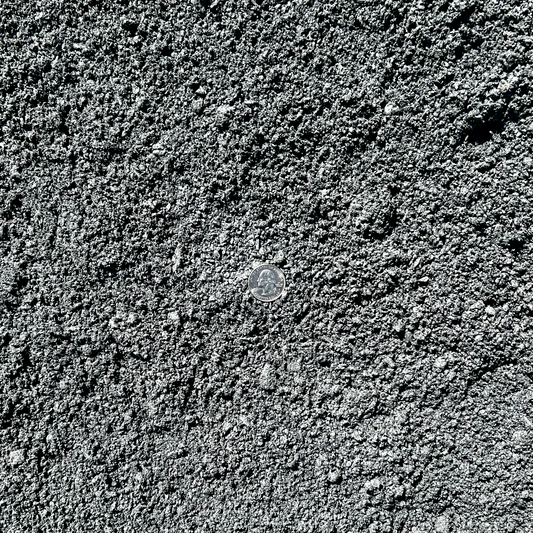
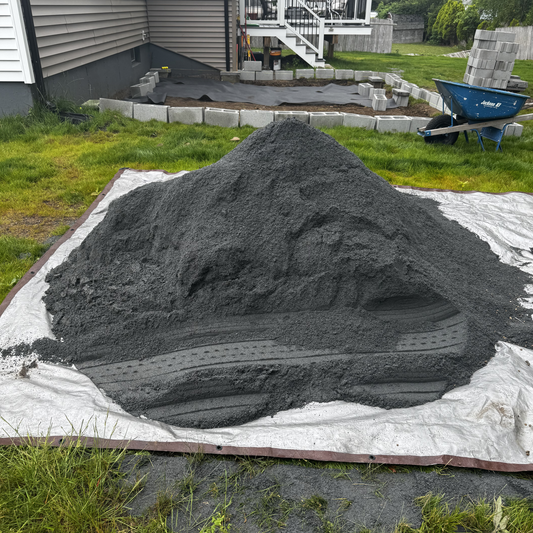
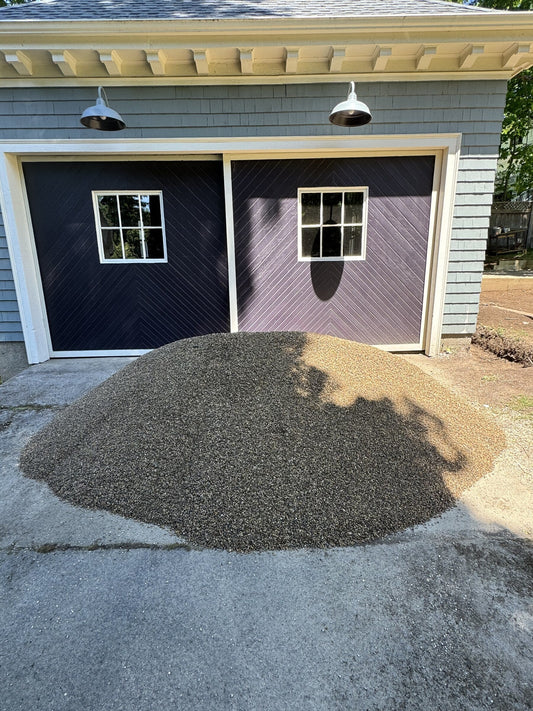
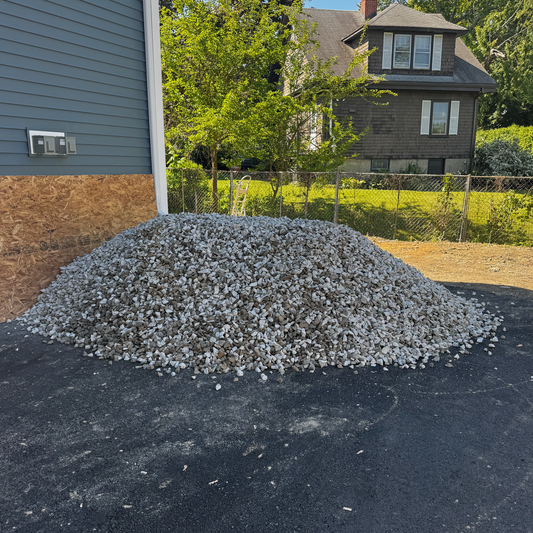
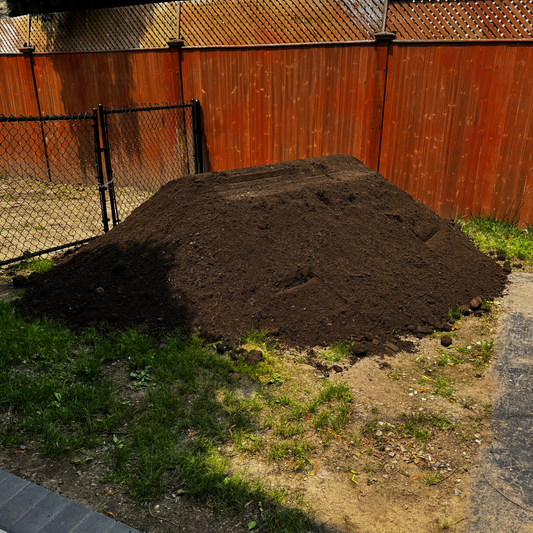
- 0.1 cubic yards Compost (about 3 cubic feet — a partial-yard delivery splits across multiple beds)
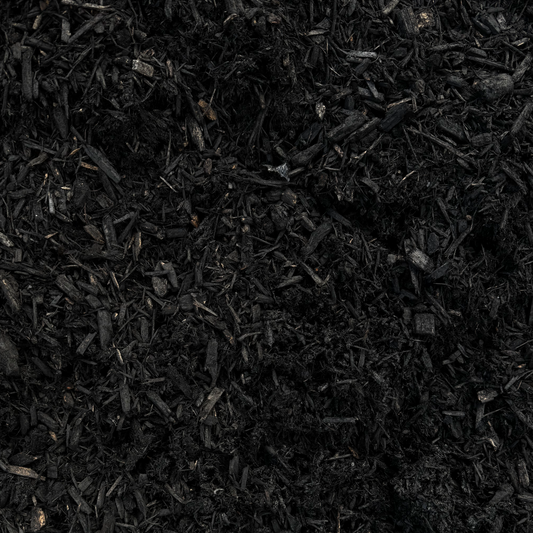
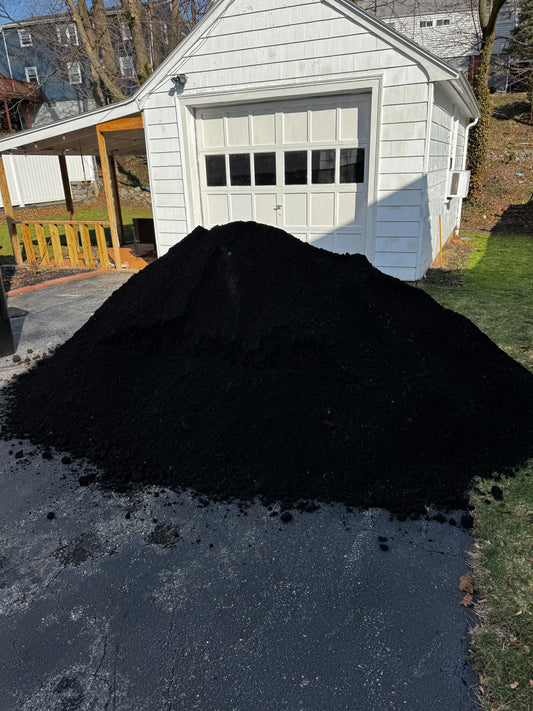
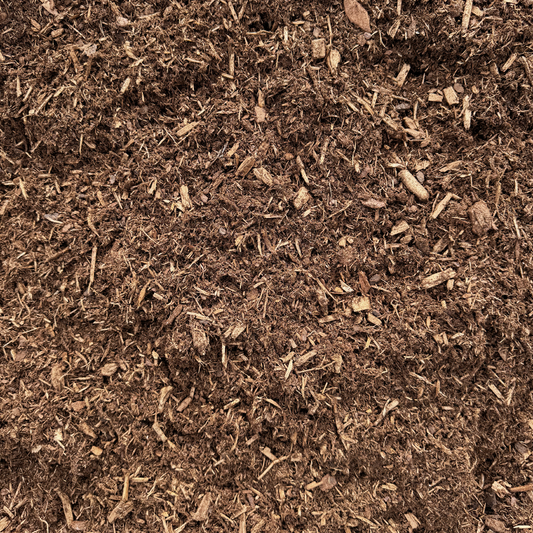
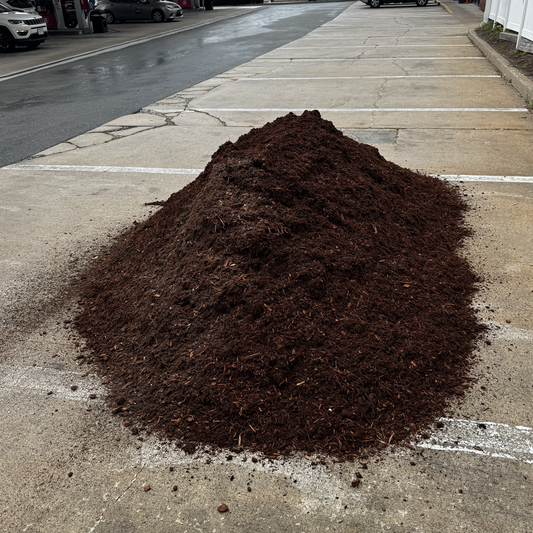
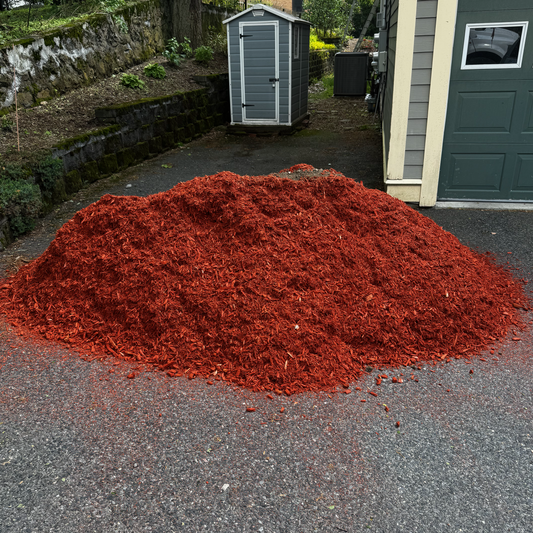
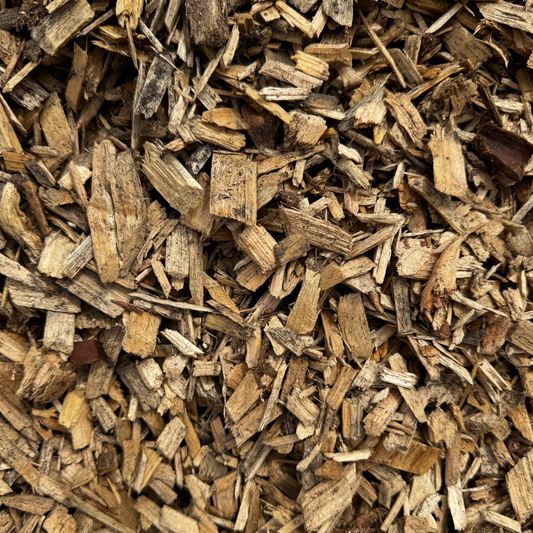
- 0.05 cubic yards Hemlock Mulch for top-up after planting
- A hand trowel and a hand cultivator from the Top 5 Spring Cleanup Tools for Somerville Yards list
Tools
Hand trowel, 4-tine hand cultivator, watering can or hose with breaker nozzle, kneeling pad, work gloves.
Step 1: Plan the Layout (15 minutes)
Walk the bed with the annuals still in their flats. Place each plant where it'll go — 12 to 18 inches apart for most annuals (Marigolds, Petunias, Salvia), 6 to 8 inches apart for low edgers (Alyssum, Lobelia). Mass plants in groups of 3 or 5 of the same color rather than scattering individuals.
For the perennial-bed planning that pairs with this work, see the How to Choose Crushed Stone Size for a Boston Project read for the layered logic principle (different application, same approach).
Step 2: Pull Mulch Back Around Each Spot (15 minutes)
Use the back of a hand trowel to scoop existing mulch back from each planned planting spot — exposing roughly a 6-inch-diameter circle of soil at each location. Don't toss the mulch; you'll pull it back over after planting.
If the existing mulch has compacted into a hard crust (common in Newton beds 2+ years past their last refresh), use the hand cultivator to break it up before pulling it back.
Step 3: Dig Each Planting Hole (30 minutes)
For each annual, dig a hole roughly twice the width of the cell pack and slightly deeper. The annual sits at the same soil level it grew at in the cell pack — not deeper, not higher. Set the soil aside.
Around any existing perennial roots, dig small (the annuals are shallow-rooted; they don't need full root depth). Cut roots with hand pruners only if necessary; better to find a slightly different spot.
Step 4: Add Compost at the Base (10 minutes)
Drop 1 inch of Compost in the bottom of each hole. The Compost gives the annual roots a rich starting point that the original mulched bed soil may have lost over years. Use the raised garden bed materials collection Compost for consistency with other Newton bed work.
Step 5: Set the Plants (30 minutes)
Tap the cell pack to release each annual. Loosen any circling roots by gently pulling them outward. Set the plant in the hole, backfill with the original soil mixed with a splash of the Compost, and press firm with both hands.
Step 6: Water Deeply (10 minutes)
Water each plant slowly with a breaker nozzle — 1 quart per plant minimum. The deep first watering settles the soil around the roots and eliminates air pockets.
For the watering math on adjacent perennial beds, see the How to Layer Annuals into a Mulched Newton Bed (this article) and the upcoming Half-Moon Edger vs Power Edger for a Norfolk County Bed Edge read on April 29.
Step 7: Pull Mulch Back Over (15 minutes)
Pull the existing mulch back into the planting circle around each new annual — but stop 2 inches short of the stem. Same rule as the How to Mulch Properly Around a Newly Planted Watertown Tree read: no mulch contact with the stem.
If the existing mulch has thinned to less than 2 inches, top up with fresh Hemlock Mulch from the Newton landscape supply routes — bring the bed back to 3 inches deep across the full surface.
Step 8: Walk Back Through (5 minutes)
Walk the bed and adjust any plants that settled below grade or tilted. Press firm one more time around each.
What This Means for You
Two hours, one partial-yard delivery, a Newton bed that gets seasonal color without disturbing the perennials and shrubs that have been there for 30 years. The 2026 follow-up on the same layered logic applied to vegetable mulch in Plymouth County is the 2026 veg mulch Plymouth County read.


