


Quick Answer
Refresh a tired Duxbury mulch bed in five steps: rake the surface crust, weed by hand, re-cut the bed edge, measure the existing depth, and top up with only the add-on volume to bring total depth to 2 inches. Duxbury's coastal salt-air exposure breaks down mulch faster than inland yards, so a typical Duxbury bed in March shows 0.5-1 inch existing - meaning the add-on is usually 1-1.5 inches. A 250 sq ft Duxbury bed needs around 0.75-1 cubic yard of fresh mulch, not the full 1.5 a homeowner might assume.
Why Duxbury Beds Wear Faster
Duxbury sits at the coast - properties along Powder Point, off Bay Road, and around Snug Harbor get steady salt-air exposure. Wind-driven sea spray accelerates mulch breakdown by leaching out the lignin that gives mulch its structural integrity. By March, last year's mulch in a typical Duxbury front bed is 30-40% degraded, vs 15-25% in an inland Plymouth County bed.
The flip side: Duxbury beds need a bit more frequent refreshing, but the refresh volume is smaller per cycle. The math works out comparable to inland beds annually.
Step 1 - Rake to Break the Crust
The top half-inch forms a crust that sheds rainwater. A metal-tine rake breaks the crust in 15 minutes for a typical 250 sq ft bed.
In Duxbury, the crust is often more pronounced - salt-air-driven evaporation hardens the surface. After raking, the bed should look fluffier and the underlying layer should be visible.
Step 2 - Weed by Hand
Duxbury beds in early March show the early flush of:
- Wild geranium (the dominant early weed near the coast).
- Hairy bittercress.
- Common chickweed.
- Sand spurry in side-yard strips closer to the road.
Hand weed for 20-30 minutes per typical bed. Do it before adding new mulch - pulling weeds through fresh mulch in May is twice the work.
Step 3 - Re-Cut the Bed Edge
Walk the perimeter with a half-moon edger. Cut a 4-inch-deep V-edge. For the full edging walk-through, 5 Edging Tips Before You Spread Mulch in Bristol County covers the technique - same approach in Duxbury.
A re-cut edge contains the new mulch, defines the bed visually, and gives the May mowing line a clean surface.
Step 4 - Measure What's Left
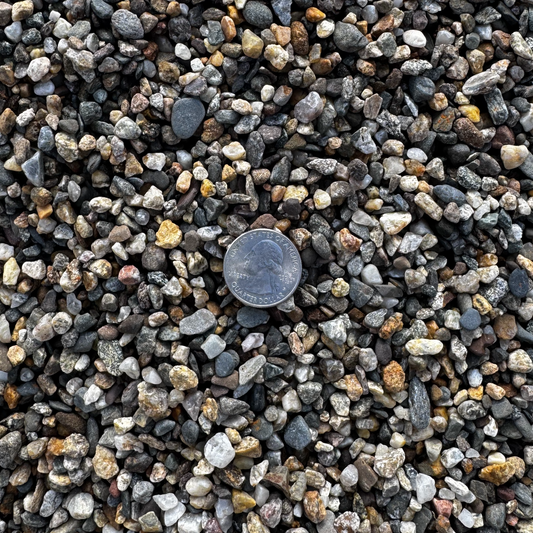
Push a hand trowel through the existing mulch. Measure with a ruler.
Duxbury-typical existing depths in March:
| Bed type | Existing depth | Add-on needed |
|---|---|---|
| Front foundation | 0.5-1 in | 1-1.5 in |
| Side coastal-exposure strip | 0.25-0.5 in | 1.5-2 in |
| Back patio bed (sheltered) | 1-1.5 in | 0.5-1 in |
| Tree ring | varies | bring to 2 in, off trunk |
Take 3-4 measurements per bed - exposure varies even within one yard.
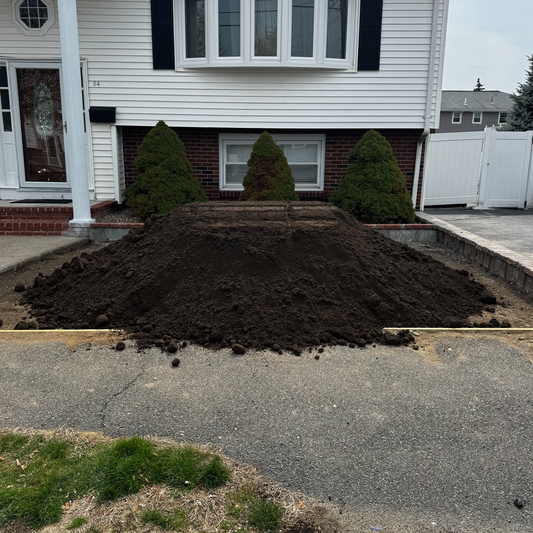
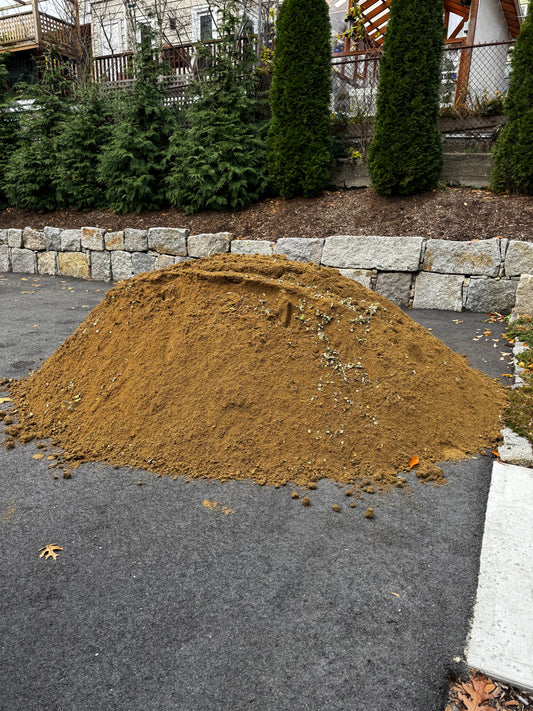
Step 5 - Calculate the Add-On
Use the formula:
(Square feet x add-on inches) / 324 = cubic yards
For a typical Duxbury 250 sq ft bed at 0.5 inch existing (so 1.5 inch add-on):
250 x 1.5 / 324 = 1.16 cubic yards. Round to 1.25 yards.
For a sheltered back patio bed of 150 sq ft at 1 inch existing (so 1 inch add-on):
150 x 1 / 324 = 0.46 cubic yards. Round to 0.5 yards.
For the broader yardage formula reference, How to Calculate Hardwood Mulch Yardage for a Plymouth County Bed covers the math in detail.
Step 6 - Spread Carefully Around Coastal Plantings
Duxbury's coastal plantings - bayberry, beach plum, salt-tolerant junipers, mature rugosa rose - have shallow root systems adapted to sandy coastal soil. Mulch goes over the soil, not into it. Three rules:
- No mulch against trunks or stems. 3-6 inch ring of bare soil around tree trunks; 1-2 inch around shrub stems.
- Don't till mulch in. Lay it on top.
- Watch for salt damage signs as you spread. Dead patches in coastal beds are usually salt damage, not mulch problems.
Use a flat-tine rake to spread evenly to 2-inch total depth.
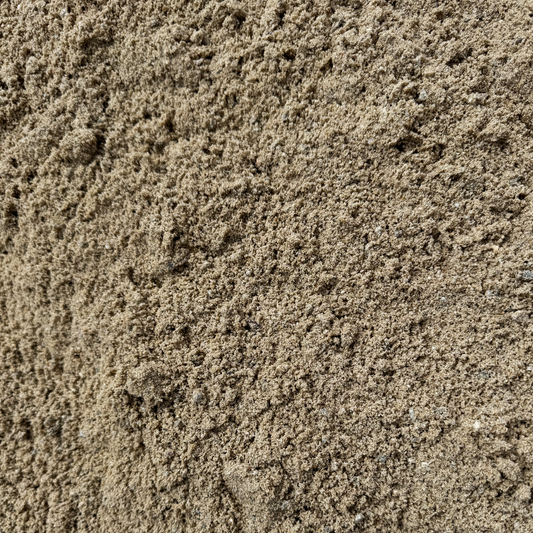
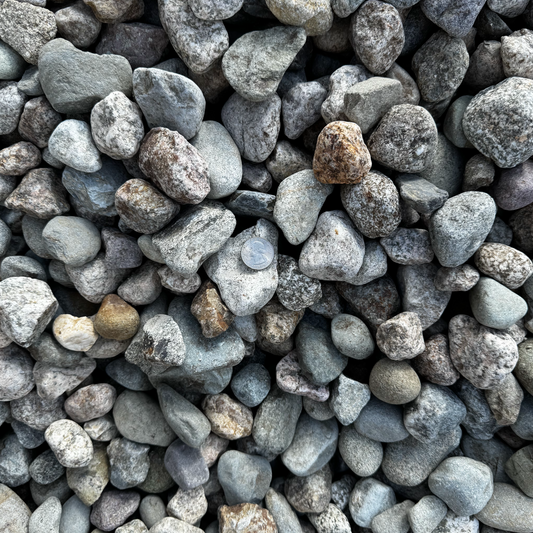
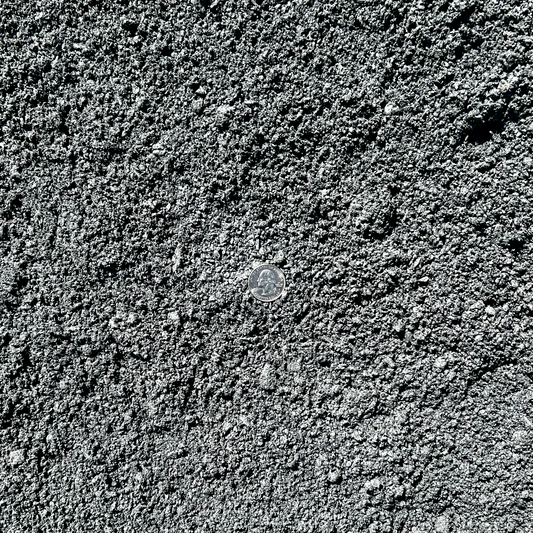
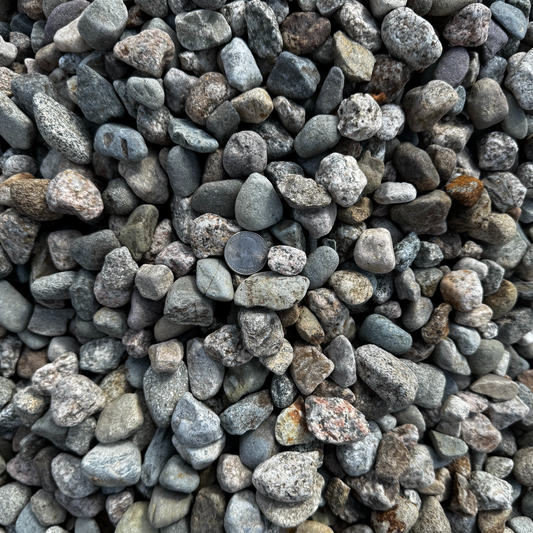
Step 7 - Choose the Right Mulch for Coastal Conditions
Duxbury beds reward two product choices:
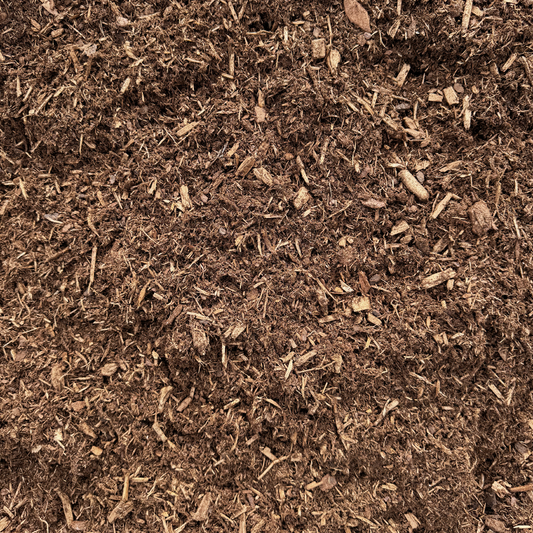
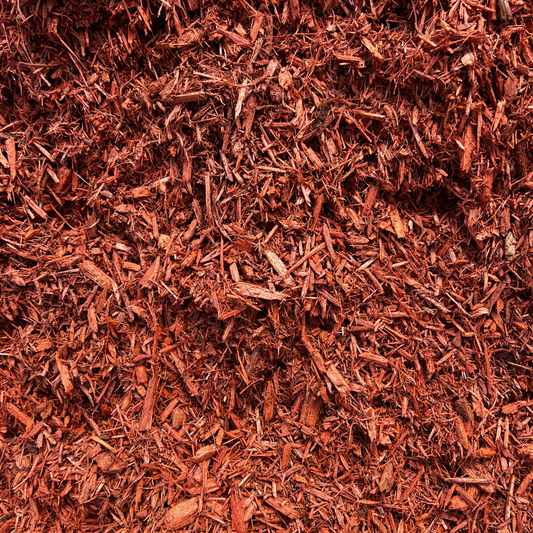
- Hemlock mulch - higher tannin content, fades to gray-brown faster but holds structure better in salt air. The classic South Shore choice.
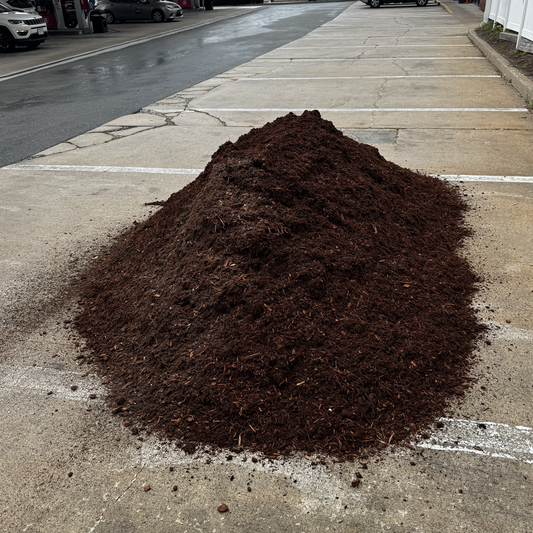
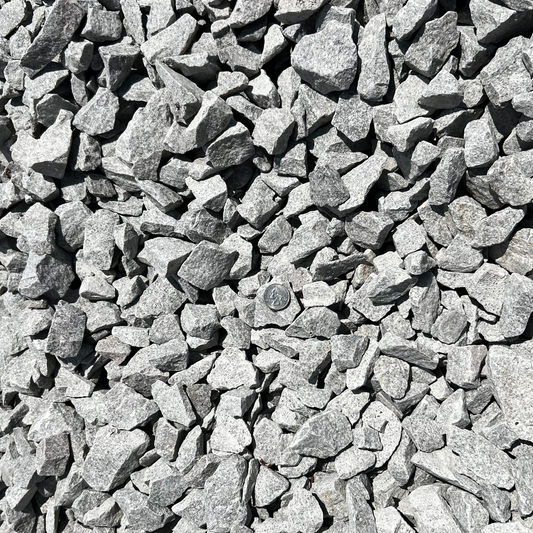
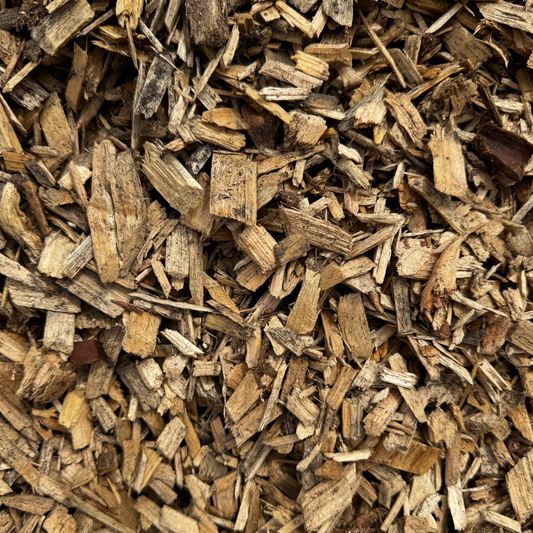
- Pine bark mulch - chunkier, slower to break down, pairs well with sandy coastal soil.
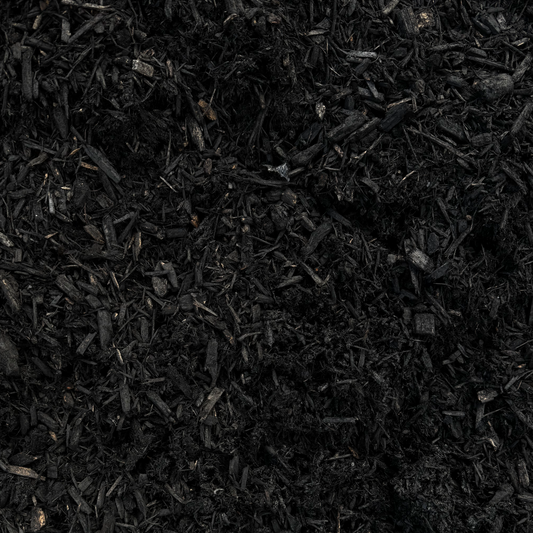
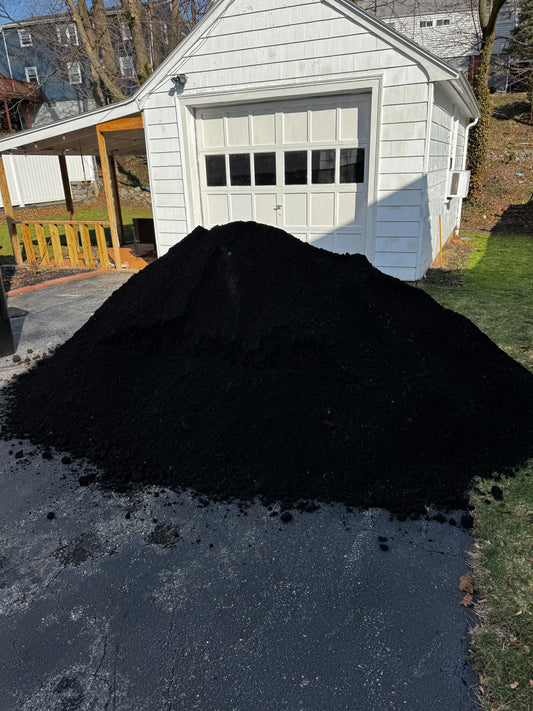
Skip dyed black in coastal exposure - the dye fades visibly faster in sun-and-salt, and the black absorbs heat in sand-based beds (already warm in summer).
For the broader product comparison, the 2026 Plymouth County hemlock vs pine bark walk-through covers the trade-offs that apply directly to Duxbury.
When to Skip the Refresh
- Bed has 2+ inches of clean mulch. Skip and save the spend.
- Salt damage from winter storms is severe. Address the salt damage first - flush the bed with fresh water during a thaw and let it drain - before adding new mulch.
- Bed is being redesigned. Don't refresh a bed you're tearing out.
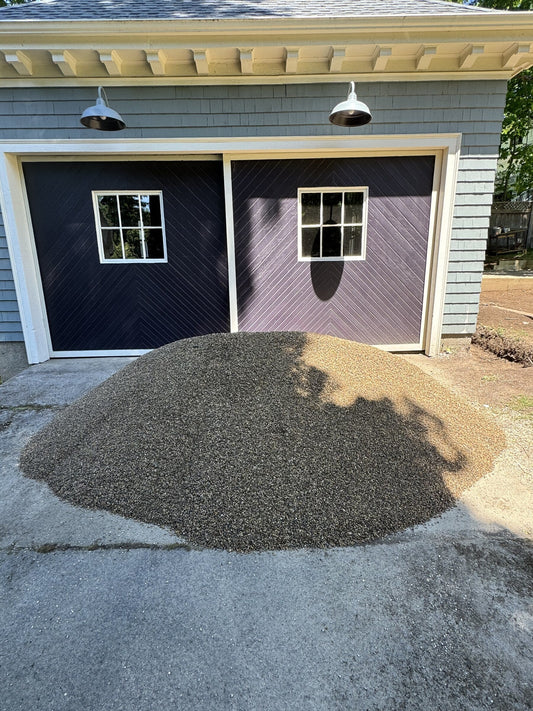
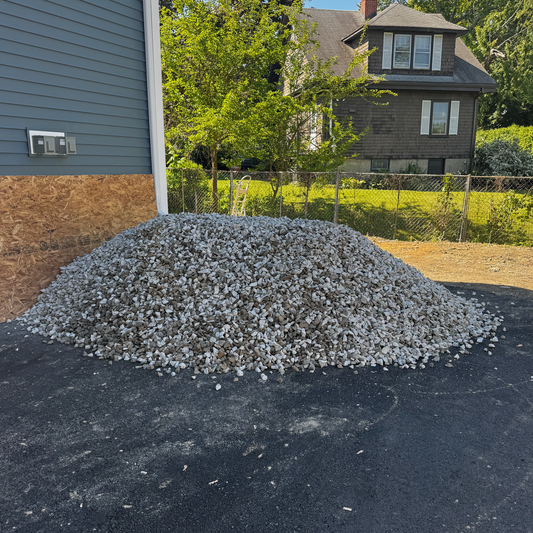
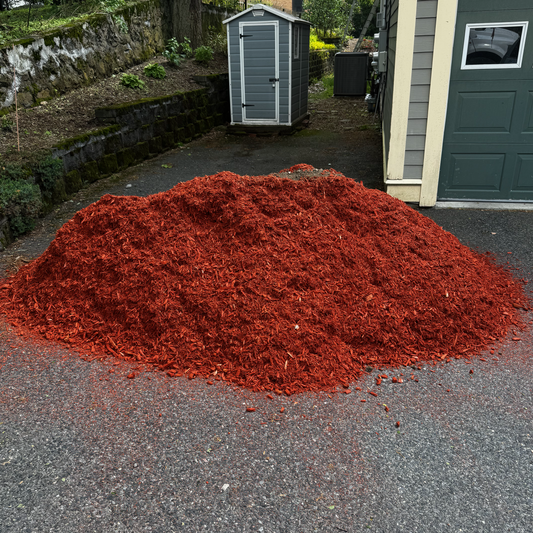
Where to Buy
Browse the mulch-bed-refresh collection and the Duxbury landscape supply route for current pricing and delivery. The Brockton bulk yard runs the South Shore route - Duxbury delivery is on standard schedule.
For the contractor crew logistics on the same route, Brockton contractor crew logistics covers the multi-stop South Shore delivery side.
For the broader regional reference, UMass Extension Landscape, Nursery & Urban Forestry has the authoritative source on coastal landscape management.
Common Mistakes
- Adding 2 inches of new mulch on top of 1.5 inches of weathered mulch.
- Skipping the rake-and-weed step.
- Re-mulching without re-cutting the salt-eroded bed edge.
- Using dyed black in full-sun coastal exposure.
- Piling refresh mulch against tree trunks of mature heritage trees.
The short version: rake, weed, edge, measure, top up to 2 inches total. Refresh, don't replace. Duxbury's coastal beds run cleaner and the order is smaller when you measure first.


