


Quick Answer
Building a pollinator border in a Waltham backyard takes about 4 hours and runs 25 feet by 4 feet for a typical mid-block lot. Five moves: mark the border with a hose, strip sod and amend with 1/4 cubic yard of compost, plant 12 to 15 native perennials in drifts of staggered bloom times, mulch with 1 cubic yard of Pine Bark Mulch to 2 inches, and commit to zero pesticides. The border supports bees, butterflies, and hummingbirds from June through October.
Why Waltham Backyards Are Ideal Pollinator Habitat
Waltham — Bleachery, Piety Corner, Cedarwood — sits along the Charles River corridor with a network of nearby protected open space (Beaver Brook Reservation, Prospect Hill Park). Backyard pollinator borders here knit into existing pollinator highways. Even a 100-square-foot border feeds significant insect traffic and attracts ruby-throated hummingbirds during their fall migration through the Charles River valley.
The MA Audubon pollinator program and the Native Plant Trust both maintain regional plant lists for MA-native pollinator gardens.
Step 1: Mark the Border (15 minutes)
Lay a long garden hose along the sunniest edge of the backyard — usually south- or west-facing, against a fence or tree line. Aim for 25 feet long by 4 feet deep. The 4-foot depth lets you plant in drifts and tend the back row from the bed itself.
Step 2: Strip Sod and Amend Soil (60 minutes)
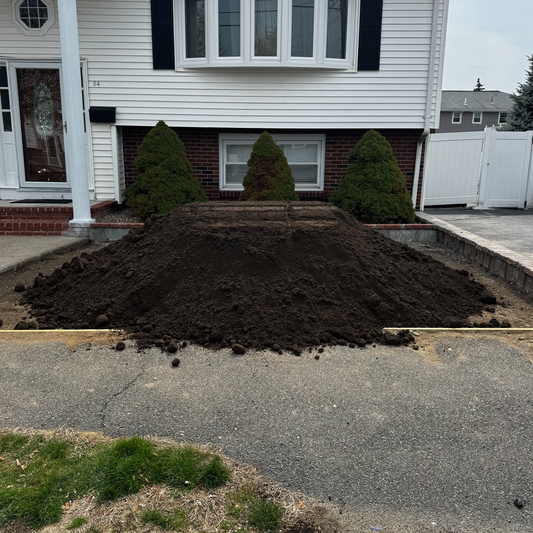
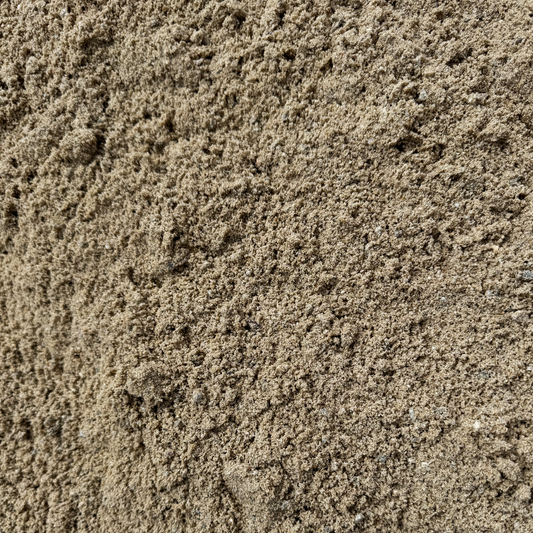
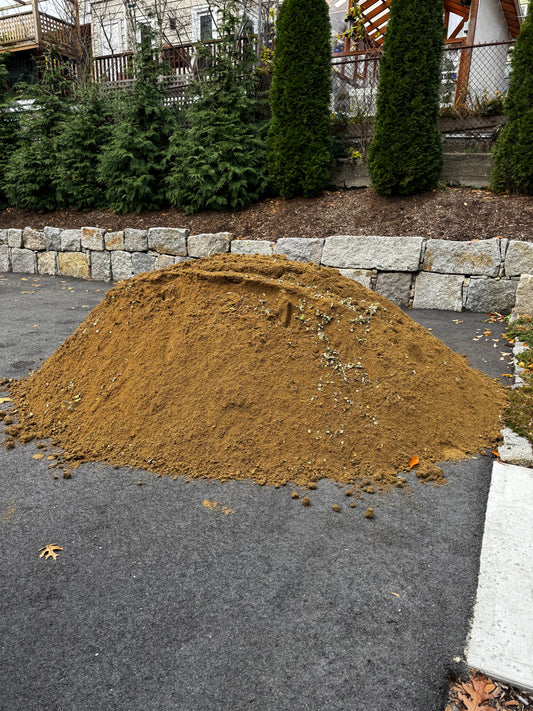
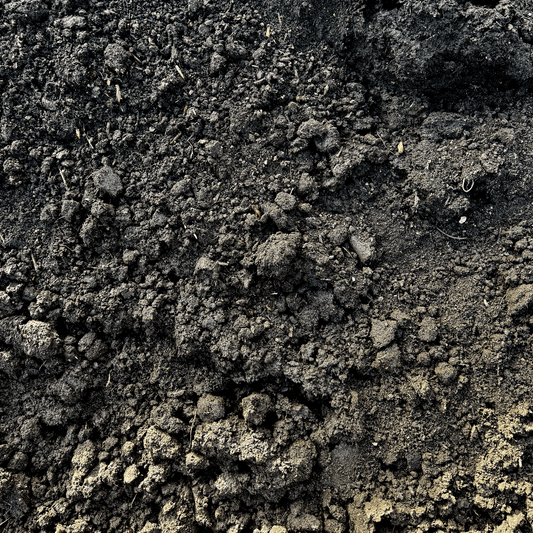
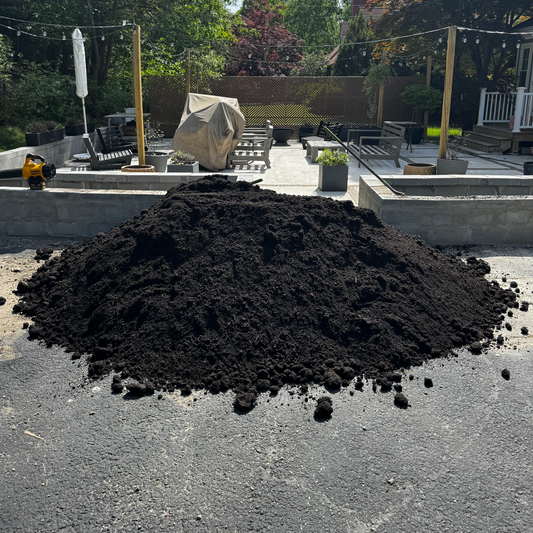
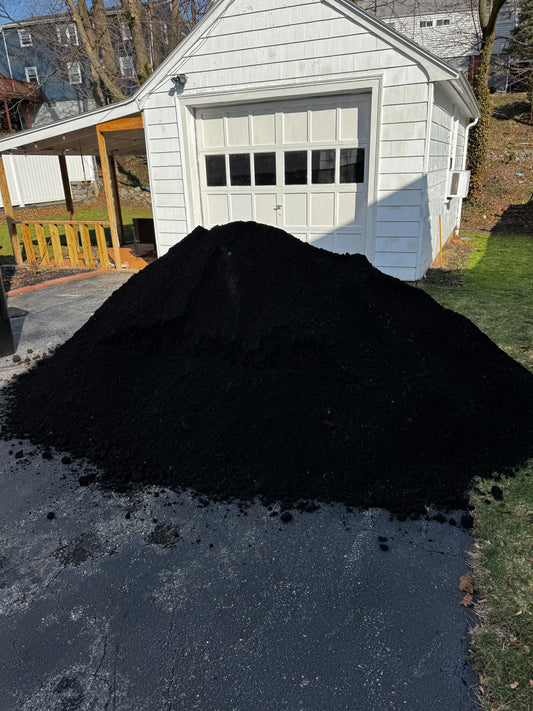
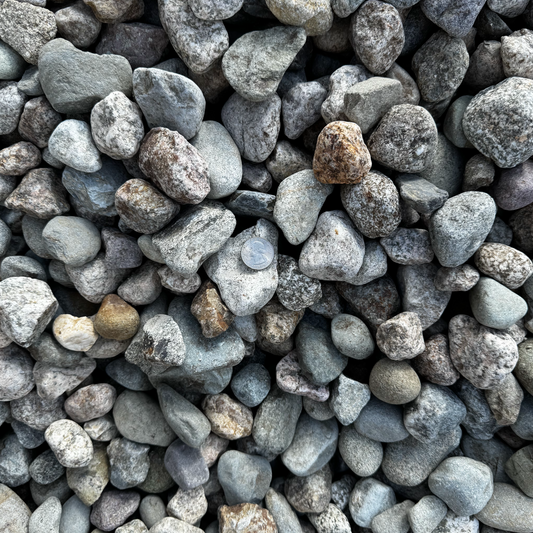
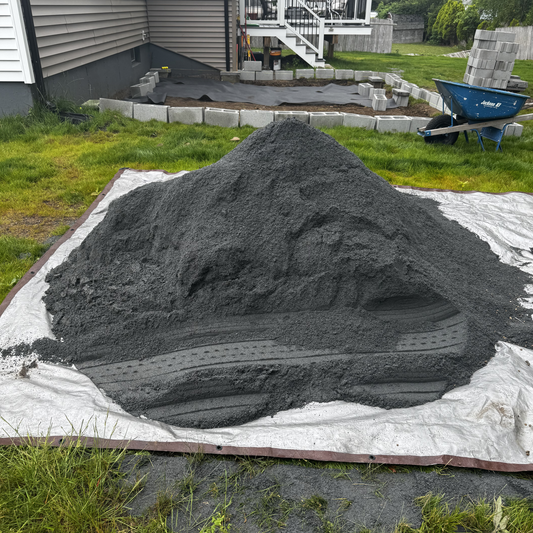
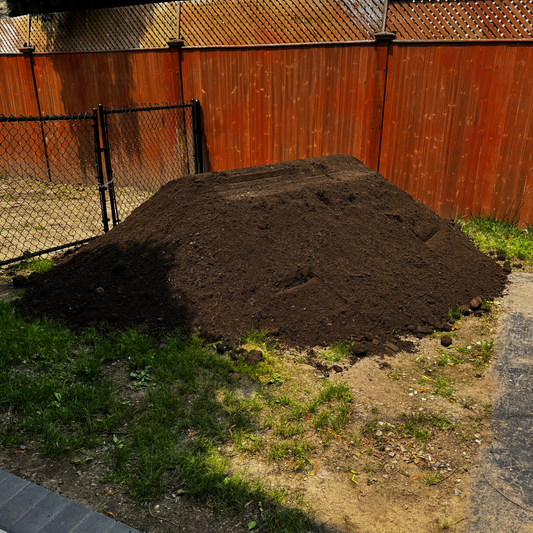
Cut the bed perimeter with a half-moon edger. Strip the sod with a flat spade in 18-inch tiles. Pile sod upside-down in a back corner — it composts into loam over the summer. Fork the soil to 8 inches deep, mix in 1/4 cubic yard of bulk Compost, level. Browse the plant establishment + tree planting collection for bulk Compost and Topsoil Loam.
Step 3: Plant in Drifts of Staggered Bloom (90 minutes)
Plant 12 to 15 native perennials in drifts of 3 to 5 plants per species with staggered bloom windows.
Recommended Waltham pollinator mix: - June bloomers: Wild lupine, foxglove beardtongue, golden Alexanders - July bloomers: Bee balm 'Jacob Cline', purple coneflower, butterfly weed - August bloomers: Joe-Pye weed, swamp milkweed, anise hyssop - September bloomers: New England aster, goldenrod 'Fireworks', great blue lobelia
Drifts of 3 to 5 read better visually and feed pollinators more efficiently than single-plant pointillism. The Plymouth County perennial planting how-to covers the planting technique in detail.
Step 4: Mulch and Water (45 minutes)
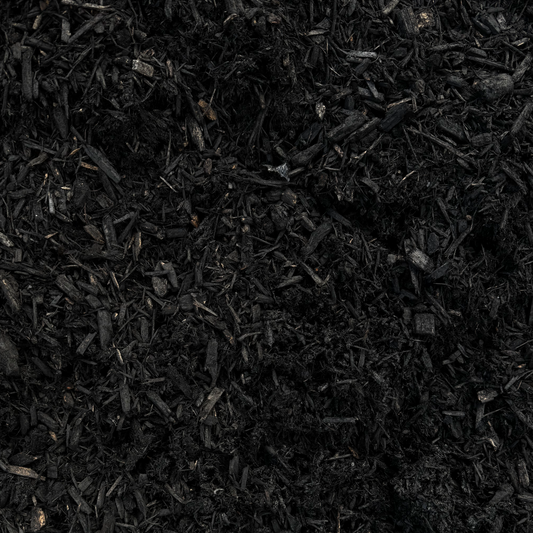
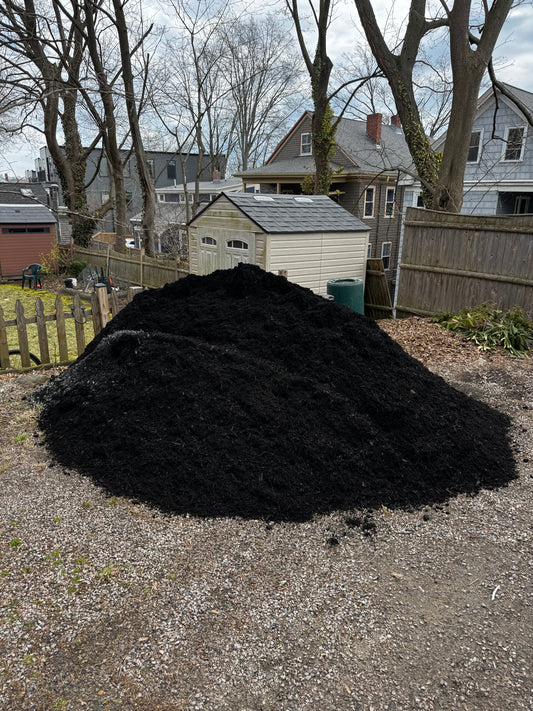
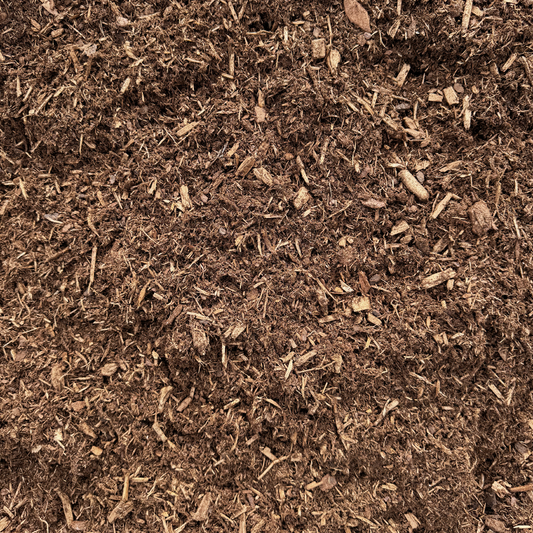
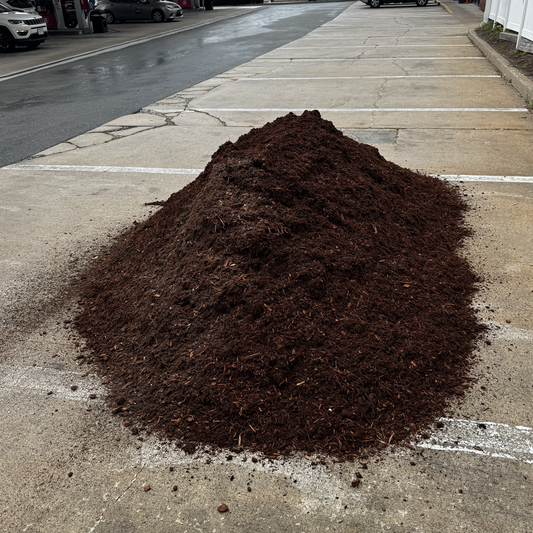
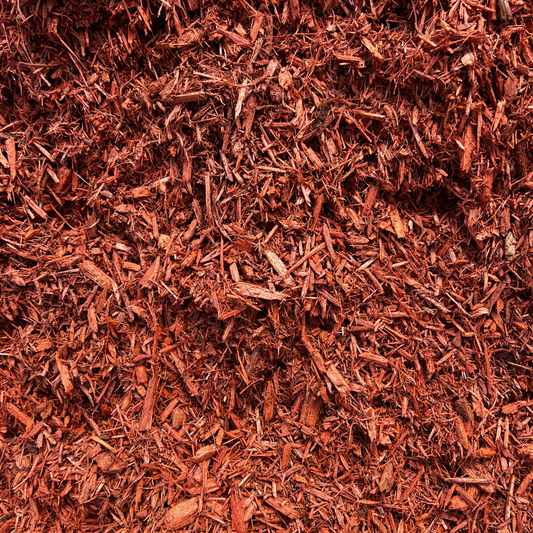
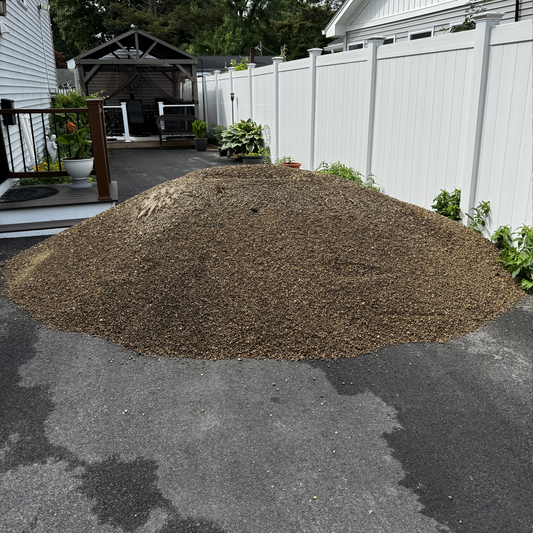
Top with 2 inches of bulk Pine Bark Mulch across the bed. Keep mulch 2 inches back from each plant's crown. Water deeply — 1 gallon per plant the first time, then every other day for two weeks. Browse the Waltham landscape supply collection for delivery scheduling.
Step 5: Skip the Chemicals (Ongoing)
Pollinator borders only work if they're chemistry-clean. Skip all neonicotinoid insecticides, all broad-spectrum sprays, and most herbicides except spot-treatment of invasives. The Suffolk County Memorial Day prep covers the broader May 9 yard-prep context.
Materials Cheat Sheet (25 ft x 4 ft border)
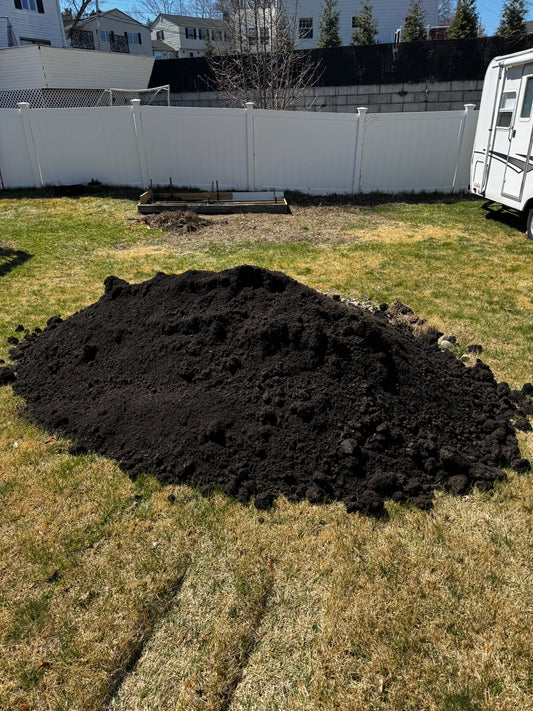
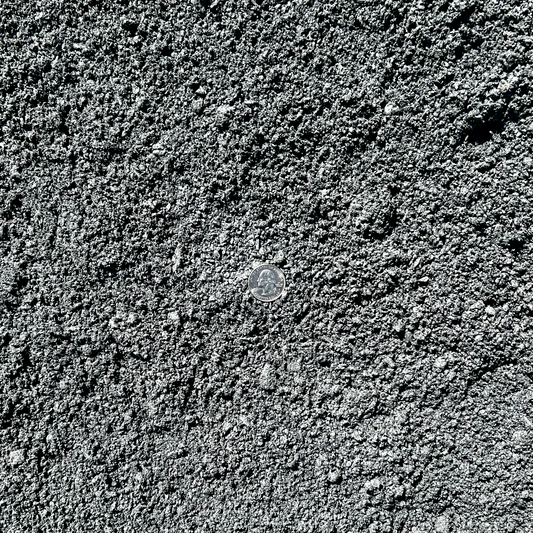
- 1/2 cubic yard Topsoil Loam 1/2" Screened
- 1/4 cubic yard bulk Compost
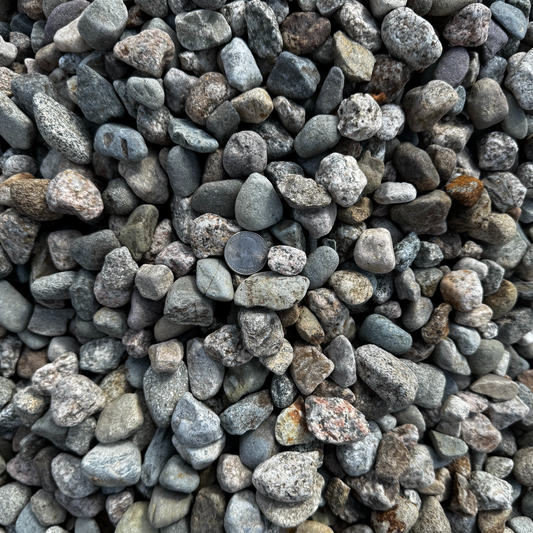
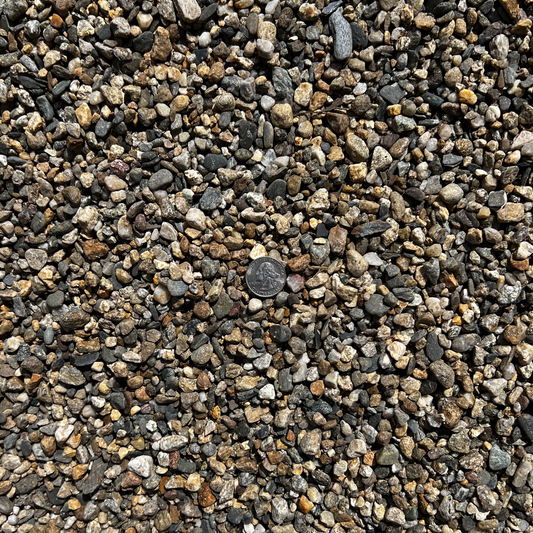
- 1 cubic yard bulk Pine Bark Mulch
- 12 to 15 native pollinator perennials in 1-gallon pots
- Garden fork, half-moon edger, hand trowel
Year-One Watering Schedule
- Weeks 1–2: 1 gallon per plant, every other day
- Weeks 3–6: 1 gallon per plant, twice weekly
- Months 2–3: 1 gallon per plant, weekly
- After month 3: Supplemental water only during 7+ day dry spells
How This Compares to 2026
The 2026 season-close, May 1: Closing Out Spring Mulch Season Across Plymouth County, notes perennial planting runs through May 20 — this article is the pollinator-specific procedural complement.


