


Quick Answer
Building a stone fire pit in a Hanover backyard is a six-hour weekend job: excavate a 6-foot circle 6 inches deep, lay 3 inches of compacted 3/4" crushed stone as a base, set a 36-inch ring of stacked wallstone in three courses, and surround with a pea stone or decomposed-stone apron. Keep the assembled ring at least 25 feet from any structure per Hanover Fire Department guidance and 10+ feet from low-hanging branches. Total cost: typically $400–$700 in materials.
Why a Stone Ring (Not Just a Steel Bowl)
A welded steel fire bowl is fine for occasional use. A built-in stone ring is what turns a Hanover backyard into a year-round gathering spot — Plymouth County's shoulder seasons (April nights, October weekends) are exactly when an outdoor fire earns its place. Properly built, a wallstone ring will outlast three steel bowls.
Browse the decorative stone collection for wallstone, fieldstone, and pea stone options.
Materials You'll Need
For a 36-inch interior diameter fire pit (the standard residential size):
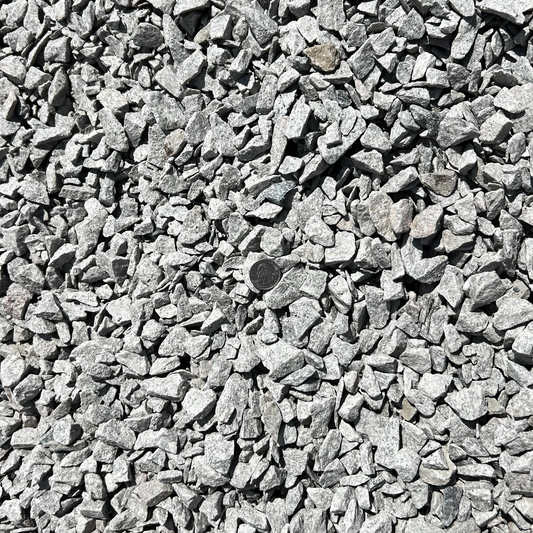
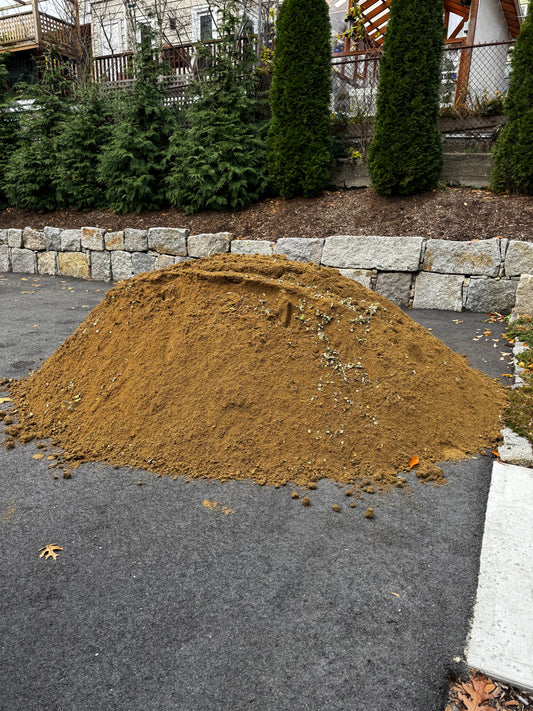
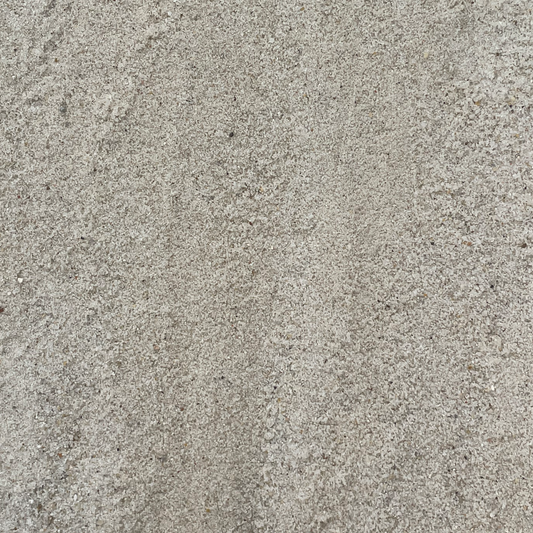
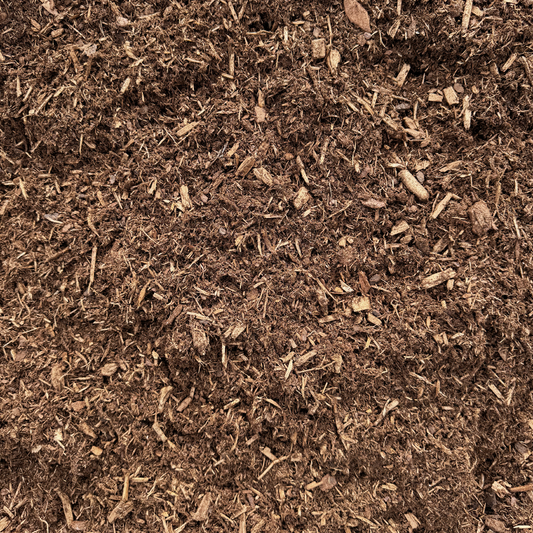
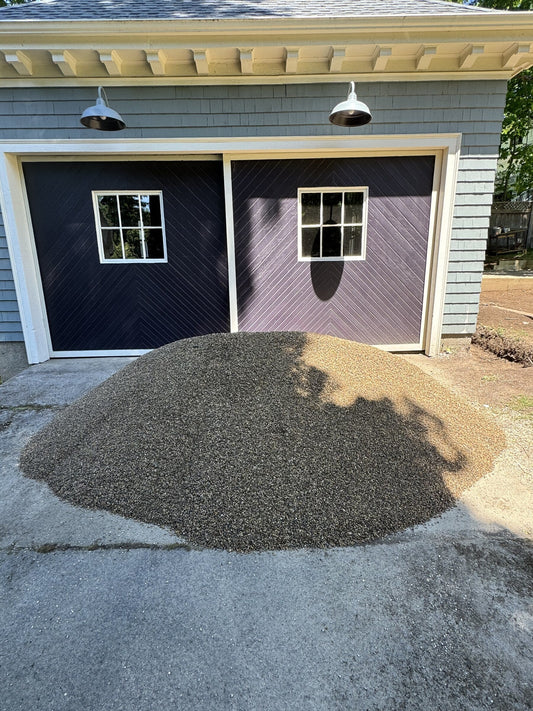
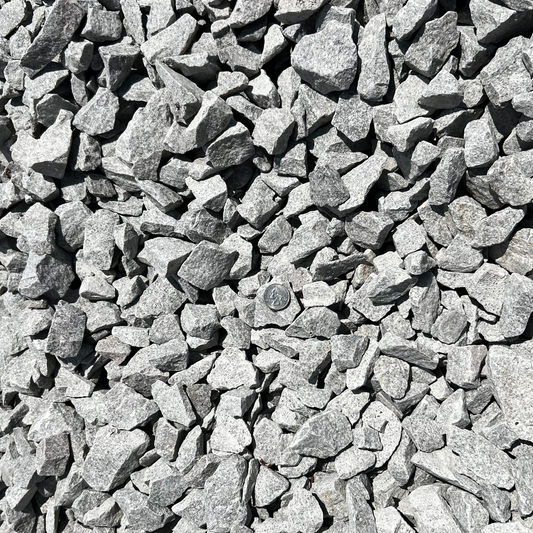
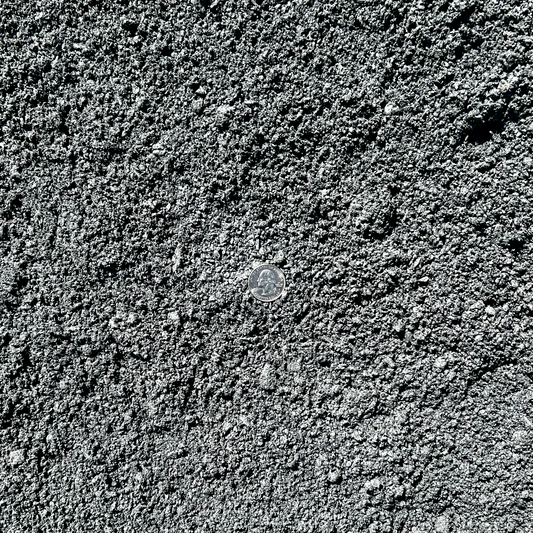
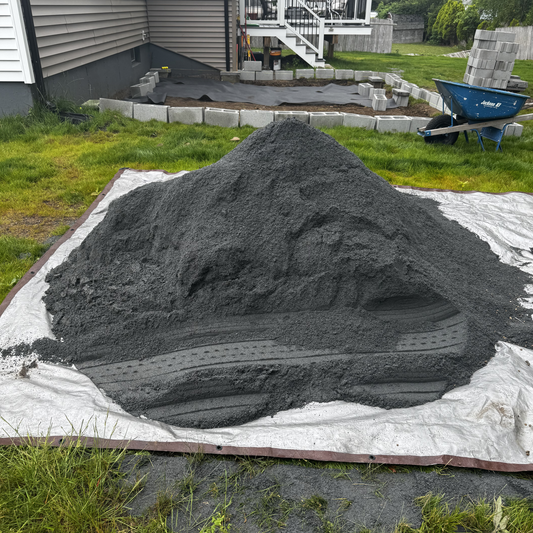
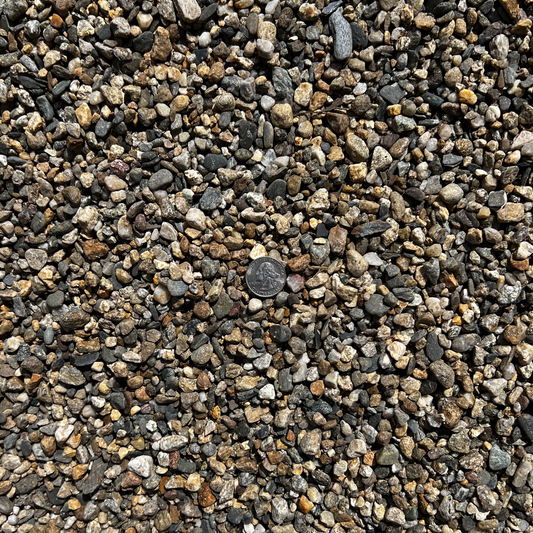
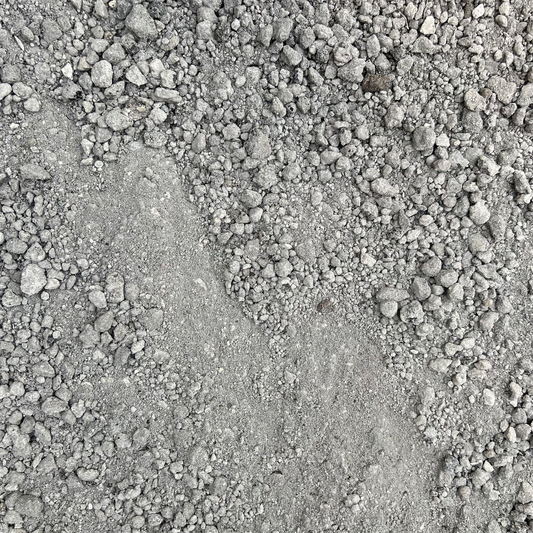
- 1.5 cubic yards 3/4" crushed stone — base layer
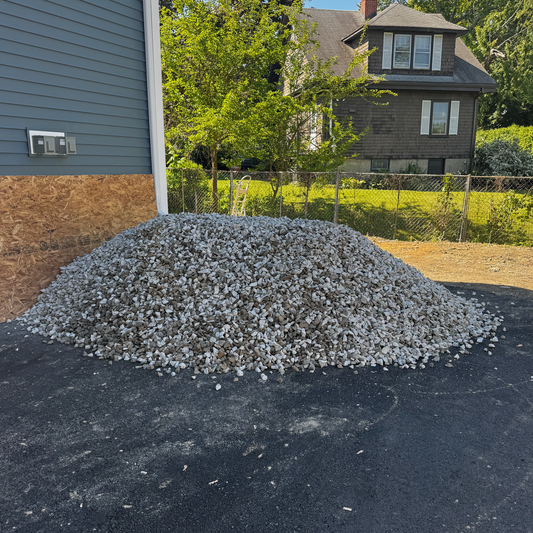
- 30–40 wallstones — 4–6" thick, weathered face — for three courses around the ring
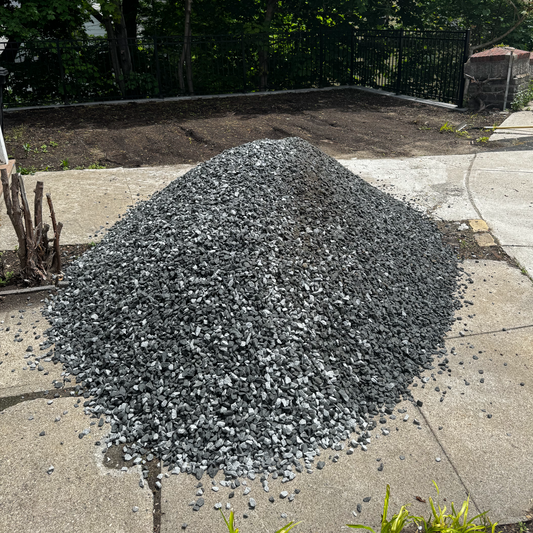
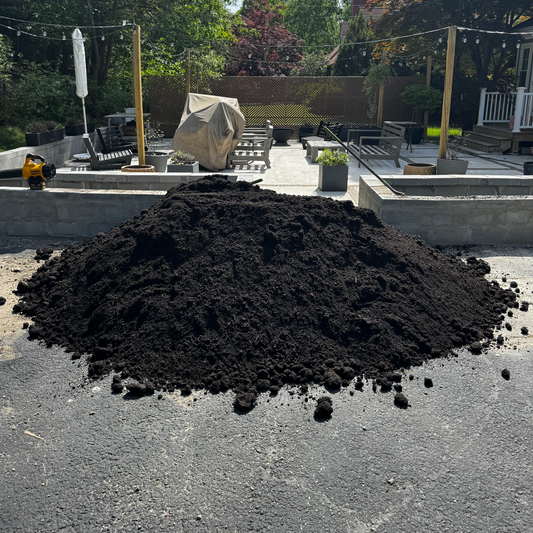
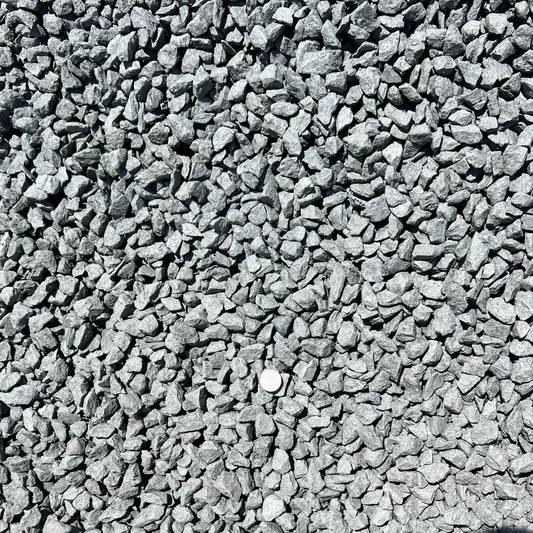
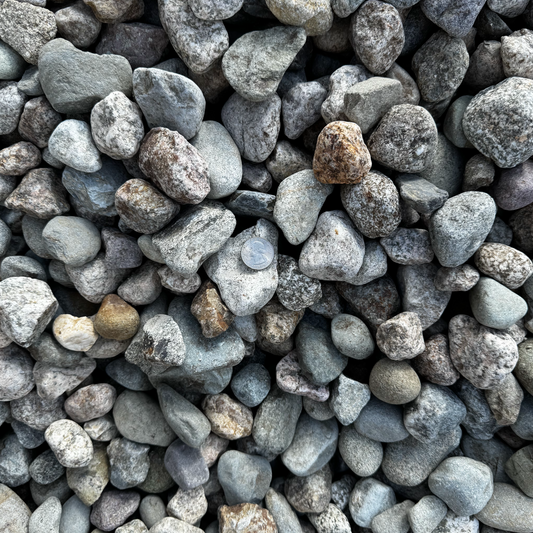
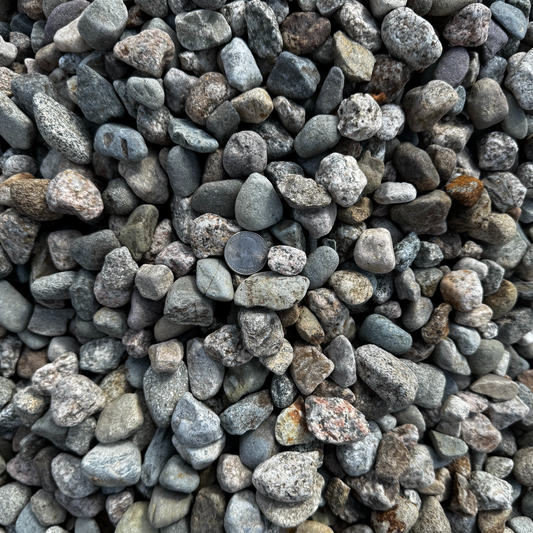
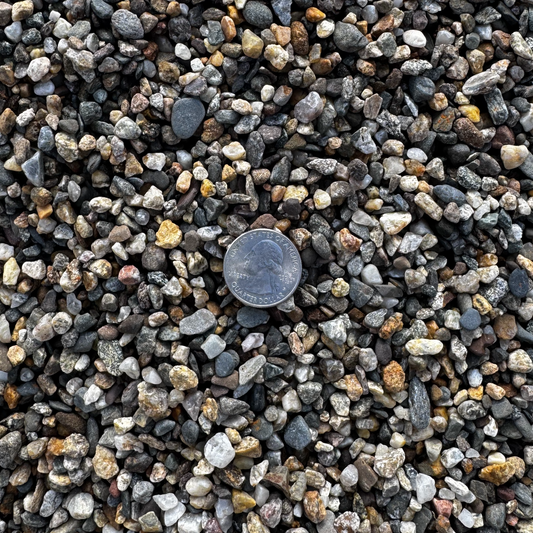
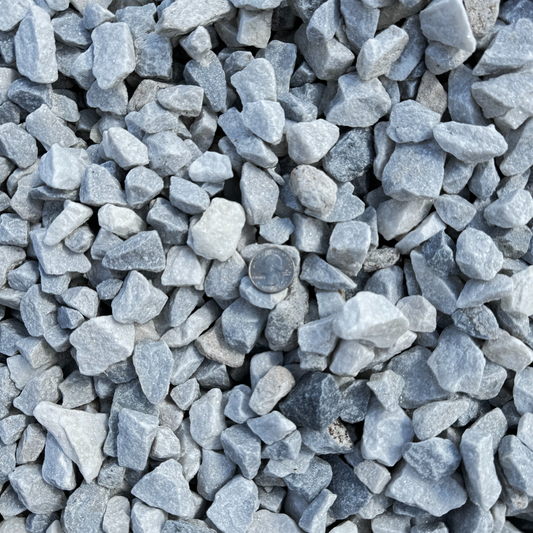
- 0.75 cubic yards pea stone — for the apron around the pit
- Optional steel ring liner — 36" inside diameter, protects the wallstone from heat shock
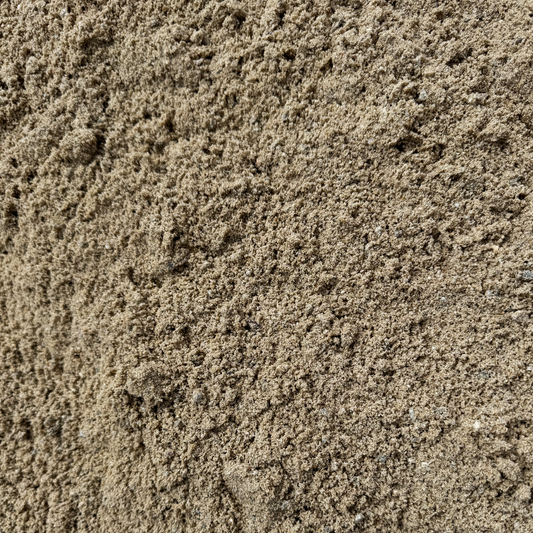
- Landscape fabric (woven) — about 60 sq ft
For stone selection guidance specific to Plymouth County, see 5 Stones That Make a Plymouth County Fire Pit Look Built In.
Site Selection (15 minutes)
Walk the yard with a tape measure. The ring needs:
- 25 feet from the house, deck, garage, shed, or fence
- 10 feet from low-hanging branches
- Open sky above the pit (not under a tree canopy)
- Level ground within a 10-foot working radius
- Drainage away from any structure
Hanover backyards on the Norwell line tend to have woodland edges close to the house — measure honestly. If you can't make 25 feet, choose a different spot. The MA Department of Fire Services sets the safety baseline.
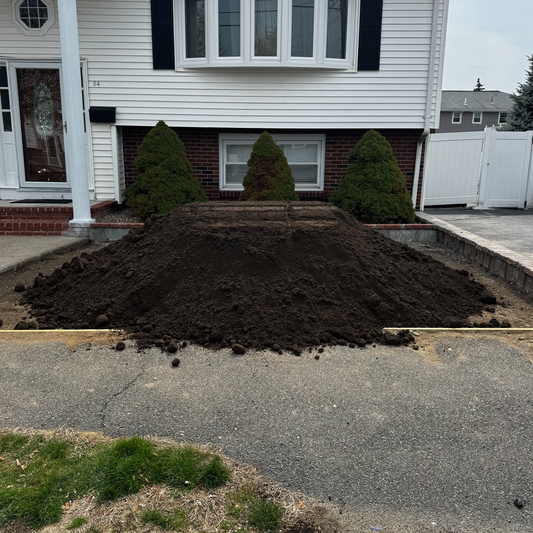
Step 1: Mark the Excavation (15 minutes)
The total dig is wider than the fire pit ring. For a 36" interior pit with a 4-foot apron, mark a 10-foot diameter circle with marking paint or a garden hose laid out as a guide. Center stake, 5-foot string, walk it around.
Step 2: Excavate (60 minutes)
Dig down 6 inches across the whole circle. Save the topsoil for elsewhere in the yard — it's wasted under stone. Confirm the bottom is roughly level using a long board and a level laid across.
Step 3: Fabric and Base Stone (45 minutes)
Lay woven landscape fabric across the dig with 6 inches of overhang. Spread 3 inches of 3/4" crushed stone evenly. Rake flat. Run a rented plate compactor in two passes — perimeter then crossings. The base must ring solid; soft base = ring shifting in two seasons.
The base-prep principles match a paver patio — see ICPI base preparation guidelines for the engineering.
Step 4: Set the First Course of Wallstone (60 minutes)
This is the slowest, most important step. Lay the first ring of wallstone directly on the compacted base. Aim for a 36-inch interior diameter. Each stone should sit flat with no rocking — adjust with a small handful of crushed stone underneath if it wobbles. Use a rubber mallet to seat each stone.
Run mason line across the diameter to confirm the circle stays round. The first course sets the line for everything above; budget the time.
Step 5: Stack Two More Courses (60 minutes)
Stack the second and third courses on top, offsetting the joints like brickwork. Each stone should bridge the seam below. Use a level on each course — a fire ring that leans by even a half-inch becomes obvious after a few uses.
If you bought a steel ring liner, drop it inside before the third course goes on. It protects the back of the wallstones from direct flame and extends the ring's life dramatically.
Step 6: Pea Stone Apron (30 minutes)
Spread 2 inches of pea stone evenly across the remaining excavation around the ring. Don't compact — pea stone is meant to give underfoot. The apron drains instantly, won't catch embers like wood mulch, and is comfortable to walk on barefoot.
For more on the apron build (and a smaller-pit variant), see Building a Pea Stone Fire Pit Pad in a Duxbury Backyard in One Saturday.
Step 7: First Burn (Test, Don't Send)
Build a small kindling fire first. Check that nothing leans, the smoke draws cleanly, and the wallstones don't show stress fractures. Let it burn down to coals naturally — don't quench with water on the first burn (thermal shock can crack stone).
For broader guidance on outdoor fire safety in Massachusetts, MA Fire Services outdoor burning is the authoritative source. For the larger Plymouth-area pillar build, see How to Build a Stone Fire Pit in a Plymouth Backyard: A 2026 Guide.
What This Means for You
A weekend, six hours of real work, and a stone ring that anchors the backyard for a decade. Order the wallstone, base stone, and pea stone together — Ottr delivers across Hanover landscape supply routes — and have the materials staged before Saturday morning.


