


Quick Answer
A buildable garden plan fits on two pages of a graph-paper notebook: page one is a to-scale top-view of your yard with sun, slope, and existing plantings marked; page two is the new bed layout with dimensions, plant counts, and a materials list. Two hours in January, $5 in supplies, no CAD software. The point isn't a pretty drawing — it's getting the math right so the spring order is one trip, not three.
Why a January Notebook Beats Software
Garden-planning apps look great in screenshots and lose to a notebook in the field. You can't pull software out in a snowdrift to mark where the morning sun lands on your front bed. A notebook goes outside, gets snow on it, dries out on the radiator, and stays open on the kitchen table while you're talking to the spouse about whether the new bed eats the Adirondack chairs.
The deeper reason: software pushes you to draw before you've measured. The notebook makes you measure first. That's the difference between a plan that builds and a plan that stalls in April when the actual yard doesn't match the screen.
What You Need ($5 in Supplies)
- One graph-paper notebook (5x5 grid per inch is ideal)
- One mechanical pencil + good eraser
- One 25-foot tape measure
- One compass app on your phone (orientation)
- One ruler — 6" or 12"
- (Optional) colored pencils for sun zones
That's it. Skip the fancy landscape-design templates; they're optimized for selling software, not building beds.
Step 1: Measure the Yard (45 minutes)
Walk the perimeter with the tape measure. Note:
- Each property line length
- House footprint dimensions on the side facing the yard
- Distance from house to each property line
- Existing tree trunks (mark trunk diameter and approximate canopy spread)
- Existing bed edges (length + depth)
- Hardscape: driveway, walks, patio
- Fixed obstacles: AC compressor, gas meter, hose bib, downspouts
Don't trust the deed plot plan. It's accurate to the property line but skips everything inside.
Step 2: Draw the Base Map to Scale
Choose a scale that fits your yard on one page. For most quarter-acre Boston-area lots, 1 square = 2 feet works (so a 50' yard fills 25 squares). For larger lots, 1 square = 4 feet. Smaller lots, 1 square = 1 foot.
Draw, in order: 1. Property lines (use the long edges of the page) 2. House footprint 3. Driveway, walks, patio 4. Existing trees (circle for trunk, larger faint circle for canopy spread) 5. Existing beds (lines + light shading)
Mark north with an arrow. Use the compass app on your phone — stand at the back corner and look toward the property line; whichever way the needle points is north on your sketch.
Step 3: Sun Map It
Three time-of-day visits in January (a clear day works best — the low winter sun gives you the worst-case shade pattern):
- 9 AM — mark zones in shadow
- Noon — mark zones in shadow
- 3 PM — mark zones in shadow
Anything in shadow at all three times is "full shade." Anything in shadow at one or two is "part shade." Anything in sun at all three is "full sun."
This 90-minute exercise replaces hours of reading plant tags. Plants want sun matched to their reality, not the optimistic version you remember from June.
Step 4: Slope, Drainage, and the Things You'd Forget
On the same page, mark with arrows where water flows during a thaw. Mark any wet spots that hold puddles. Mark dry zones (often along south-facing walls that pull moisture). Mark frost pockets (low spots that stay frosty when the rest of the yard thaws).
These four annotations save you from planting moisture-loving astilbe in your hot dry zone and rotting bee balm in your wet pocket. For broader MA-specific plant pairing, the Native Plant Trust is the authoritative source on what wants what.
Step 5: Page Two — The New Layout
Flip to a fresh page. Redraw your base map (or trace it through — graph paper is thin enough). Now layer the new beds:
- Sketch new bed shapes in pencil. Use curves, not stiff rectangles, unless you're going for formal.
- Note dimensions in feet on each bed (length x width).
- Mark plant zones inside each bed with a letter — A for the back-of-bed tall stuff, B for mid, C for front-edge low.
- List actual plant choices in the margin: "A: 3 viburnum dentatum, B: 5 nepeta walker's low, C: 10 heuchera 'palace purple'."
For specific MA-friendly plant pairings, the UMass Extension Landscape program has region-tested guides. For Roslindale and west-Boston-specific zone notes, see How to Read the USDA Hardiness Zone Map for Roslindale and West Boston Neighborhoods.
Step 6: Calculate Materials
The reason for the to-scale sketch in step 2 is right here. Sum each bed:
- Square footage = length x width (curves: estimate 80% of bounding box)
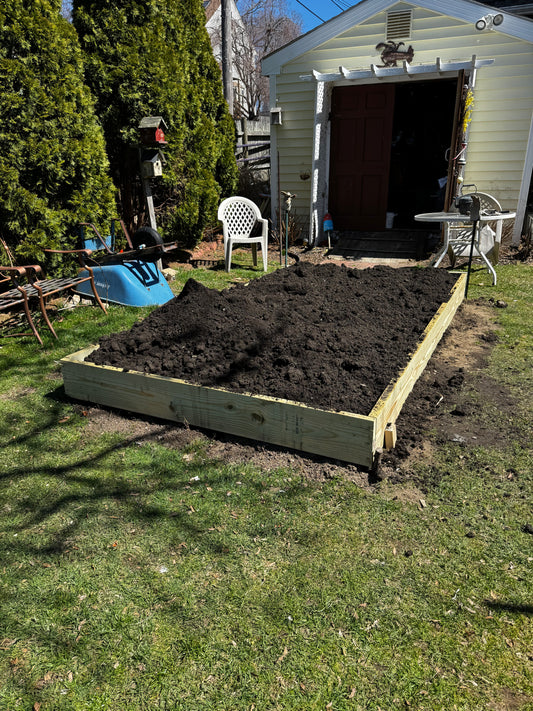
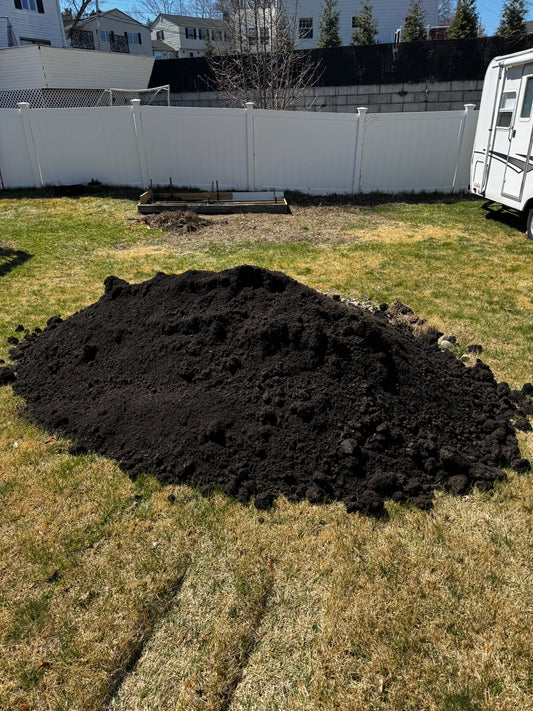
- Topsoil/loam needed for fill = sq ft x desired depth in feet (1.0 ft for raised beds, 0.5 for ground beds, 0.04 for lawn top-dress)
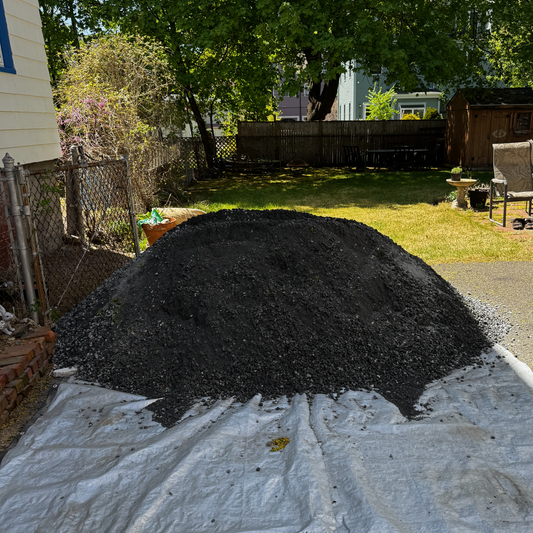
- Mulch needed = sq ft / 100 (per cubic yard, at 3" depth)
- Plant count = sq ft / spacing recommendation (most perennials: 1 plant per 1-3 sq ft)
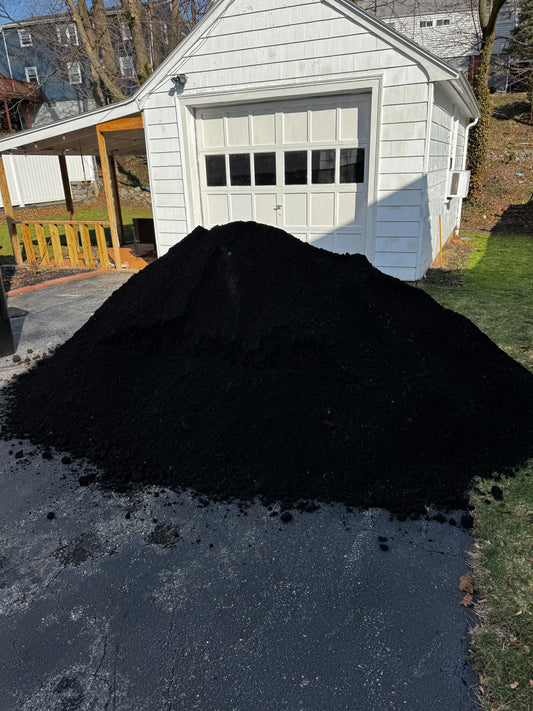
You're now ordering one delivery instead of three trips to the garden center. Browse the full Ottr catalog for bulk by the cubic yard.
Step 7: Cross-Reference Your Calendar
The plan only works if it lands on the right week. Garden math by week:
- January-February: Sketch + soil test + lock material orders (price hold).
- Mid-March: Beds prepped, soil amendments down.
- April-May: Build new beds. Mulch. Plant.
- Memorial Day: New plan is in the ground.
For seed-starting timing on plants you're growing yourself, see Indoor Seed Starting Schedule for a Somerville Triple-Decker (Zone 6b). For foundation planting ideas to plug into the new plan, see 5 Foundation Planting Ideas for a Brookline Brownstone Front. For small-yard layouts, see 5 Raised Bed Layouts That Maximize a Small Somerville Yard.
What Not to Bother With
- Don't draw plants individually at scale. Letter codes and a margin list are faster.
- Don't color-code everything. Sun zones in pencil shading is enough.
- Don't redraw if you change your mind. Erase and move on.
- Don't sweat the rendering quality. The notebook is a working document, not a portfolio piece.
The right output is a sketch that tells you, by January 31, exactly what to order and when. That's the win.


