


Quick Answer
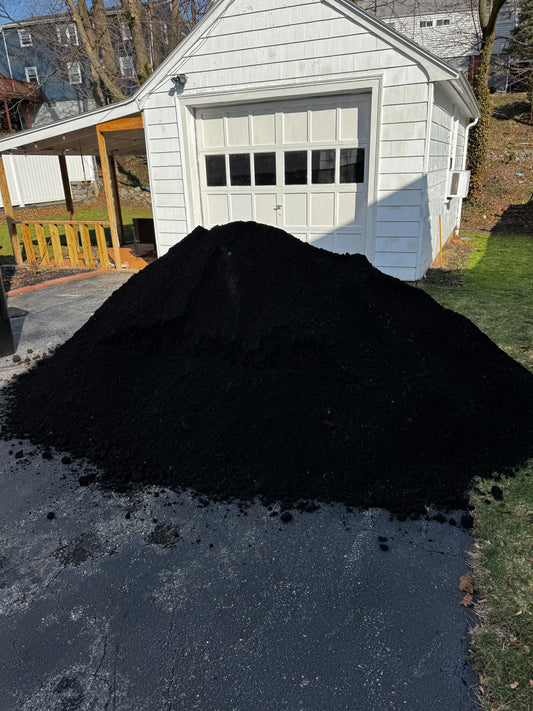
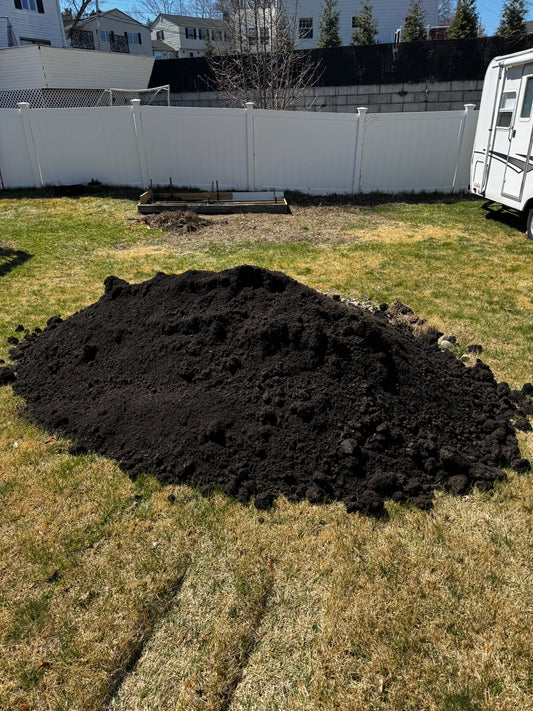
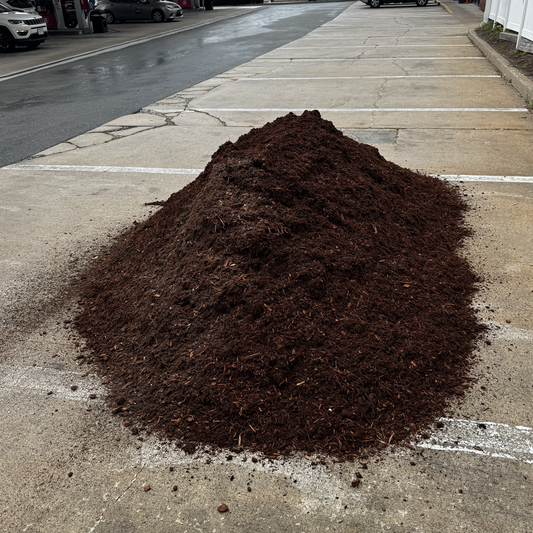
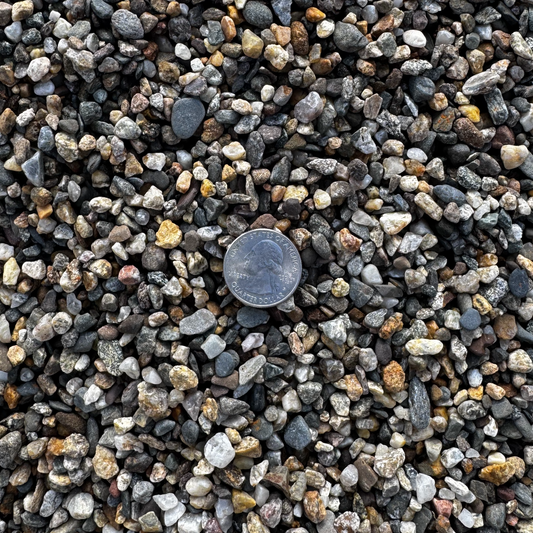
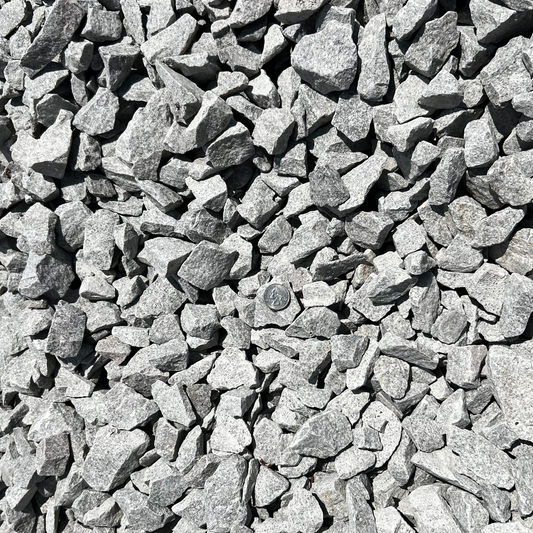
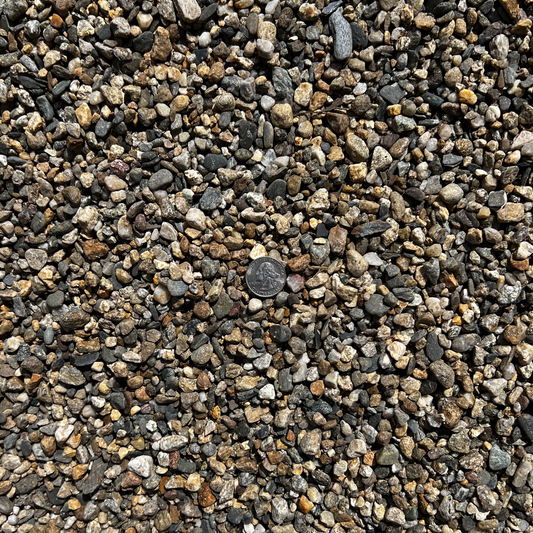
Mulch depth in a Middleborough bed is 2 inches over established beds, 3 inches maximum on brand-new beds with no existing mulch layer. Anything deeper smothers plant crowns and starves shallow tree roots of oxygen. Anything shallower lets weed seed germinate. Measure with a ruler stuck through the layer, not eyeballed - 2 inches looks thinner than most homeowners expect.
Why 2 Inches Is the Right Number
The 2-inch standard comes from decades of UMass Extension and ISA research. At 2 inches:
- Weed seed below the mulch doesn't get the light it needs to germinate.
- Soil moisture stays in the root zone (mulch reduces evaporation by 40-60%).
- Soil temperature in summer stays 8-12F cooler than bare soil.
- Oxygen still reaches the root zone.
Below 2 inches, weed seed germinates through the layer. Above 3 inches, the bed starts behaving like a wet blanket on plant crowns. Middleborough yards - especially the older neighborhoods around Center Street and along Route 105 - tend to over-apply, partly because mulch settles 10-15% after the first rain and homeowners over-correct for it.
How to Measure What You Already Have
Walk the bed. Push a hand trowel straight down through the existing mulch until you hit soil. Pull the trowel out and measure the mulch layer with a ruler.
Most Middleborough beds in March show:
- 0-1 inch remaining: last year's mulch broke down. Apply 2 inches fresh on top.
- 1-2 inches remaining: apply 1 inch fresh.
- 2-3 inches remaining: skip mulching this year. Refresh the color with a half-inch dust if you want.
- 3+ inches remaining: rake some out before adding any new mulch. Existing mulch is already over-applied.
For the deeper diagnostic on a tired bed, How to Refresh a Tired Mulch Bed in a Brockton Yard covers the rake-and-restore technique that ports to Middleborough.
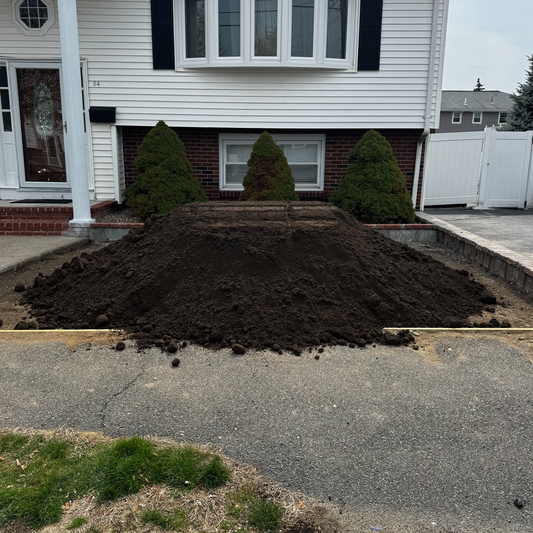
Step 1 - Calculate the Add-On Volume
Once you know what's in the bed, calculate the add-on volume, not the total bed volume:
(Square feet x add-on inches) / 324 = cubic yards
A 200 sq ft Middleborough foundation bed with 1 inch of existing mulch needs:
200 x 1 / 324 = 0.62 cubic yards
Round up to 0.75 yards.
If you ordered the same bed at full 2-inch depth as if it were bare:
200 x 2 / 324 = 1.23 yards
That's nearly double what you need. Half the mulch order. Half the cost.
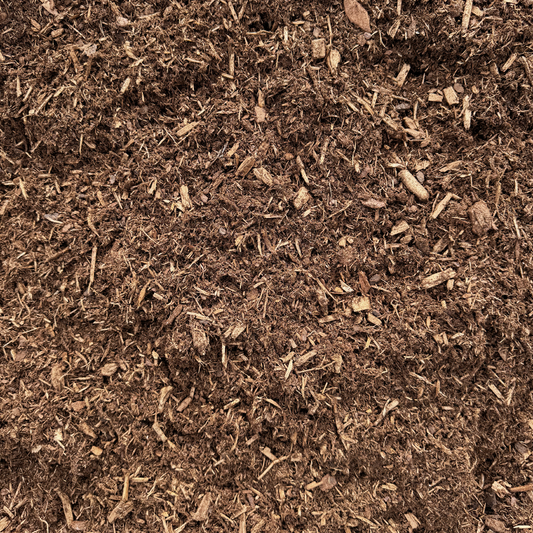
Step 2 - Spread to the Right Thickness
Use a flat-tine rake (not a leaf rake) to spread mulch in a 2-inch layer. Two visual checks:
- The "knuckle test": push your index finger down into the mulch up to the second knuckle. If it stops at the soil, you're at 2 inches.
- The "ruler check": every 10 feet, push a 6-inch ruler down through the layer. The ruler should show 2 inches of mulch above soil.
Don't pile mulch against tree trunks or shrub crowns. The volcano-mulched tree problem is endemic in Middleborough subdivisions - and it's the single most common cause of slow-decline tree death. The ISA Trees Are Good program has the authoritative reference: keep mulch 3-6 inches off the trunk on every tree.
Step 3 - Pull Back Around Plant Crowns
After spreading, walk the bed and pull mulch back from:
- Tree trunks: 3-6 inch ring of bare soil around the trunk
- Shrub crowns: 1-2 inch ring of bare soil
- Perennial crowns: keep mulch off the crown entirely
The crown is the growth point at soil line where stems emerge. Mulch piled against the crown holds moisture against bark and rots the tissue. The plant looks fine in May; it's dead by August.
Why Middleborough Yards Over-Mulch
Three reasons:
- The bag-label trap. Bags often show coverage at 1 inch deep, which makes the bag look like it covers more square footage. Homeowners read 1-inch coverage and apply 3 inches because "it doesn't look like much."
- The settling correction. Mulch settles 10-15% after the first rain. Homeowners overapply by 50% to compensate, when 10-15% is the right correction.
- The "extra is better" instinct. It isn't. Extra is worse.
For the broader mistake list, 5 Mulch Mistakes That Cost Norfolk County Homeowners Plants Every Year has the side-by-side comparison.
Step 4 - Plan for Spring Annuals
If you're planting annuals in May, hold off on the deepest mulch around planting holes. Drop a 1-inch layer in March, then top up to 2 inches after the annuals go in and the soil warms up. Mulch over cold soil delays warm-up by 7-10 days, and warm-soil annuals (impatiens, zinnias, marigolds) sulk for two weeks.
The Middleborough Depth Worksheet
| Bed type | Existing mulch | Add-on depth |
|---|---|---|
| Established perennial bed | 1-2 in | 0.5-1 in |
| New bed (bare soil) | 0 in | 2-3 in |
| Foundation shrub bed | 1 in | 1 in |
| Tree ring | varies | bring to 2 in, off trunk |
| Vegetable bed | 0 in | 1-2 in only |
Browse the mulch collection for current products and the Middleborough landscape supply route for delivery scheduling. For the contractor-side logistics on the same week, Brockton Contractor Crew Logistics covers the bigger-route version.
For the broader regional reference, UMass Extension Landscape, Nursery & Urban Forestry has the authoritative depth standard.
The short version: 2 inches over established beds, 3 inches max on new beds, measured with a ruler not by eye. Middleborough beds reward restraint.


