


Quick Answer
To build a fall fire pit in a Worcester County backyard: check town burn permits, dig a 4-foot circle 6 inches deep, lay 4 inches of compacted Dense Pack ¾" base, set a 1-inch Blue Stone Dust leveling bed, dry-stack 3 courses of fire pit blocks, and surround with ½ cubic yard of Gray Crushed Rock ¾". Total work: 4 hours. Total bulk material: 1.25 cubic yards. Best Worcester County window: September 25 through October 20 before freeze-thaw threatens any mortar work.
Why a Worcester County Fall Fire Pit Is Different
Worcester County yards run larger and more rural than the Boston metro. Fire pits anchor backyard living from late September through November — the cool nights that drive the build are the same nights when the pit pays back. But Worcester County's mix of clay-heavy and ledge-y soils, combined with MA Dept of Fire Services burn restrictions, makes the build less casual than it looks.
Three Worcester County factors to plan around: 1. Burn permit requirements — most towns (Worcester, Leicester, Holden, Sterling, Westborough) require a permit for outdoor burning, including recreational fire pits, for some portion of the year. 2. Slope retention — many Worcester County backyards sit on slopes; fire pits need level bases that may require terracing. 3. Ledge/rock layer — soil tests with a probe before committing to dig depth.
For the related Roslindale touch-up scope, see 5 Fall Hardscape Touch-Ups for Roslindale Backyards. For the contractor pricing context, Last-Window Hardscape Pricing for Cambridge Crews.
Step 0: Check Burn Permit Status (15 minutes)
Before anything else, call your town's fire department or check the MA Dept of Fire Services for current burn-permit requirements. Most Worcester County towns require a permit for any open-flame outdoor burning, with annual cycles. Recreational fire pits with manufactured rings or block-walled designs are typically allowed but may have setback requirements (10–25 feet from structures, 5+ feet from property lines).
Step 1: Choose Location (15 minutes)
Site requirements: - Setbacks: Minimum 10 feet from any structure (more in many towns) - Overhead clearance: No tree canopy directly above - Wind protection: Slight shelter from prevailing west wind without trapping smoke - Level ground: Or shelf to be terraced
Mark the 4-foot circle with marking paint or a stake-and-string compass.
Step 2: Excavate the Base (60 minutes)
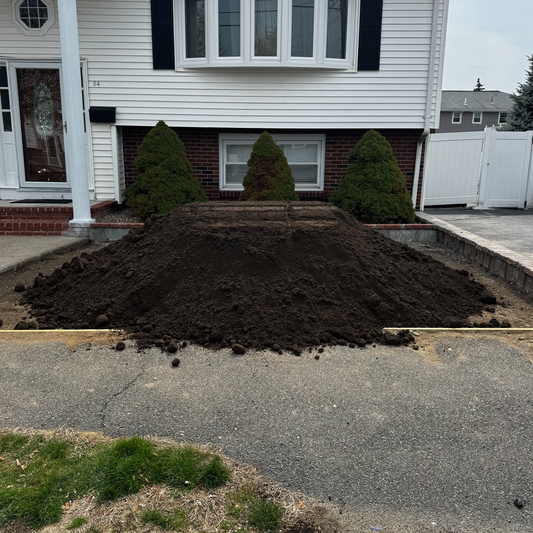
Dig the 4-foot circle to 6 inches deep. Save the topsoil — use it for nearby plantings. The bottom should be flat and level — check with a long board across the diameter.
For Worcester County clay-heavy soils, expect digging to slow significantly. Probe with a steel rod first to confirm depth — hitting ledge under ice changes the project.
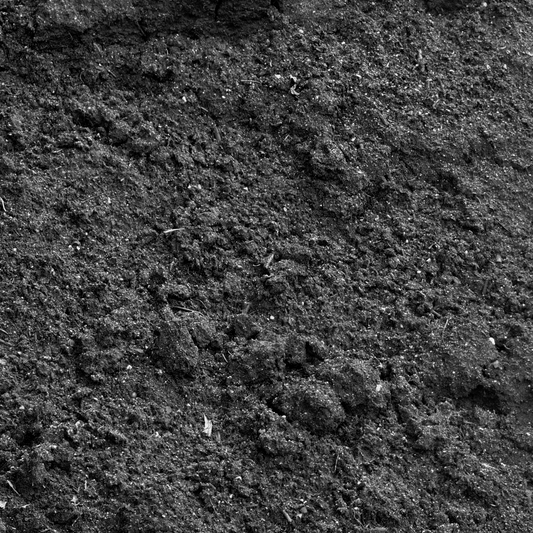
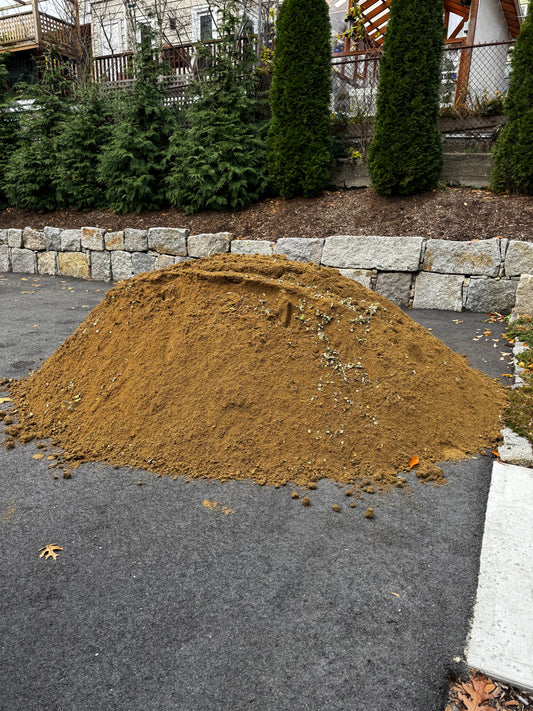
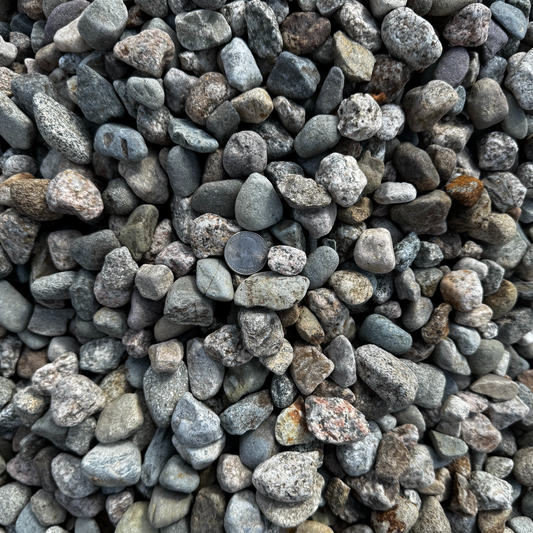
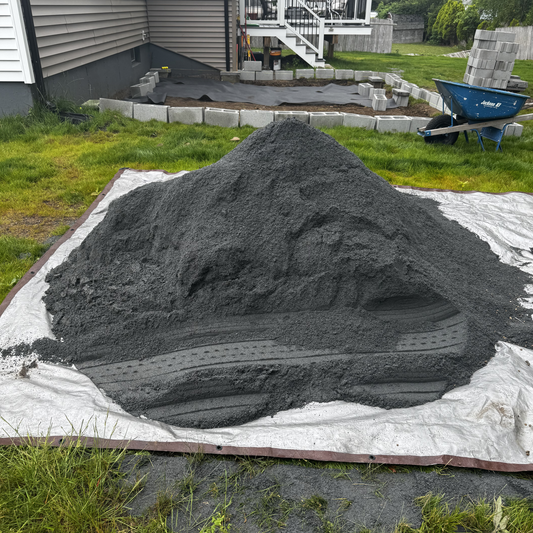
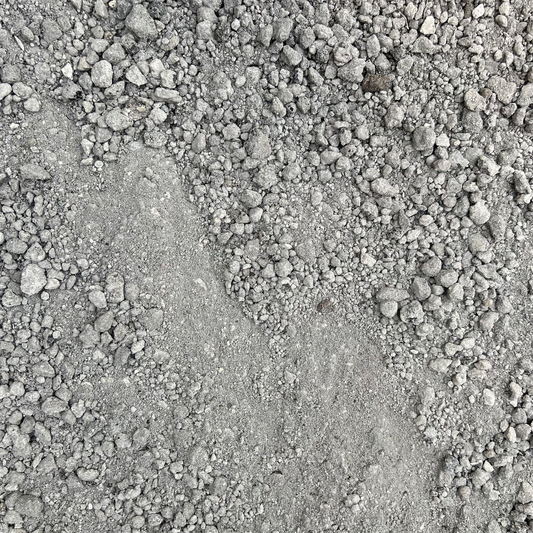
Step 3: Lay Compacted Dense Pack Base (45 minutes)
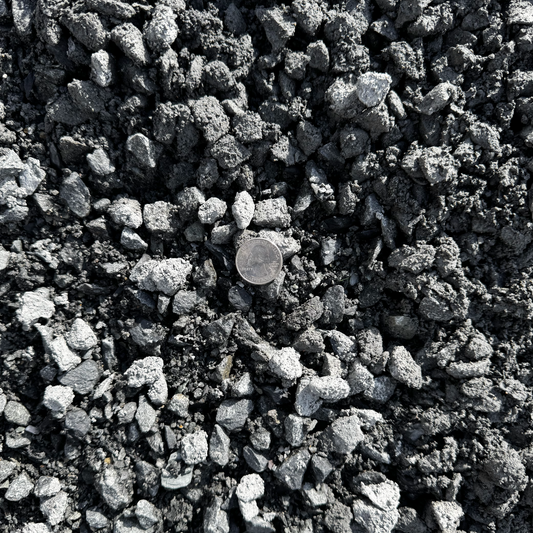
Pour 4 inches of Dense Pack ¾" to minus into the excavated circle. Tamp with a hand tamper in 2-inch lifts (pour 2 inches, tamp; pour 2 inches more, tamp). The compacted base prevents settling.
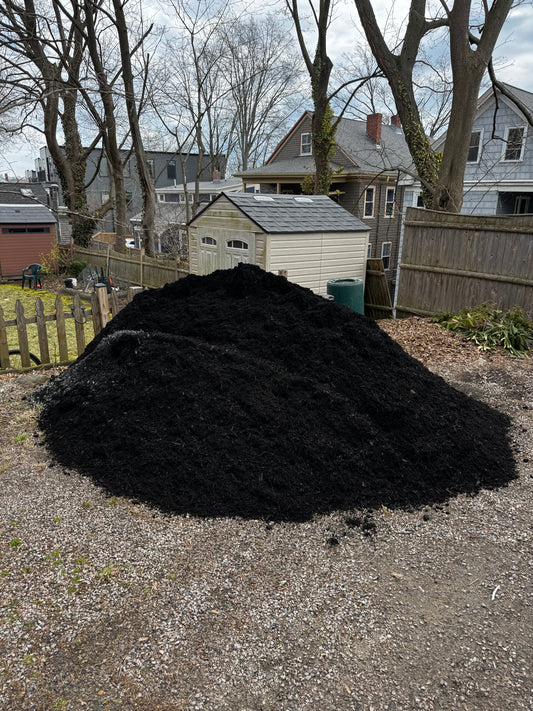
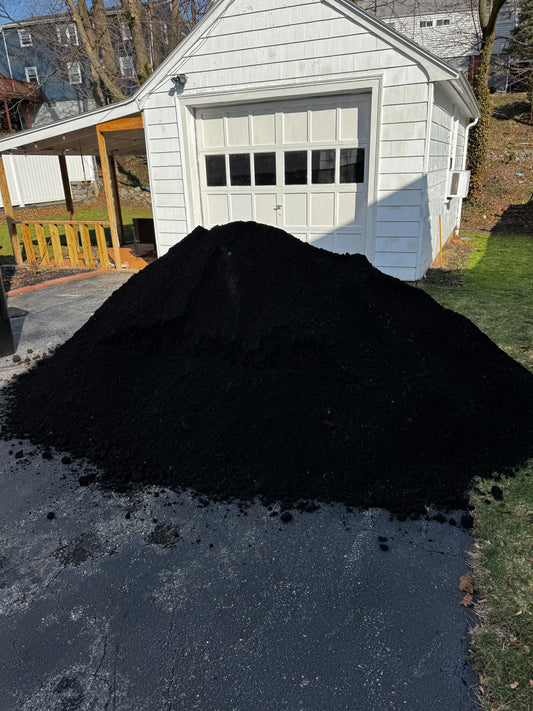
Order Dense Pack ¾" to minus from the crushed stone collection. For Worcester County addresses, the full Ottr catalog shows delivery routes.
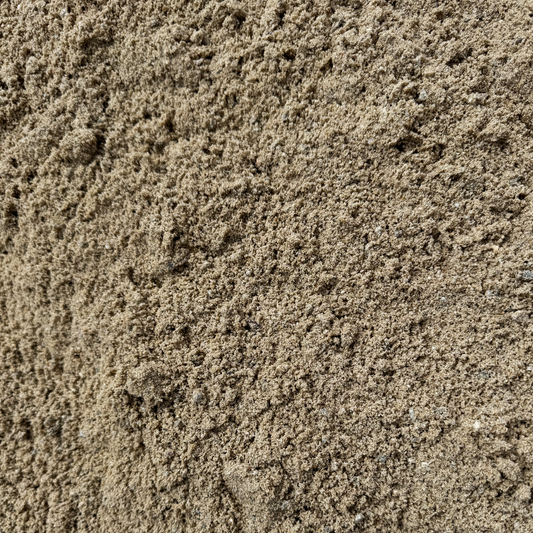
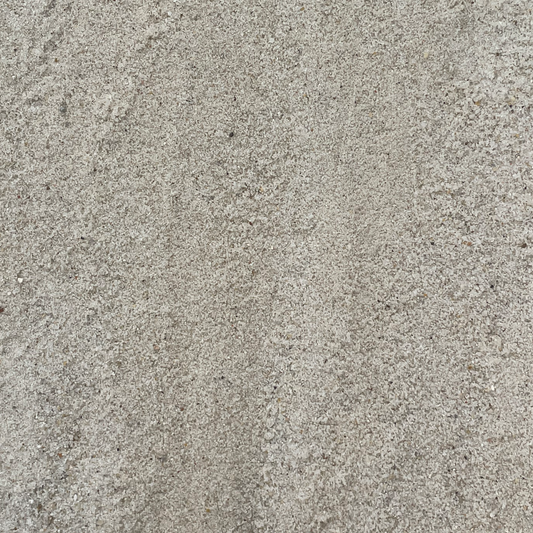
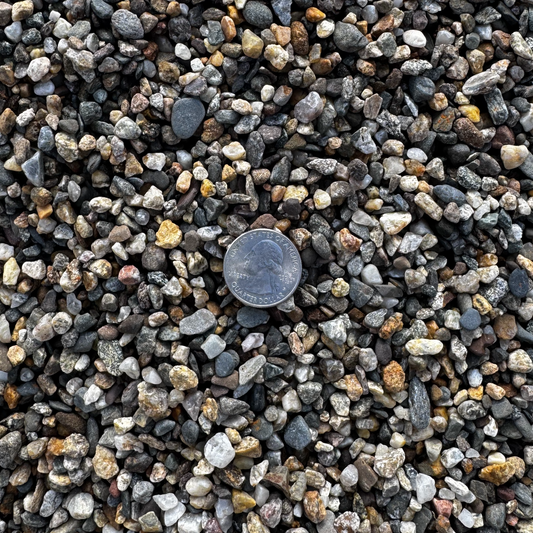
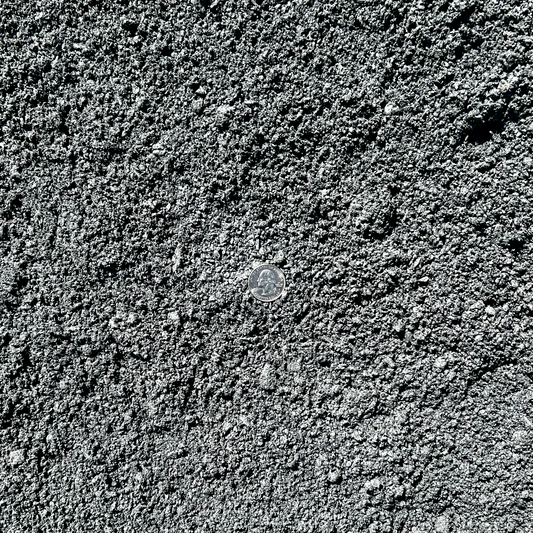
Step 4: Lay 1-Inch Blue Stone Dust Setting Bed (20 minutes)
Spread 1 inch of Blue Stone Dust evenly across the compacted base. Screed flat with a 2x4 dragged across the surface. The setting bed is what allows the first course of blocks to be brought to perfect level.
Browse the patio walkway base collection for Blue Stone Dust pricing.
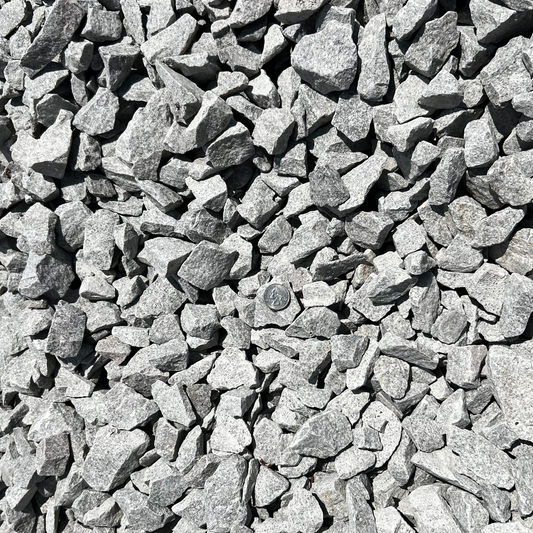
Step 5: Dry-Stack the Block Walls (90 minutes)
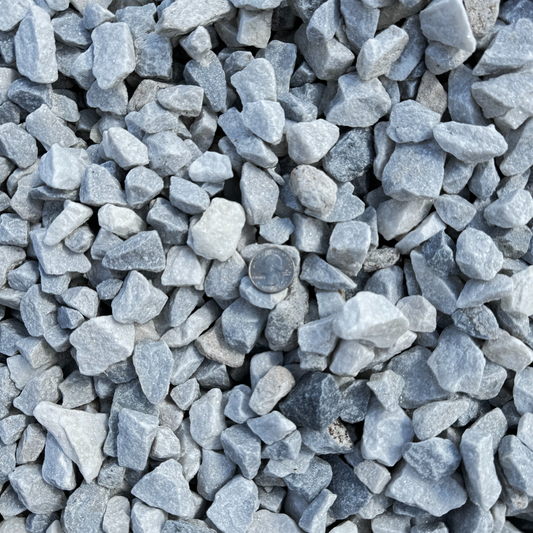
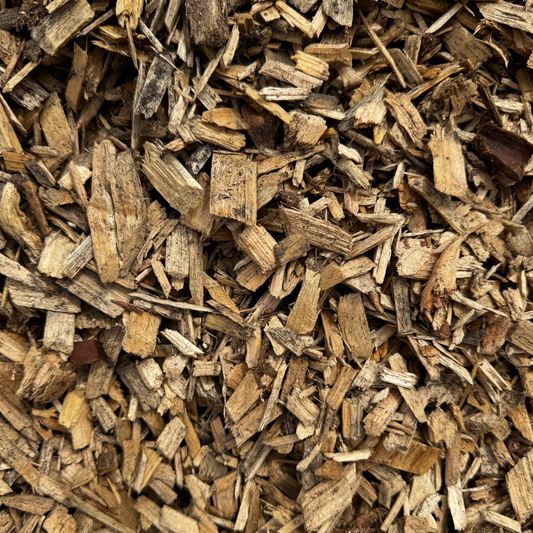
Use fire-rated retaining wall blocks sold at landscape suppliers. Standard build: 3 courses, 8–10 blocks per course, depending on block size.
Course 1: Set first course on the setting bed. Level each block with a rubber mallet — front-to-back and side-to-side. Take time here; the rest of the build relies on this.
Course 2: Stagger seams (no aligned vertical joints). Adhesive between courses is optional for dry-stack designs but adds stability for taller pits.
Course 3: Final course. For pits where you'll cook over coals, leave 4–6 small gaps in the top course for airflow.
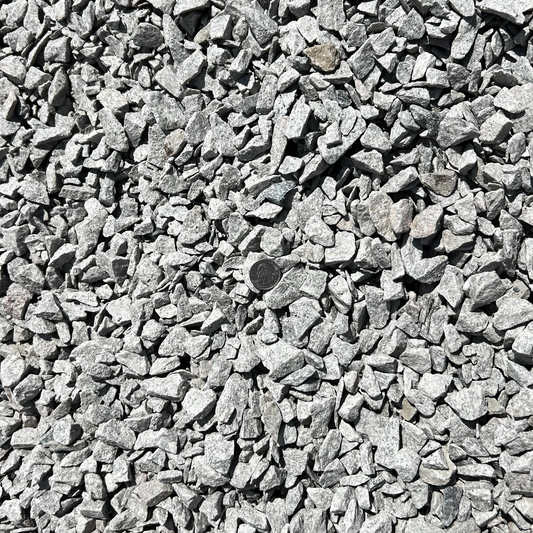
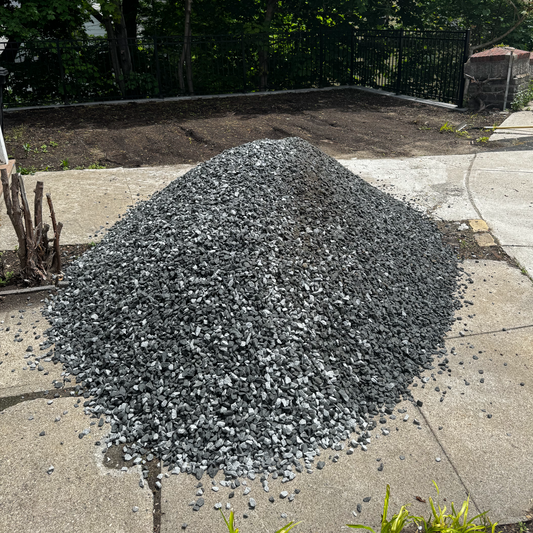
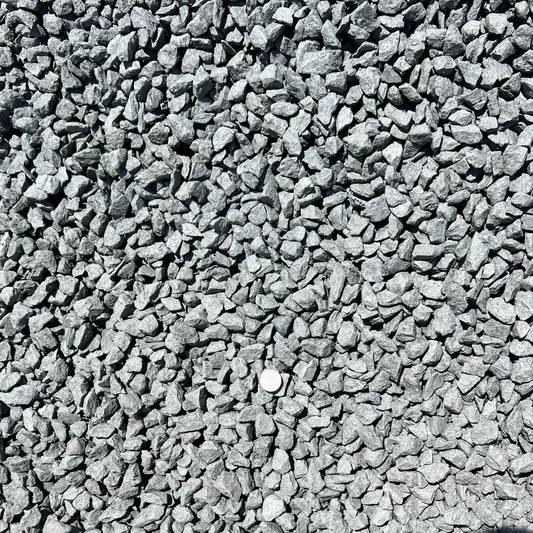
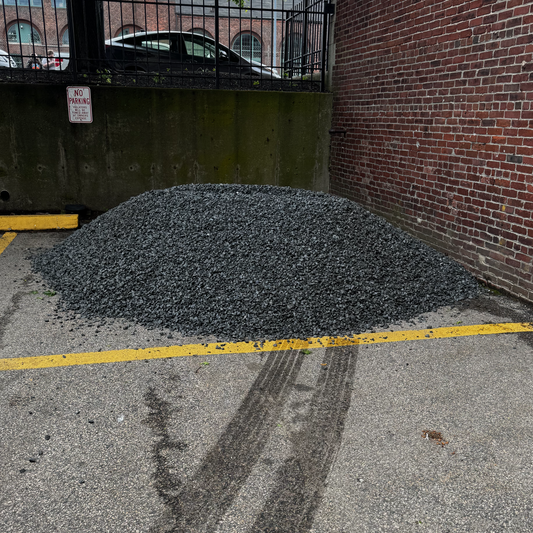
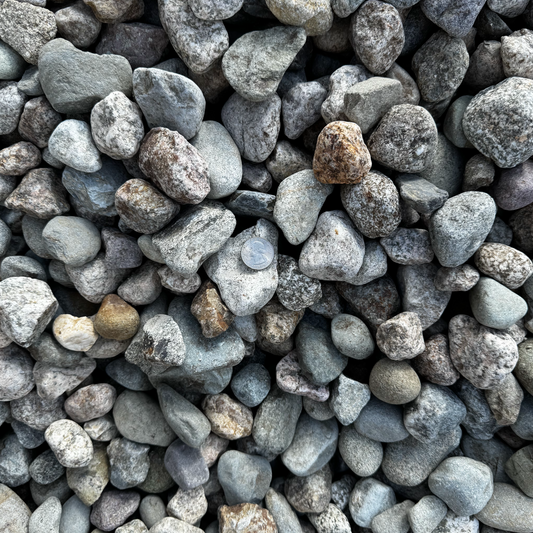
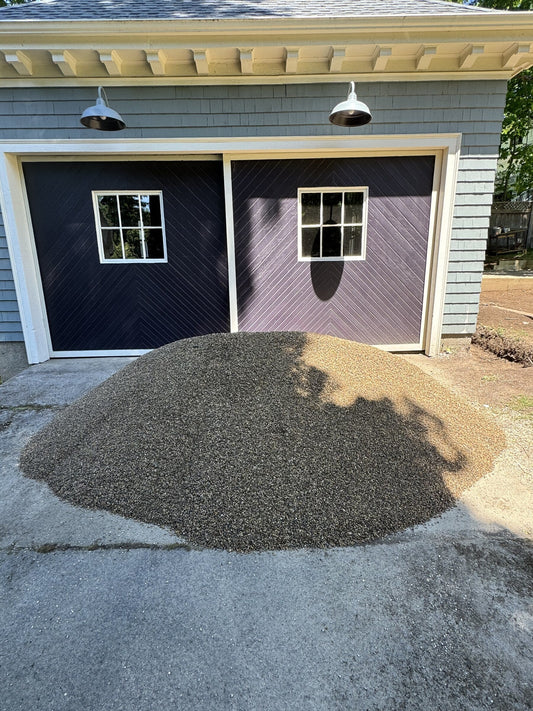
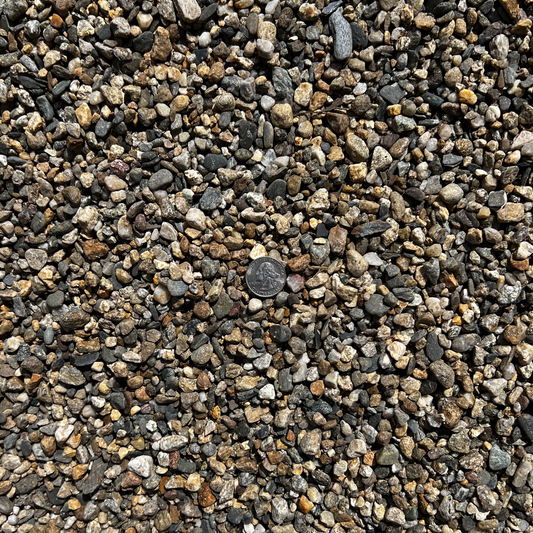
Step 6: Surround with Gray Crushed Rock (45 minutes)
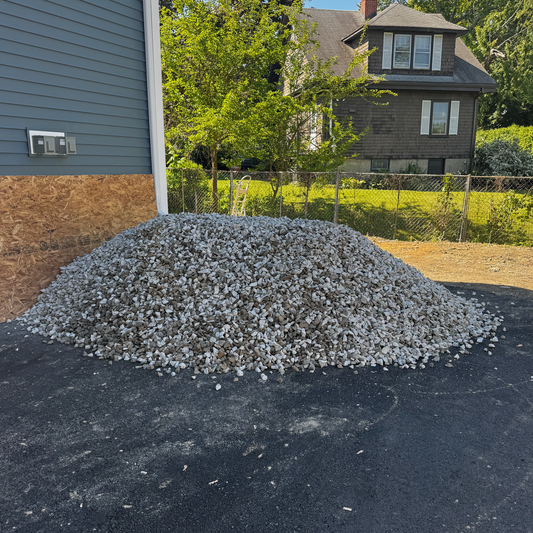
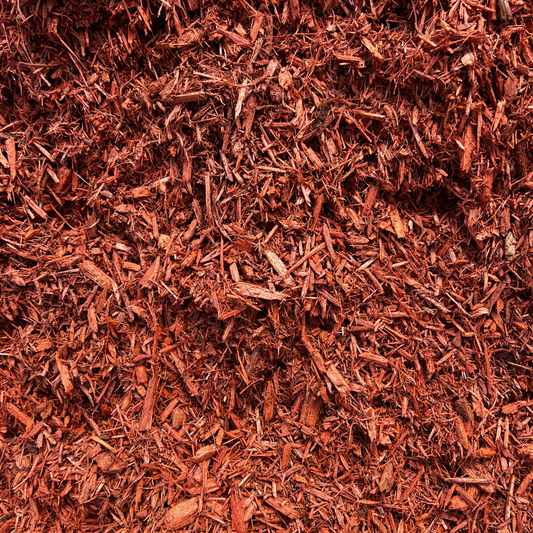
Spread ½ cubic yard of Gray Crushed Rock ¾" in a 2-foot ring around the outside of the pit. The crushed rock surround is non-flammable, prevents grass fires from stray sparks, and reads as a finished hardscape feature.
Order Gray Crushed Rock ¾" from the decorative stone collection.
Step 7: First Burn Test (30 minutes)
A small first burn (newspaper and kindling, not a full log fire) tests for: settling, smoke-draft direction, soundness of stack. Wait 24 hours after the first burn before a full-log fire.
Material List Summary
For a 4-foot diameter, 3-course Worcester County fire pit: - 24–30 fire-rated retaining wall blocks (local landscape supplier) - 0.5 cubic yards Dense Pack ¾" to minus - 0.25 cubic yards Blue Stone Dust - 0.5 cubic yards Gray Crushed Rock ¾" - Optional: construction adhesive between courses
Total bulk: 1.25 cubic yards — single delivery, plus blocks.
Common Worcester County Mistakes
- Skipping the burn-permit check — fines and forced removal are real risks
- Building over septic system — fire pits add load and heat; never over leach fields
- Insufficient setback from cedar fencing — radiant heat damages siding and fencing within 10 feet
- Using non-fire-rated blocks — standard concrete pavers can crack from heat; use fire-rated only
For the related French drain prep that often happens the same fall weekend, see How to Prep a French Drain for Fall Rains in Brookline. For the Roslindale fall hardscape touch-up scope, 5 Fall Hardscape Touch-Ups for Roslindale Backyards.
What This Means for You
Four hours, 1.25 cubic yards of bulk material, and the Worcester County backyard has a fire pit ready for the next 10 years. Order through the decorative stone collection and crushed stone collection. The MA Dept of Fire Services has the authoritative reference on burn permit requirements and outdoor fire safety.


