


Quick Answer
A cold frame for a Mattapan backyard is a bottomless box with a glass or polycarbonate lid that traps solar heat and extends the growing season 6–8 weeks past frost. Build a 4×4 cedar frame, slope the lid south at 30–40°, fill with 0.15 cubic yards of Garden Soil Mix and Compost, and you'll harvest greens through Thanksgiving and start spring crops in March.
Materials List
- Cedar 2×10 boards — two 4-foot pieces (front), two 4-foot pieces with sloped cuts (sides), one 4-foot piece (back, doubled to 20" tall).
- Old storm window (4×4) OR polycarbonate panel (corrugated, 4×4).
- Two strap hinges + 1¼" wood screws.
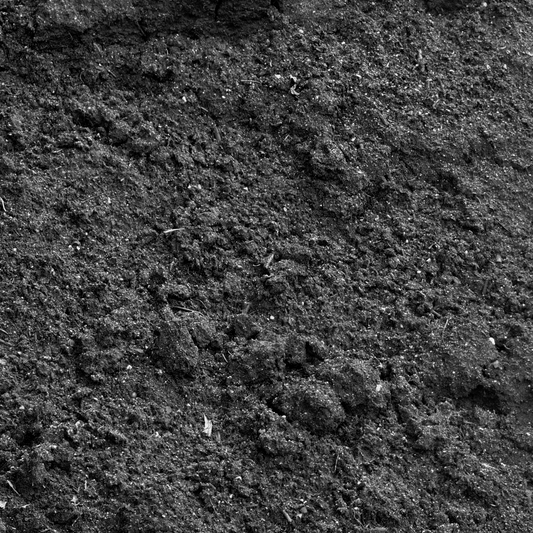
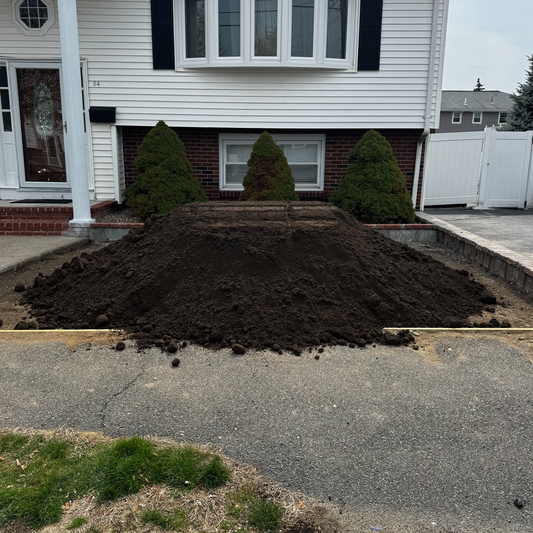
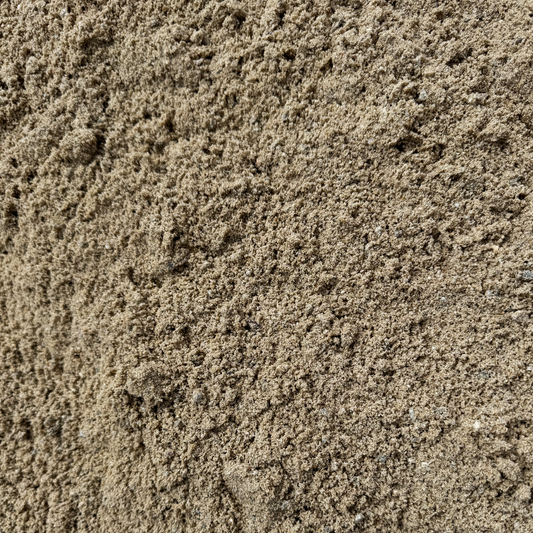
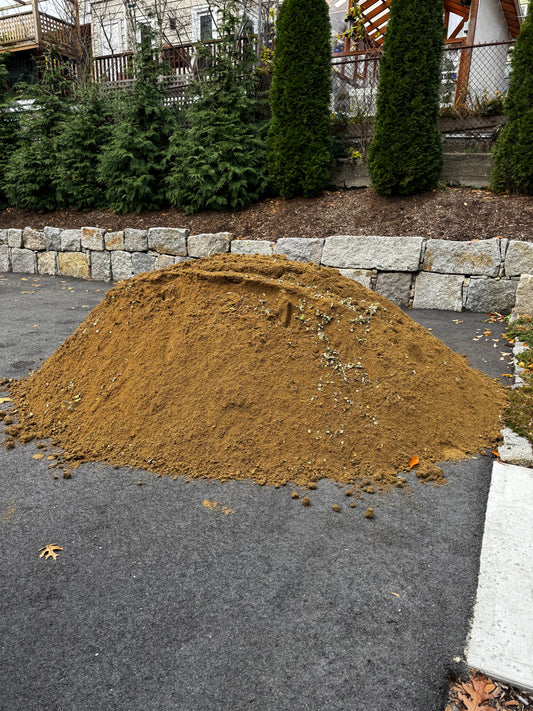
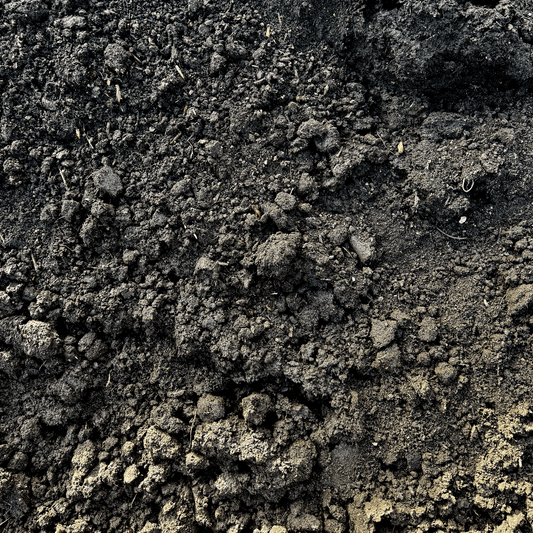
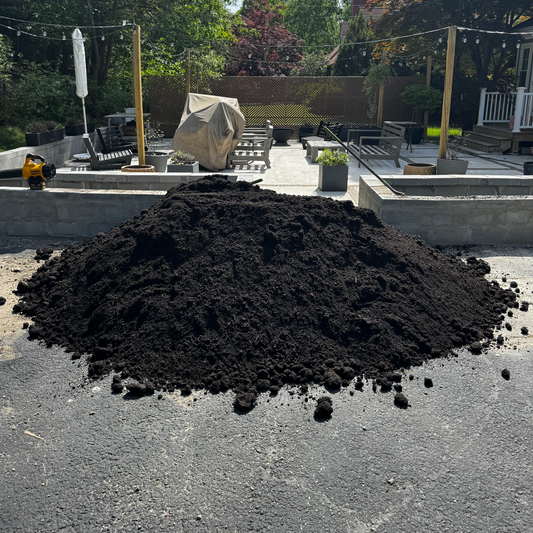
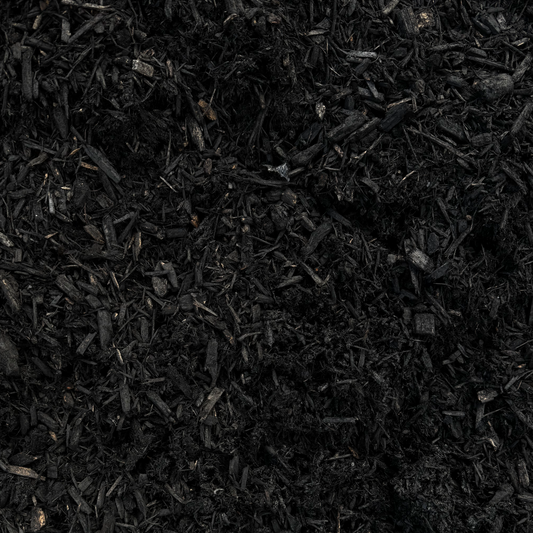
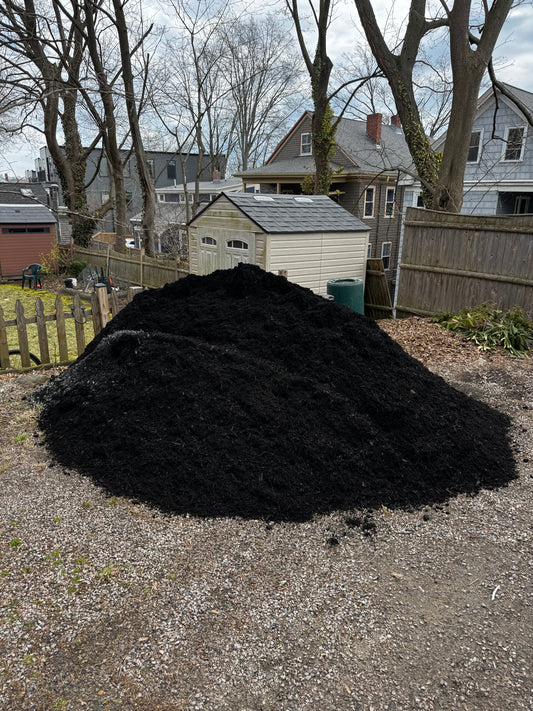
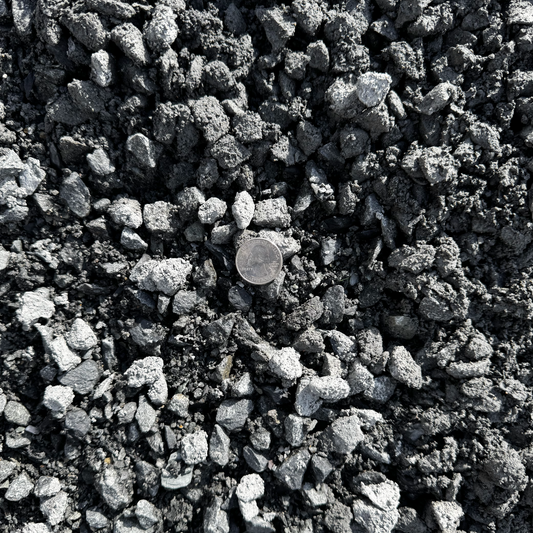
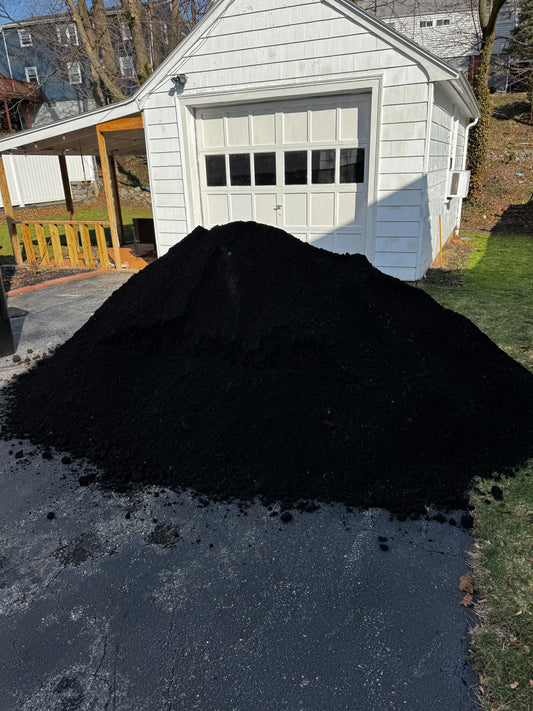
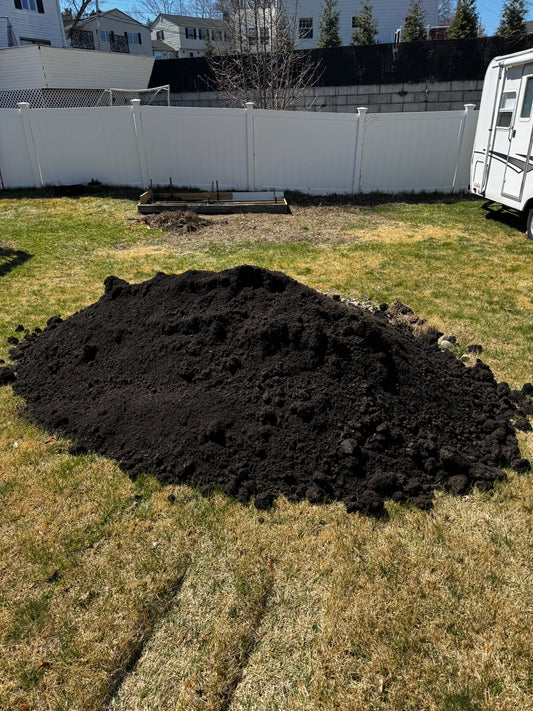
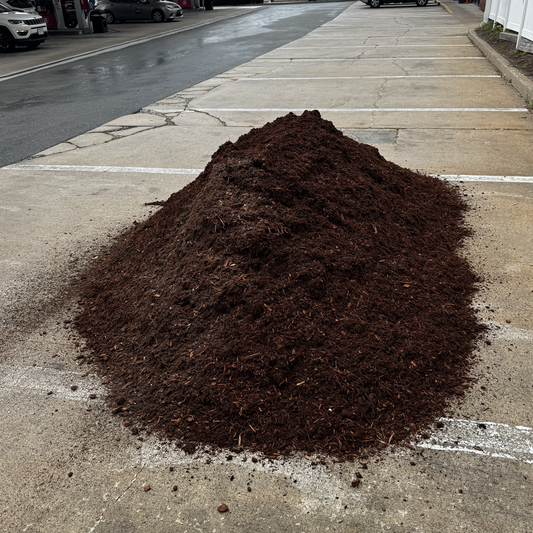
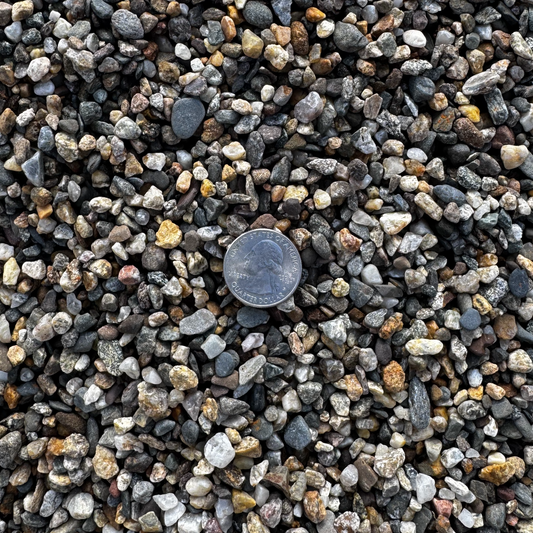
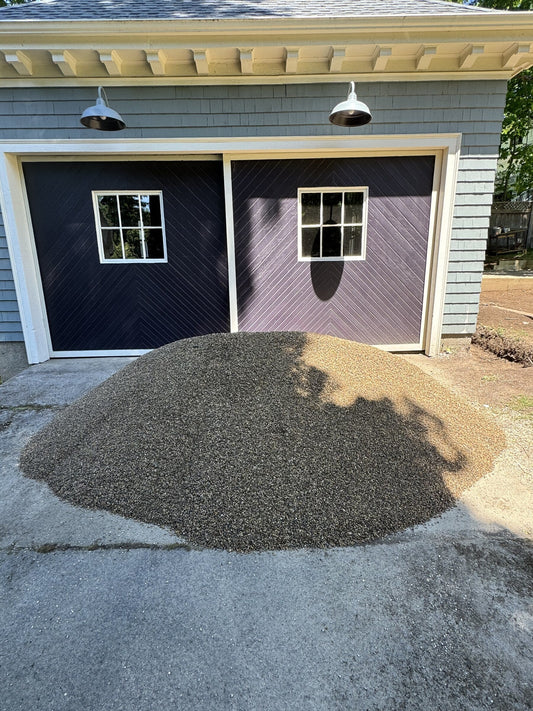
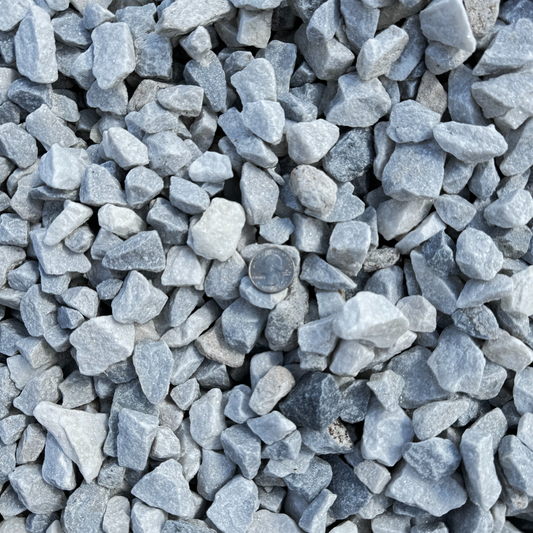
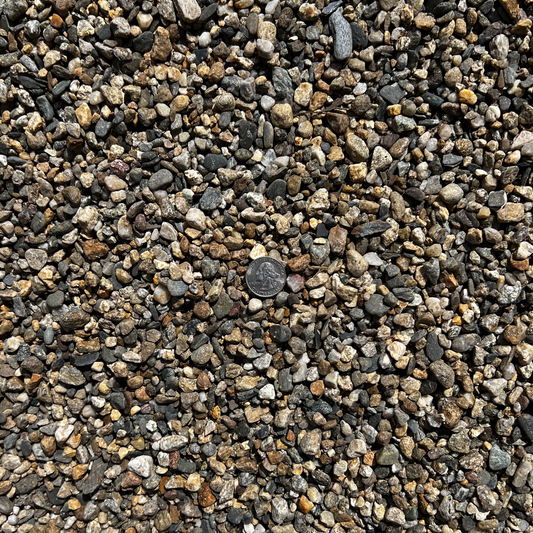
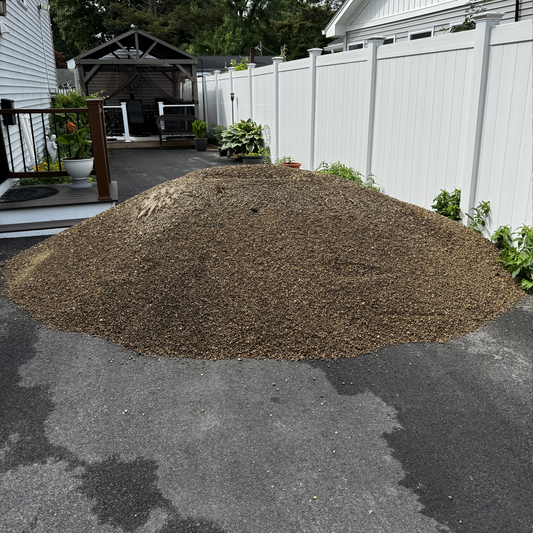
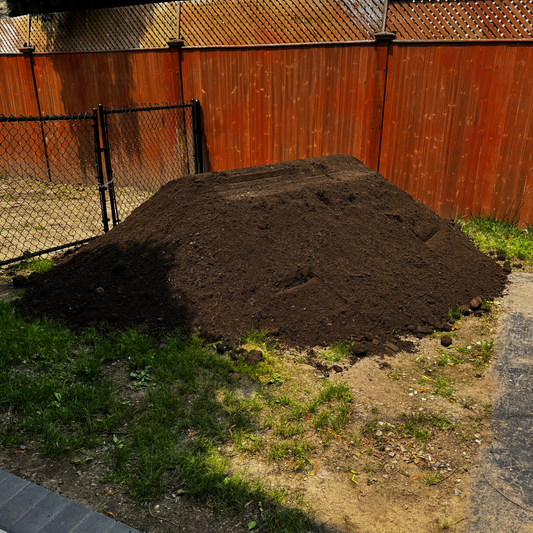
- 0.15 cubic yards of Garden Soil Mix mixed with 0.05 cubic yards of Compost — enough to fill the bottom 8" of a 4×4 footprint.
The soil-and-compost combo gives you 3.5 cubic feet of growing media — enough for a 4×4 cold frame's planting depth. Browse the Raised Garden Bed Materials collection for per-yard rates and the Mattapan Landscape Supply page for delivery scheduling.
Step 1 — Pick the Site
Mattapan's row-house backyards often have one south-facing wall that runs warm — that's your spot. The cold frame wants:
- 6+ hours of direct sun, ideally morning sun.
- Shelter from north and west wind (a fence or building wall works).
- Reasonably level ground.
- Drainage — avoid the low corner where snowmelt pools.
A spot near the back door makes harvesting in November easier than a far-yard installation.
Step 2 — Cut the Frame
Cut cedar 2×10 to: - Two 48" pieces for the front wall (10" tall total). - Two 48" pieces for the back wall (stacked, 20" tall total). - Two side pieces with a sloped cut from 20" tall (back) to 10" tall (front).
The 30–40° slope captures fall and winter sun angles in Boston's latitude.
Step 3 — Assemble the Frame
Pre-drill and screw the corners with 3" deck screws. Two screws per corner, top and bottom. Brace the inside corners with cedar 2×2 if you want extra rigidity — Mattapan winter winds get strong enough to stress unbraced cold frames.
Step 4 — Attach the Lid
Hinge the storm window or polycarbonate panel to the back (tall) wall with two strap hinges. Add a prop stick or hook to hold the lid open at 6–8" for ventilation on warm fall days — overheating kills cold-frame crops faster than cold does.
Step 5 — Place and Fill
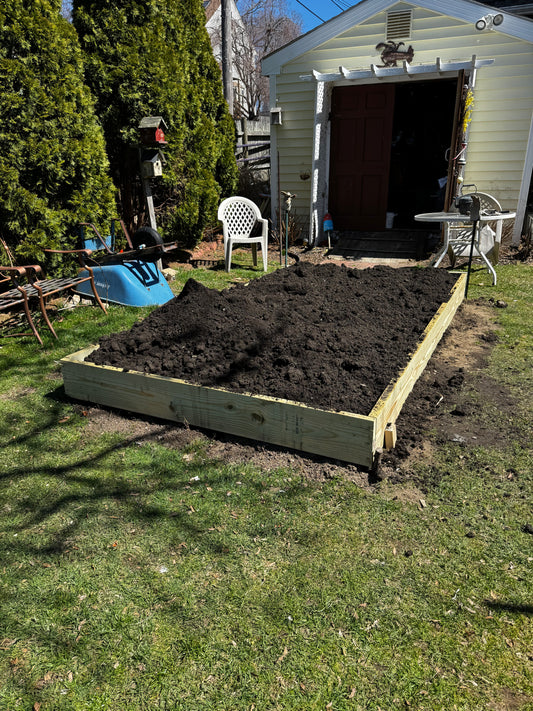
Set the frame on prepared ground (no bottom — roots reach into native soil). Fill the bottom 8" with the Garden Soil Mix + Compost blend. Rake smooth.
For deeper bed-prep guidance ahead of cool-season planting, see How to Start a Fall Vegetable Garden in Marshfield — same prep approach works in Mattapan.
Step 6 — Plant the Cold Frame
Sow lettuce, spinach, mâche, claytonia, kale, or carrots in mid-September. The cold frame's microclimate runs 8–12°F warmer than ambient on cold-but-sunny days, and 3–5°F warmer on cloudy days.
For frost-window timing across MA, see When Should I Plant Garlic in a Melrose Bed? — the cold-frame extends greens through Halloween and beyond.
Step 7 — Manage Ventilation
The single biggest cold-frame mistake is overheating. Once daytime ambient hits 50°F, prop the lid 6" for ventilation. On warm October days (60°F+), prop fully open. Close at sunset.
By mid-November, you can leave the lid closed almost full-time. By December, you're harvesting greens that stayed alive under glass.
Common Mistakes
- Building flat-topped. A flat lid sheds water and snow poorly. The 30–40° slope sheds both.
- Skipping the prop stick. Heat-killed seedlings in October are the most common cold-frame failure.
- Building too small. A 4×4 minimum gives enough thermal mass; 2×4 cools too fast at night.
For the full MA fall growing calendar, the UMass Extension Vegetable Program is the authoritative source.


